Ultimaker Original Plus with E3D v6, dual fan, and BLTouch print head
thingiverse
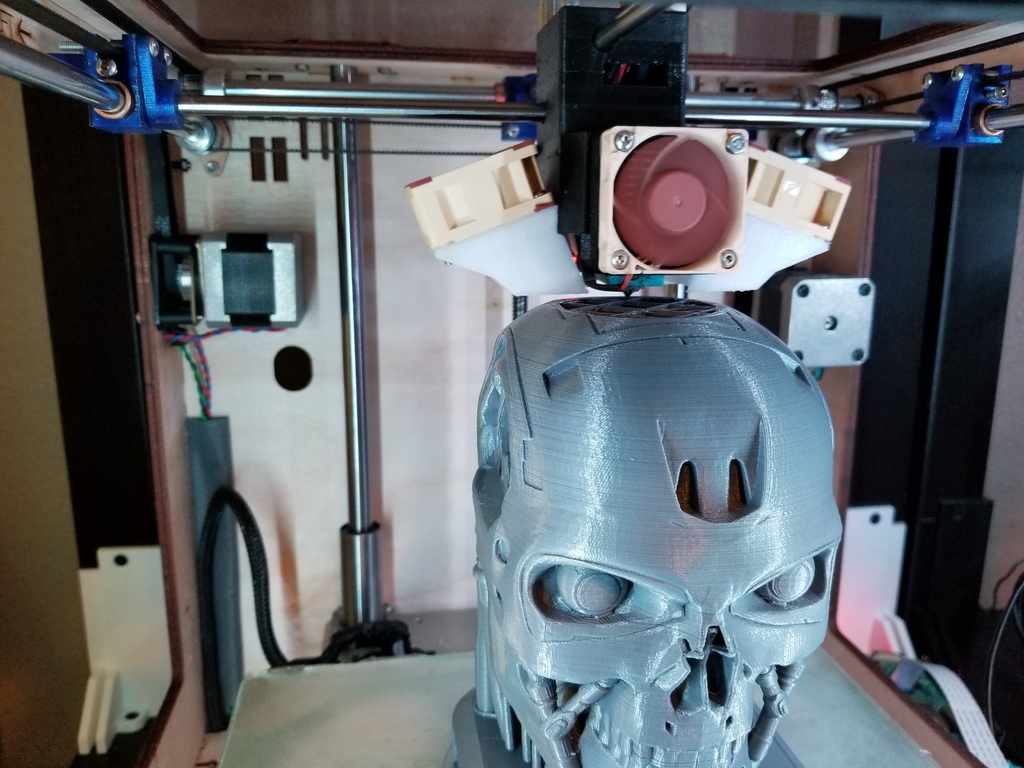
Check out my etsy store. https://www.etsy.com/shop/HotSquare *NOTE: Use V2 parts where available. See update notes below. *DISCLAIMER: I'm not responsible if you damage your printer, waste your time, or any unforeseen undesirable effects using this mount may have on your printer. If you're at this point in modifying your printer, you should know what you're doing already. If not, then please do your research first. Ultimaker Original Plus hotend with all the features I wanted. +E3Dv6 mount +Dual fan mounts +BLTouch mount +Light +Sturdy +Mostly modular I am listing this as a work in progress. It's effectively a finished product, though I may add a feature here and there. I have put 300+ print hours into the current revision, and I'm happy enough with the results to post it here. PRINTING Be sure to reorient the models in your slicer of choice for support-free printing. All models here can be printed without supports. Use PETG and go slow. Assembly Nothing complicated. It's built in a modular fashion and mostly self-explanatory. The main body may snag on some wires, so be gentle. BEFORE YOU INSTALL! Insert all square and standard M3 nuts. There are slots and recesses for each one. Some places are very hard to get to once you start putting things together, so this is a good time to deal with them. -Assemble the upper blocks around the bearings first. No screws needed at this point. -Install the main body by approaching from underneath and rotating as needed to persuade the E3Dv6 wires. At this point, make sure all of your wires are routing through the upper blocks and not touching the heater cartridge or hotend where they shouldn't be. -Screw down the upper block to the main body with the ridiculously long M3 screws needed. Very important – this part is nice and tight as those 4 screws hold the business end together. -Mount all fan mounts. -Mount BLTouch if you haven't already -Wire everything back to the board -Flash your firmware. Make sure it has BLTouch support and setup. You don't want to crash your build plate. -Calibrate and enjoy *Update Notes 3/16/19: 1. Reworked main body to remove mass, added venturi venting for hotend intake efficiency. 2. Block now comparable with Twister block to maximize print volume. 3. Part cooling fan ducts reworked. Better throughput, more controlled, and resized to clear bed clips while still allowing thicker fans to be mounted. 4. V2 parts with build rigorously tested. I'm more than happy with the results, so this is no longer a work in progress. I will leave the V1 parts in just in case someone wants to remix with them. *CREDIT goes to Amedee for the easy-to-use upper blocks. I modified them slightly, but the original can be found here: https://www.youmagine.com/designs/compact-mount-for-e3d-v6-hot-end-on-ultimaker-original
With this file you will be able to print Ultimaker Original Plus with E3D v6, dual fan, and BLTouch print head with your 3D printer. Click on the button and save the file on your computer to work, edit or customize your design. You can also find more 3D designs for printers on Ultimaker Original Plus with E3D v6, dual fan, and BLTouch print head.