Ultimaker Power Supply Bracket
thingiverse
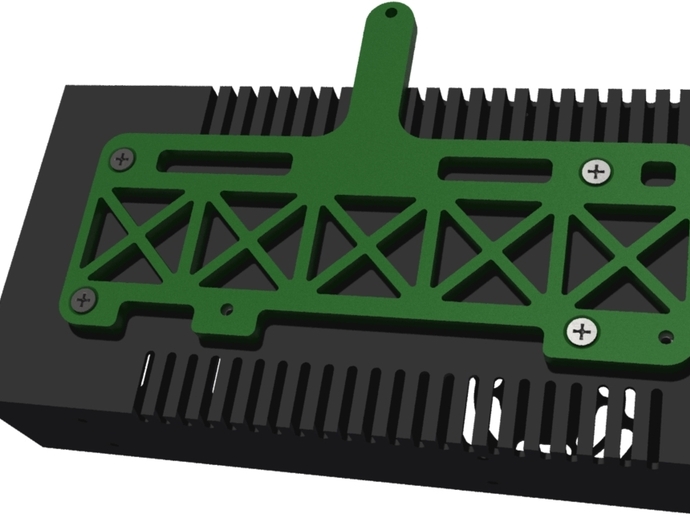
This bracket allows you to mount a common style of 24 volt power supply to your Ultimaker using 3 existing holes in the frame. I am in the process of adding a heated bed to my Ultimaker, so one of the first steps is upgrading to a power supply that can handle the added load of the heater. Instructions I printed with 0.8 mm wall and 35% fill. Requires (4) 4 mm x 10 mm flat head screws (to attach bracket to power supply) and (2) 3 mm x 12 mm screws to attach the adaptor to the frame and (2) M3 hex nuts. The third screws that attaches the bracket utilizes one of the controller board screws. Mount the adaptor to the power supply first (be sure to insert the two M3 hex nuts into the hex recesses on the adapter bracket. If you want to use the cord grip shown in the photos, you'll need one more 4 mm x 10 mm flat head screw. The model included here is slightly different than the one I made. After I printed mine, I realized that it did not need to be so wide. The other advantage of this bracket is that it allows for better airflow around the power supply versus mounting it directly against the frame. Of course, you'll need extended feet to make the appropriate clearance. This also requires a different fan assembly other than the stock version. There are several available on Thingiverse. I used hugokernal's thing:40670 because I had the fans. My fans are deep and required extra long feet. I think I'll investigate Sonarok's thing:28498.
With this file you will be able to print Ultimaker Power Supply Bracket with your 3D printer. Click on the button and save the file on your computer to work, edit or customize your design. You can also find more 3D designs for printers on Ultimaker Power Supply Bracket.