Ultimaker Z-tilt adjustment
thingiverse
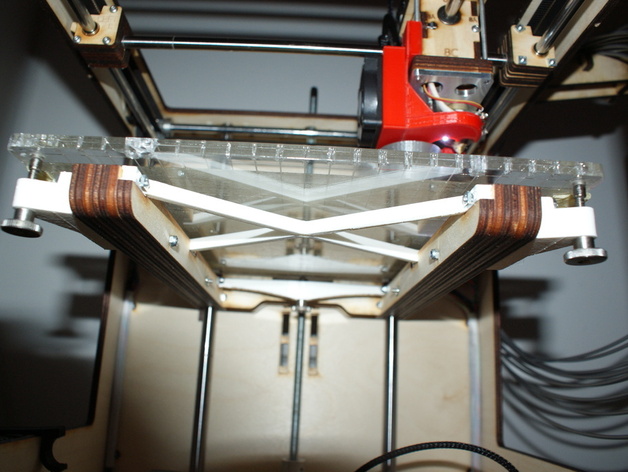
A variant for the Ultimaker Z-stage with height and tilt adjustment. The printing platform is supported by 3 adjustment screws. You pay a little stability but you get a tiltfree printplatform Instructions Print the (4) parts , Optional: tap M4 thread in the (adjustment) screwholes Remove the original Z print platform and the plate between the Z legs. Mount the brackets and the XY stabilistor with M3x40 Screw 3x M4 (adjustment) screws Glue on each screw a magnet. Glue 3 magnets on the downside of the print platform. Level the platform with the screws and readjust the upper Z endswitch Redefine your start.gcode file according to the new start print height.
With this file you will be able to print Ultimaker Z-tilt adjustment with your 3D printer. Click on the button and save the file on your computer to work, edit or customize your design. You can also find more 3D designs for printers on Ultimaker Z-tilt adjustment.