(Unofficial) Replicator XL
thingiverse
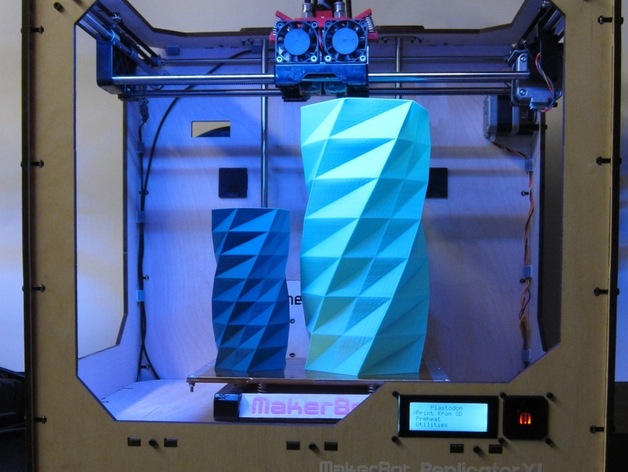
Make your MakerBot Replicator 1 taller with these easy steps! Here's a bit of history on MakerBot Z-axis print heights and what you need to know about the unofficial Replicator XL. With just six part replacements, upgrade your Replicator 1's build area to a whopping 250mm in height, increasing its cubic volume to an impressive 498 inches. Plus, we've tweaked the 'window' shapes for a more modern look. Check out the photos and follow the instructions carefully - this process takes time but is not difficult. Note that you may need to lengthen some wires and edit your start/end .gcode files to change Z from 150 to 250. Also, be sure to flip the brass nut for the Z-threaded rod beneath the platform or it won't reach high enough. Lastly, make sure to use Sailfish firmware for optimal performance! Happy printing!
With this file you will be able to print (Unofficial) Replicator XL with your 3D printer. Click on the button and save the file on your computer to work, edit or customize your design. You can also find more 3D designs for printers on (Unofficial) Replicator XL.