(Unofficial) Replicator XL V1.5
thingiverse
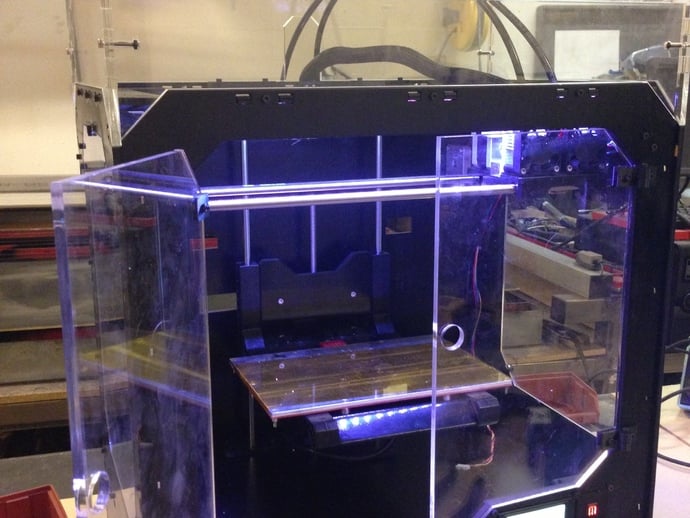
This is an enhanced RepXL build featuring numerous improvements and additional features. Read the instructions for details on changes and additions made. If you need access to a laser cutter, let us know. This all-in-one file contains every laser-cut piece required for building a Replicator XL, allowing for part reuse and hassle-free painting during operation. Check out the detailed list of changes and improvements made in this version, including modifications to the back, front, inside, right side, bottom cover plate, and partition plates. Extensive notes are also included to assist with assembly, wire extensions, and tightening bolts. Don't forget to update your ReplicatorG software for optimal performance.
With this file you will be able to print (Unofficial) Replicator XL V1.5 with your 3D printer. Click on the button and save the file on your computer to work, edit or customize your design. You can also find more 3D designs for printers on (Unofficial) Replicator XL V1.5.