Upcycling Spicetower
prusaprinters
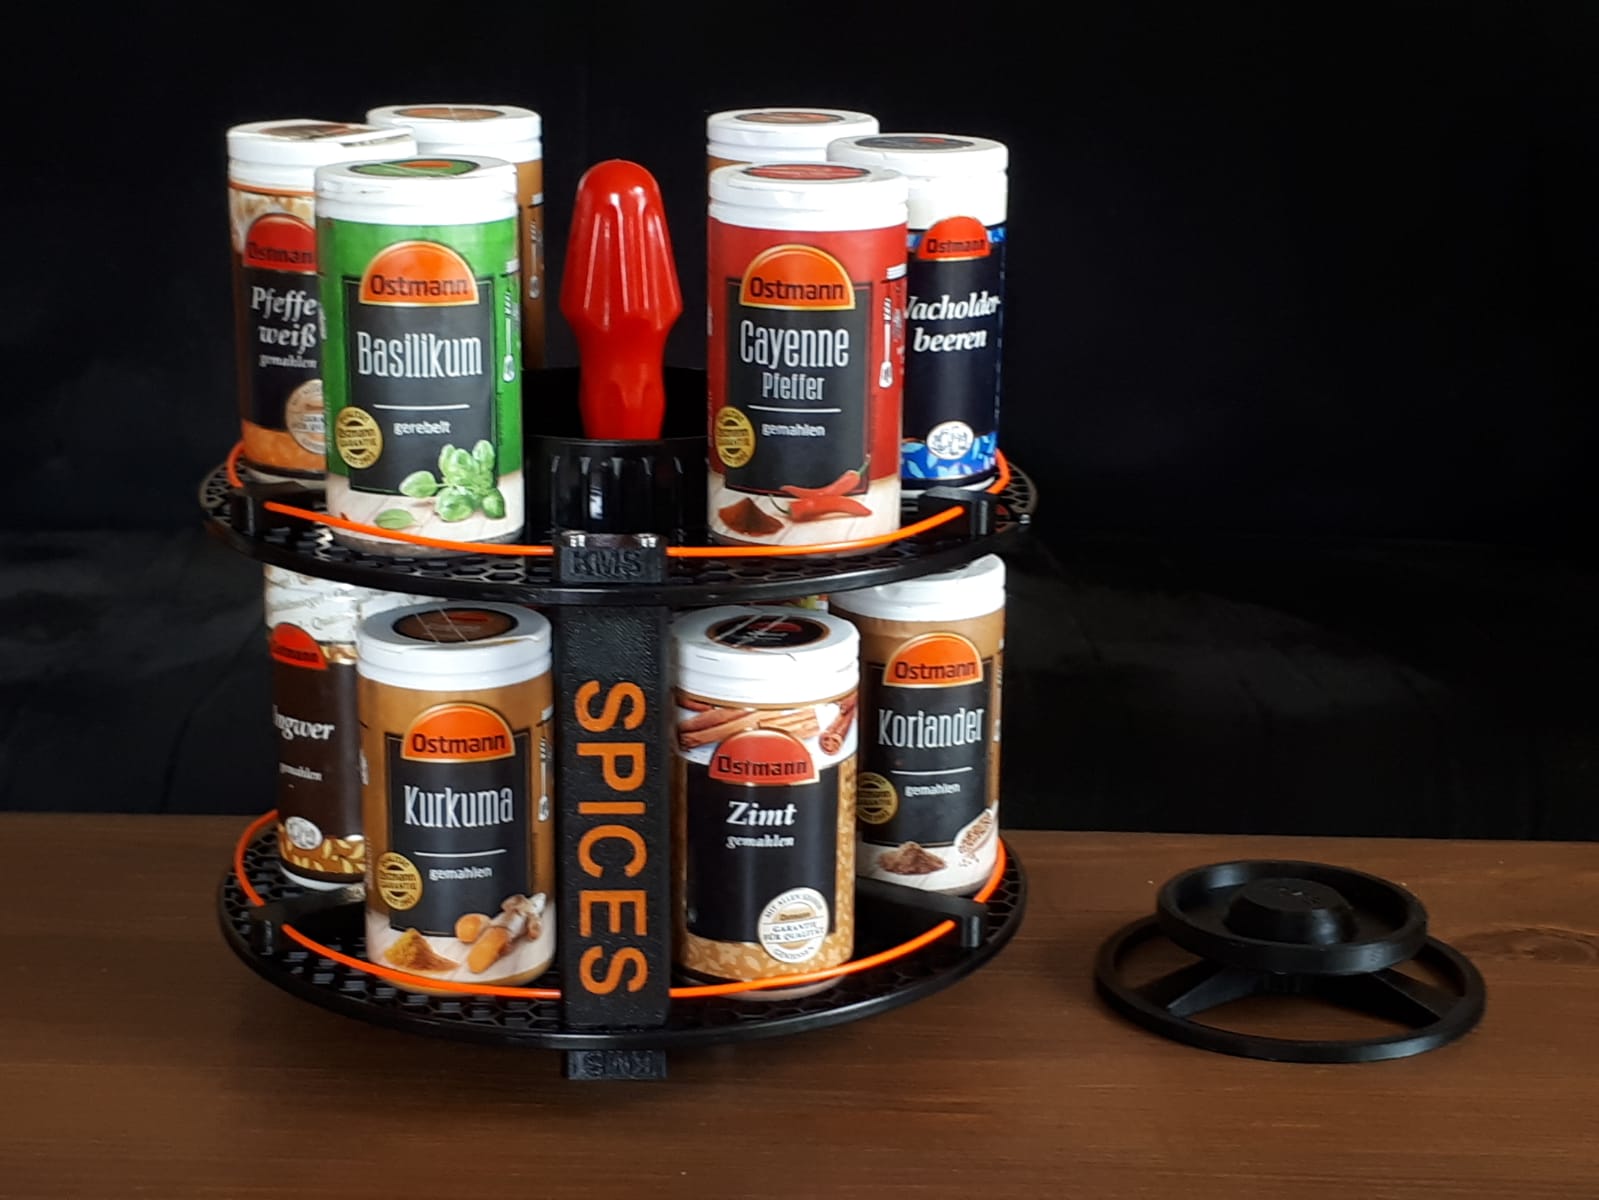
<p>Empty Spool and just a little bit of Filament left?! So keep reading ;D</p> <p>What do we need?</p> <ol> <li>Empty Spools</li> <li>Some leftover Filament for the railing</li> <li>3D Printed Parts (MMU2´s or Singleextruder)</li> <li>Some leftover screws (M3x17) and a screwdriver (that i never use for any maintenance) that are kindly provided with your printer Kit by Prusa :D</li> </ol> <p>and you are all set for your spicetower, ready to take along for a barbecue outside. The handle sinks in and rests on the inner ring for easy storage and is ready to go at any time!</p> <p>This spice tower works really well for me and might as well for you, but feel free to remix and adapt as you wish or even just use it as an idea imput ;D</p> <h3>Print instructions</h3><p><b>Option 1:</b> <br/> a. Simple Spice Tower Use the 3mf File: "spicetowermmusingleormk3s"<br/> b. Simple Spice Tower MMU2s labeling Use the 3mf File: "spicetowermmus" </p> <p><b>Option 2: </b> Spicetower with additional turningtabel <br/> Print 1a or 1b and 3mf File: "turningtable"<br/> <p> <p><b>Settings and Filament used: </b>(MMU2s and Single/ normal setup)<br/> Prusament PETG Jet Black FirstLayer 240/85 --> 250/90<br/> Prusament PETG Prusa Orange FirstLayer 240/85 --> 250/90 <br/></p><p><u>All Parts are availible as a STL files.</u><br/></p> <p><u><b>Mounting Instruction:</b></u><br/><br/> <b>Step 1:<br/></b> Mount the inner ring on one Spoolhalf by clicking it into place no screws necessary<br/><br/> <b>Step 2:<br/></b> Insert the screwdriver into the "handler", its a tight fit and if you think it could still slip, there is the option to secure it with an small M3 screw<br/><br/> <b>Step 3:<br/></b> Click the "bars" (or you can use the "upper rail guides" if you dont want to divide your space) into place as shown in assembly picture 3<br/><br/> <b>Step 4:<br/></b> Place the "pillars" and use the "counterpillarpart "and 2 M3x17 or M3x15 screws to secure them.<br/><br/> <b>Step5:<br/></b> Place the "handler" in the inner Ring and take the other Half of the Spool and places it inside up on the pillars using the same Orientation of the spoollabeling. Secure it with the "counterpillarparts" and secure it with the screws left.<br/><br/> <b>Step 6:<br/></b> Insert the "upper rail-guides" in the same holes as the bars on the lower spool. Some force is required to click them into place<br/><br/> <b>Step 7:<br/></b> Now use your leftover Filament to make the rails. Take the pliers and gently push in the Filament in the holes of the part. Only do that approximately half way from hole to hole and cut the Filament if necessary. You can use small pieces for that :D<br/></p> <p><b><u>Optional for Option 2:</u></b></u></p> <p><b>Step 1:<br/></b> Insert a 22x7 Bearing into the "tabletop"<br/> <b>Step 2:<br/></b> Press the "tabletop" onto the "tand"<br/> <b>Step 3:</b> Place the Spice tower on the Turntable<br/><br/> a: Loose fit --> if moved the turntabel stays in the closet<br/><br/> b: Glued --> just use a little drop of glue to stick the turntable to the spicetower<br/></p> <p><b>Happy Printing</b> and feel free to leave a comment or like, if you liked it or have any suggestion´s :D</p></p></p>
With this file you will be able to print Upcycling Spicetower with your 3D printer. Click on the button and save the file on your computer to work, edit or customize your design. You can also find more 3D designs for printers on Upcycling Spicetower.