Updated Hectorrail 141 locomotive for OS-Railway
thingiverse
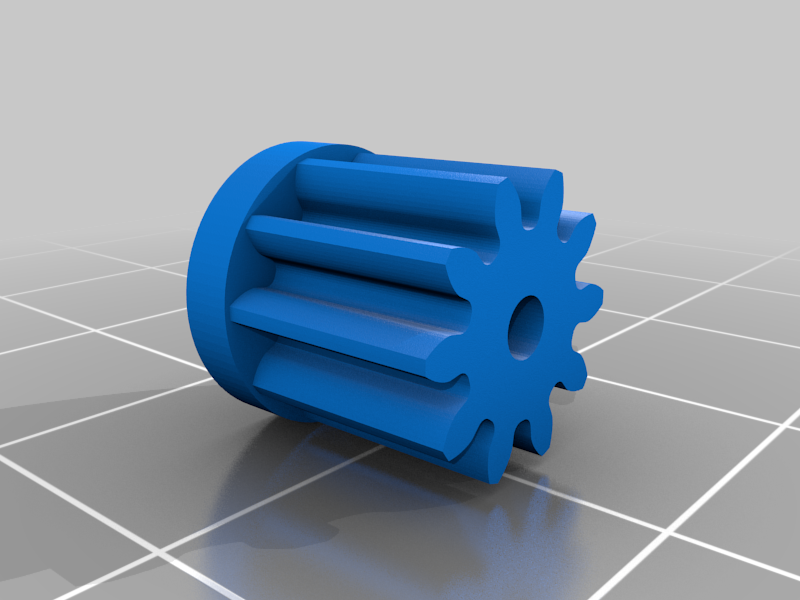
This is an updated version of the Hectorrail 141 locomotive the fully 3D-printable OS-Railway system. The main difference between the old version and this one is the motor bogie that is designed for widely available 24mm DC-motors without gearbox. Instead the reduction is achieved using a 3D-printed set of gears resulting in a 10:1 reduction. The motor bogie is a modified version of the gearbox developed for the GP38 locomotive. Recommended speed on the wheels is about 500rpm so a nominal speed of around 5000rpm on the motor is suitable. (Keep in mind that a 12V motor with 10 000rpm will run at 5000rpm on 6V). The motor bogie is attached to the chassis using a ball joint which means it can both turn and tilt in all directions while the front bogie is limited in sideways tilt. This setup enables the locomotive to better keep traction in curved inclines. Note! if you don't want to dig into the electronics you use a speed controller (ESC) for RC-cars and in that way control the locomotive with a standard RC system. With some modification you might be able to also use a RC car brushless motor but keep in mind that they are usually very powerful and heats up a lot which will melt the gears! Search eBay and similar sites for 24mm DC-motor and you will find lots of options. Aim at around 5000rpm at 6V so that you can use 4pcs AAA batteries in series or 2 lipo cells in series. Tip: if you cannot find a suitable speed controller and have a standard-size RC servos laying around, you can extract the electronics and cut the wire to the servos motor. Remember to keep the potentiometer attached! solder the motor wires to the big motor in the train and turn the potentiometer so that it is roughly in the middle of its rotation span and start the RC system. The motor will probably start to turn, so use the center trim function (or turn the potentiometer) to find the trim where it is idle. This means that the servo electronics "thinks" that the servo is in the desired position. Now you can run the motor backwards and forward using the servo channel. Different servos are designed for different currents so this will not work with a micro servo as the electronics is most likely not powerful enough, but a bigger standard servo is probably powerful enough. Especially if you have an old servo with broken gearbox, this might be a way to give it new life! The supplied Arduino code is meant to be used with a NodeMCU board which is a Wifi-capable micro controller board based on ESP8266. However the code should also work with ESP32 boards, although not tested. In the code you can change the name of the wifi access point. When connecting with your phone, enter the following IP in the web browser address field: 192.168.4.1 then a web page will show with controls . If nothing happens it might be due to mobile phones often disconnecting when they notice there is no internet on the wifi, so then you might need to re-connect again. The ESP8266 and ESP32 are very capable devices and the supplied code here is just a bare minimum example. The motor bogie has two basic setups, one with 2mm shafts on the gearbox and no bearings. The other is for 3mm shafts and ball bearings. Recommended bearings: MR63ZZ (3mm inner, 6mm outer, 2.5mm width.). A tip: You can print the version meant for bearings and print dummy-bearings in PLA, they will last surprisingly long and when they wear out you can replace them! Gearbox assembly: https://www.youtube.com/watch?v=R-4TSTSmNh4 The sharp-eyed can see that the bogie frame is different in the video and explode view, that's because it shows the slightly bigger GP38-version but the function is the same. Note about the bogies: When in tight turns they are very limited in terms of tilt so if you make a layout with a slope for this locomotive, it's recommended to have straight track in the start and end of the slope to avoid that the bogies hit the chassis. When running straight the bogies have more room to tilt. Change-log: 2023-02-19 - seems like the motor pinions were missing, added for 2,3mm and 2mm motor shaft.
With this file you will be able to print Updated Hectorrail 141 locomotive for OS-Railway with your 3D printer. Click on the button and save the file on your computer to work, edit or customize your design. You can also find more 3D designs for printers on Updated Hectorrail 141 locomotive for OS-Railway.