Updated servo and microswitch mount for auto bed leveling of Ender 3 V2 printer
thingiverse
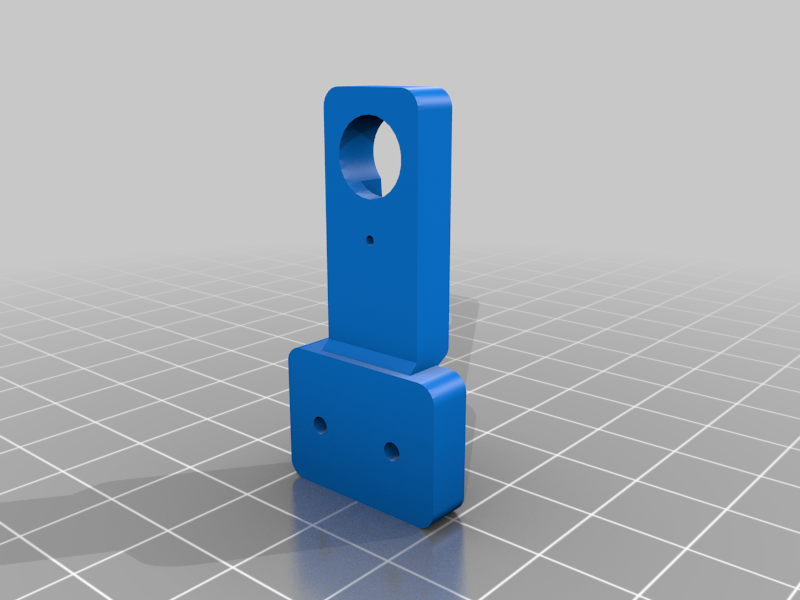
Stl files for those who want to install a servo auto bed leveling microswitch to their Ender 2 V2 printer. The servo and microswitch can be connected to the pins used for BL Touch sensor as follow: 1. In the motherboard with 5 pins marked G V IN G OUT, the first 3 pins (G V IN) connects to the servo. The 3 servo wires black-red-orange (or brown-red-orange in some servo) connects to G V IN respectively. 2. The remaining two pins (G OUT) connects to the micro switch. 3. Note that the motherboard pins are short and thin. It is easy to get loose so I pinched the metal connectors to make a tight fit and then I used hot glue so it will not be pulled out. 4. You have to build the firmware to fit your installation. I shared my configuration files as an example but you have to carefully measure your nozzle / microswitch offsets as per your installation. The challenging bit is getting the z-offset right. Be ready to turn off that switch if you see that your nozzle is hitting your bed! The configuration files are for the latest nightly build of Marlin version 2.0.7.2
With this file you will be able to print Updated servo and microswitch mount for auto bed leveling of Ender 3 V2 printer with your 3D printer. Click on the button and save the file on your computer to work, edit or customize your design. You can also find more 3D designs for printers on Updated servo and microswitch mount for auto bed leveling of Ender 3 V2 printer.