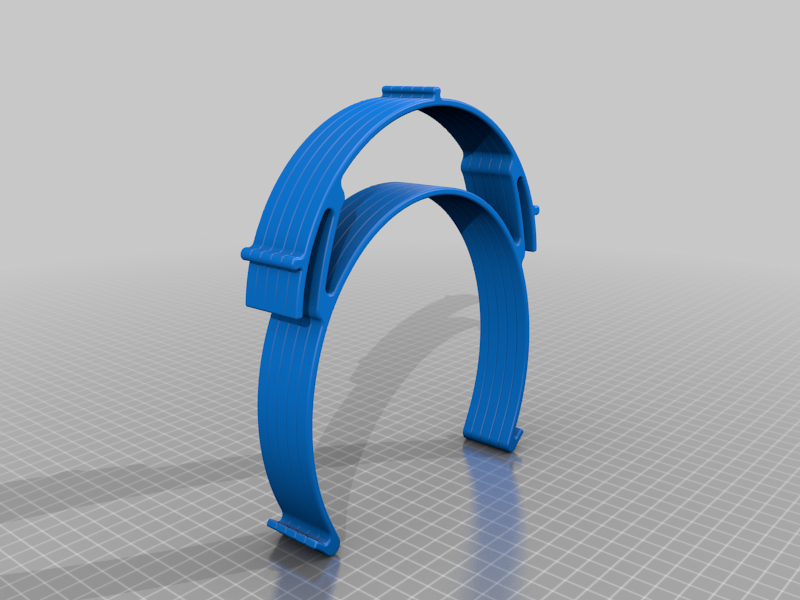
*Updated* Stacked Covid-19 Face Shields (Small, Medium and Large Sizes) No Support
thingiverse
When printing stacks of face shields with a gap of 0.24mm, it's crucial to use a layer height of 0.26mm or below. *Update 04/15/2020* New DXF files have been added for Face_Shield_US_3-Hole-A4_Top and Face_Shield_US_3-Hole-A4_Top_and_bttm. *Update 04/09/2020* Large sizes are now available for both open and closed designs. *Update 04/08/2020* The hole placement has been corrected in both Face_Shield_US_3-Hole-A4_Top and Face_Shield_US_3-Hole-A4_Top_and_bttm PDFs. *Update 04/06/2020* Medium and small face shields with a closed top are now available to meet US regulations. Stacks of two for test prints have also been added. This face shield design is based on Brian Hirschberger's original design, which can be found on GRABCAD: https://grabcad.com/library/covid19-face-shield-hole-punch-v1-1-1 Requirements include: * 3D Printer Filament (I used PLA) * Hole Punch (North American 3-hole punch works best) * Transparent A4 (letter) Film Why Design My Own Face Shield? While printing different face shields, I encountered issues with stacking prints without support. To address this issue, I redesigned a face shield specifically for stackability and printing with PLA. I also included a smaller face shield design for children and young adults. Printing Notes: When printing, the side with the fillet should be face down. Design files are available for modification. Separate files include stacked parts in sets of five, ten, and twenty, with a 0.24mm space between each part. This balance reduces stringing while making separation easy. To separate, use a scraper (I used my Raise3D Pro2 printer's scraper). Wear gloves to prevent effort and injury. Included are screenshots of Simplify3D and Cura settings for the Anycubic Predator and Raise3D Pro2. Factory files and STLs are also available. PDFs show hole punch placement for top and bottom or just top. A 3-hole punch on the top and/or bottom (landscape orientation) is easiest to use. Slicing Note: I found that Simplify3D works best with the Raise3D Pro2 printer, while Cura works best with the Anycubic Predator. Results may vary. This design should help you create face shields with ease.
With this file you will be able to print *Updated* Stacked Covid-19 Face Shields (Small, Medium and Large Sizes) No Support with your 3D printer. Click on the button and save the file on your computer to work, edit or customize your design. You can also find more 3D designs for printers on *Updated* Stacked Covid-19 Face Shields (Small, Medium and Large Sizes) No Support.
