Upscale Estes Sidekick Model Rocket
thingiverse
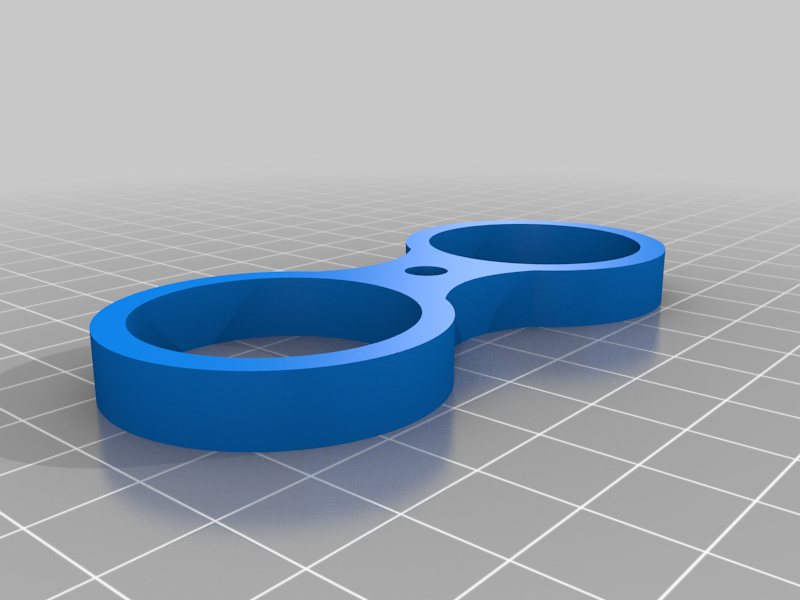
This is an "upscale" of an Estes Rocket Kit, the Sidekick (kit number 7287). It flies on 24-mm hobby rocket motors, C11-5, or D12-7. It uses two 29-mm body tubes, 24 inches in length (this is a standard size from hobby rocket vendors). The dimensions of the rockets are scaled by the diameter of the original kit body tube diameter to the new body tube diameter, 18 mm to 29 mm, or 1.6x. Safety notice. Only build and fly model rockets if you adhere to the National Association of Rocketry (NAR) safety code. https://www.nar.org/safety-information/model-rocket-safety-code/. The maker assumes responsibility for safety building an flying this kit. Flies on 3/16 inch launch rail. User will need to supply the following materials: - Set of 3d printed parts One each of three individual tube mounts Two nose cones Two centering rings - Two 29-mm 34 inch length body tubes, thick walled - Two 24-mm motor tubes, 2 5/8 inches in length - Two 24-mm motor blocks - Shock cord - 13-16 inch diameter parachute - Four fins cut from 1/8 inch ply wood (templates provided in this make) Print the parts, PETG, 30% infill, 0.2 layer height. Cut the fins out of plywood If you want to be true to scale, cut the budy tubes to 28.8 inch. If this doesn't concern you, you can just leave them at 34 inch. Dry fit all the parts, sand any burrs. The parts should fit snugly on the tubes. You may have to scale slight or sand, deepening on the particulars of the tube you use and your printer characteristics. I printed on a Prusa MK3S. Rough up the body tubes with course sandpaper at all glue points. Slide the three tube mounts on the tube, as pictured. Slide the top mount about 14 inches up. Using 5-min epoxy, glue the top mount in place. MAKE SURE The two body tubes are perfectly alighned (parallel) and do not shift while drying. Let dry. Using epoxy, glue the motor blocks in the 24-mm tube. Glue the centering ring on top. Let dry. Put a bead of glue on the inside of the bottom edge of the body tube. Slide the motor tube assembly into place. Glue the bottom motor mount into place. Leave about 1/2 inch of the 24-mm motor tube hanging out the bottom. Let dry. Using a fin as an alignment jig, glue the middle tube mount into place. Glue on the four fins (one at a time is best). After dry, put a fillet of glue on the inside of each fin edge. Attach shock cord (I use thin kevlar cord) to each body tube and tie to nose cone. Parachute only needs to be affixed to one body tube only. Alternately, you can use two streamers. Note: I made the bottom tube mount with a lip that goes below the bottom of the body tubes. If you don't like the overhang, you can alternately print two of the middle one, and use one as the bottom, making it flush with the bottom edge of the body tubea.
With this file you will be able to print Upscale Estes Sidekick Model Rocket with your 3D printer. Click on the button and save the file on your computer to work, edit or customize your design. You can also find more 3D designs for printers on Upscale Estes Sidekick Model Rocket.