USB Night Lamp
prusaprinters
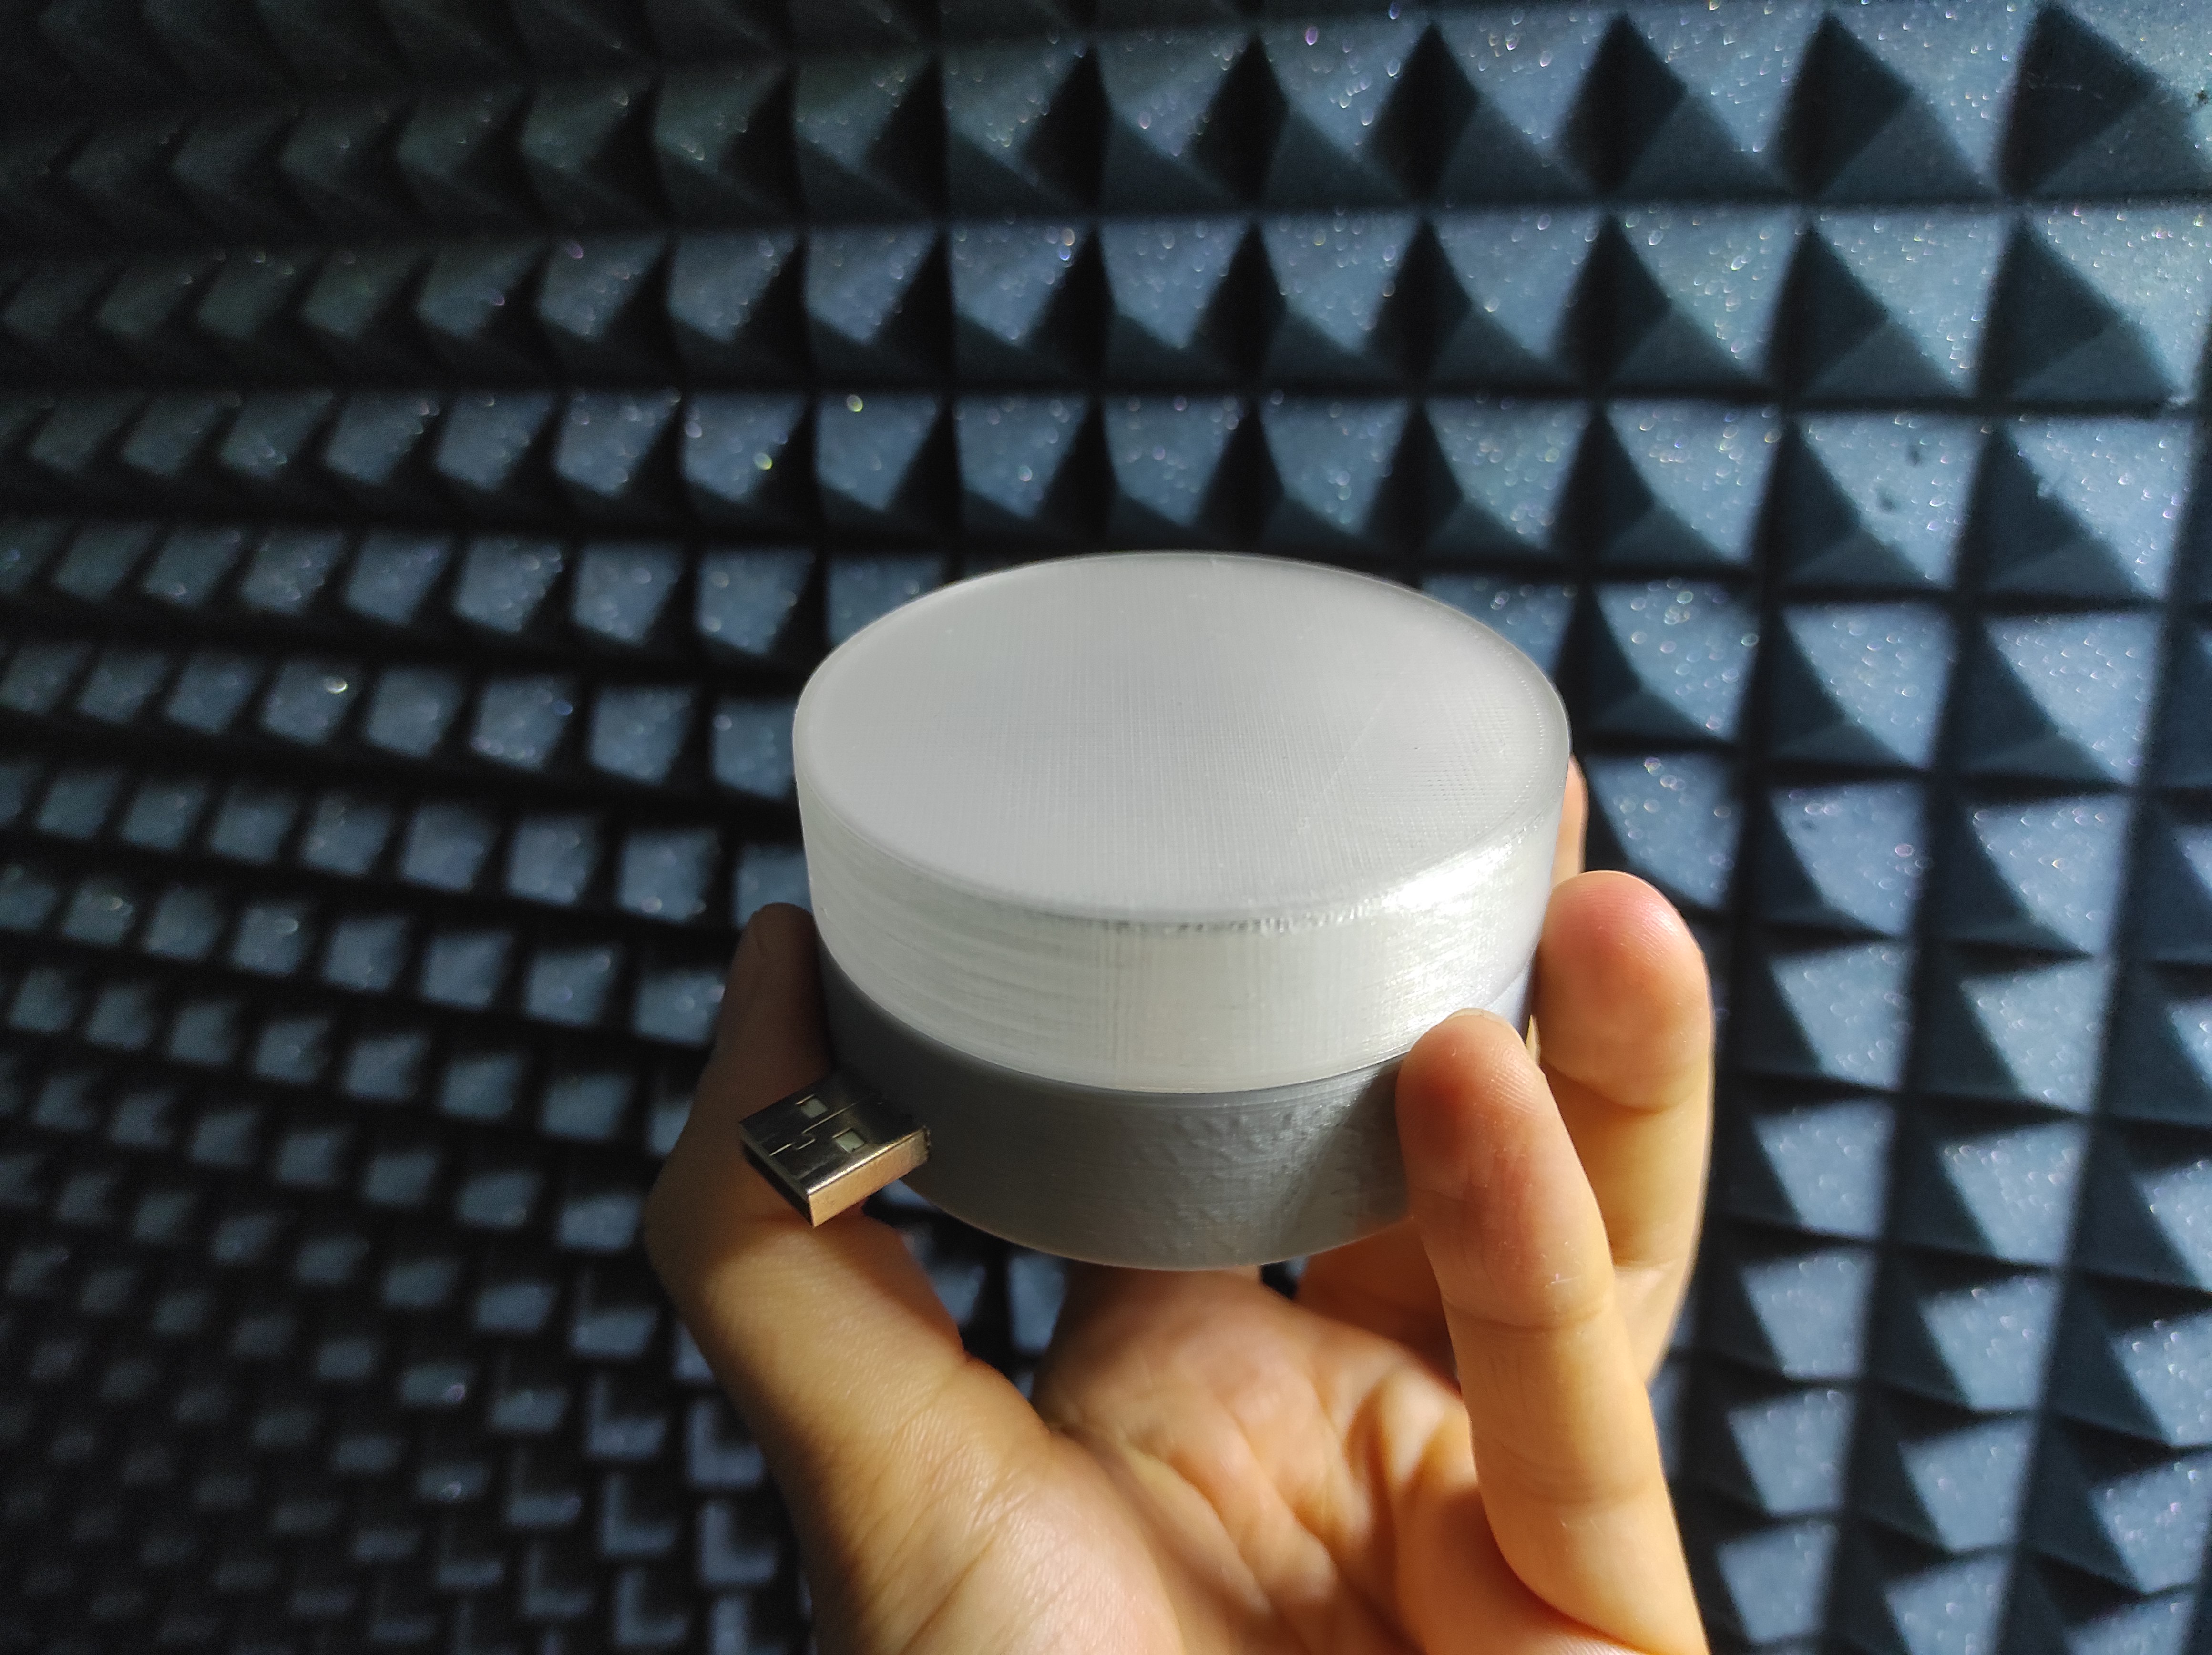
<p>I've designed this lamp 2 years ago and I've been using it daily since. Today I decided it's about time to share it!<br><br>It's intened to be used with an old smartphone charger and a scavenged USB plug from a dead pendrive. I've been pluging it into the socket right next to my bed and using it as a night lamp. A simple rotation of the lamps' cover allows you to turn it on and off. </p><p>I've printed mine in silver PETG apart form the cover which is done in translucent PETG.</p><p><strong>You will need:</strong></p><ul><li>printed cover, base and lid</li><li>5x M2x4 mm screws or someting simillar and small</li><li>2x M3x8 or 10 mm screws for securing the LED</li><li>1x M8x10 mm hex bolt and nut to use as a heatsink </li><li>1W LED</li><li>USB plug</li><li>a small slide switch (12mm long, see picture)<br><img class="image_resized" style="width:21.67%;" src="https://media.printables.com/media/prints/249723/rich_content/1eb3095f-dfe8-45f8-b12d-52328449dc0c/zrzut-ekranu-2022-07-28-173139.png#%7B%22uuid%22%3A%22fb38a910-7758-43a8-9c54-b7a2d441dd05%22%2C%22w%22%3A452%2C%22h%22%3A455%7D"></li><li>right resistor for your LED</li><li>a bit of glue (CA or epoxy)</li><li>aluminium tape</li><li>some wires and heat shrink tubing</li></ul><p><strong>Assembly:</strong></p><ol><li>Cover the entire front face of the printed base with aluminium tape to create a reflective surface, wchich will help with iluminating the lapms' cover.<br> </li><li>Place an M8 bolt in the hexagonal hole so it is flush with the front face and the thread is sticking out of the bottom.<br> </li><li>Solder two wires to positive and negative pads on the LED, then feed them through rectangular holes.<br> </li><li>Secure the LED to the face of the lamps' body with the use of 2 M3 screws. You can put some electrical tape on LEDs' connections to isolate it from the screws.<br><br><img class="image_resized" style="width:50%;" src="https://media.printables.com/media/prints/249723/rich_content/4d984276-20e3-463e-85a3-8d5f447321d4/img_20220728_170451.jpg#%7B%22uuid%22%3A%22ec8ba5f8-c2da-48ac-a919-5163a54e7adc%22%2C%22w%22%3A4640%2C%22h%22%3A3472%7D"><br> </li><li>Flip the body to the other side. Solder one wire to the USB plug. Solder the other wire to the switch, then through a resistor adequate to LED you're using to the USB plug. <strong>Remember that for LEDs polarity matters! </strong>When you're in doubt about which connector on a USB plug is positive and wchich is negative - just google it! There's plenty of diagrams available.<br> </li><li>Put the USB plug in the rectangular hole from the inside and push is as far as it will go. Then use a bit of glue to secure it in place (I've used expoxy).<br><br><img class="image_resized" style="width:50%;" src="https://media.printables.com/media/prints/249723/rich_content/423e8c5d-495c-4be8-a283-a9a5ecf0aeb0/img_20220728_165749.jpg#%7B%22uuid%22%3A%22ff0019f6-aac6-469f-9995-df7d5dd32918%22%2C%22w%22%3A4640%2C%22h%22%3A3472%7D"><br> </li><li><strong>Now's the tricky part.</strong> Put the lamps' cover in the groove visible on the front face of the body. Align the knobs, that are sticking out of the inside of the cover with proper cutouts and the push it in. Now rotate the whole asembly. You should see two knobs close to each other with holes through them. Use a small allen key to screw in 2 M2 screws or simillar ones you have available. I know it's tight, but it's absolutely doable.<br><br><img class="image_resized" style="width:50%;" src="https://media.printables.com/media/prints/249723/rich_content/229bd1ed-0c54-4480-9fca-9ba6b4408697/img_20220728_170327.jpg#%7B%22uuid%22%3A%22dd7e2606-fafd-4518-a27d-e12712ad5aff%22%2C%22w%22%3A4640%2C%22h%22%3A3472%7D"><br> </li><li>Push the sliding switch in it's place so that the piece you slide sits between the two screws. Now you sholud be able to rotate the cover and by doing so actualte the switch.<br><br><img class="image_resized" style="width:50%;" src="https://media.printables.com/media/prints/249723/rich_content/2fa47731-0501-483a-b20c-132107d51f08/img_20220728_170748.jpg#%7B%22uuid%22%3A%22ea62684f-f9c1-4517-8a62-4410eec91524%22%2C%22w%22%3A3472%2C%22h%22%3A4640%7D"><br> </li><li>Screw the M8 nut onto the thread that's sticking out.<br><br><img class="image_resized" style="width:50%;" src="https://media.printables.com/media/prints/249723/rich_content/3e09cdf0-63bd-4765-a9e6-e6f22bf6fa27/img_20220728_165719.jpg#%7B%22uuid%22%3A%22a642dcd1-81c3-41aa-a189-c761cce4d08e%22%2C%22w%22%3A4640%2C%22h%22%3A3472%7D"><br> </li><li>Put on the lid with the help of 3 M2 screws. Make sure that the protruding piece is over the switch. It will secrure it when you tighten up the lid. <br><br><img class="image_resized" style="width:50%;" src="https://media.printables.com/media/prints/249723/rich_content/bf25bae6-b88f-4d51-bd99-2bd7614d98aa/img_20220728_170905.jpg#%7B%22uuid%22%3A%22d9321f89-3bac-4942-bf7a-86b1905aaf65%22%2C%22w%22%3A4640%2C%22h%22%3A3472%7D"><br> </li><li><strong>Done!</strong><br><br><img class="image_resized" style="width:50%;" src="https://media.printables.com/media/prints/249723/rich_content/ba840bc0-8e11-4a9a-90e3-5f67afbd206d/img_20220728_165419.jpg#%7B%22uuid%22%3A%2221d468b1-3e1d-4bfb-8012-6916e827d0d0%22%2C%22w%22%3A4640%2C%22h%22%3A3472%7D"></li></ol><p> </p>
With this file you will be able to print USB Night Lamp with your 3D printer. Click on the button and save the file on your computer to work, edit or customize your design. You can also find more 3D designs for printers on USB Night Lamp.