USB Volt Meter / USB Multimeter Case
thingiverse
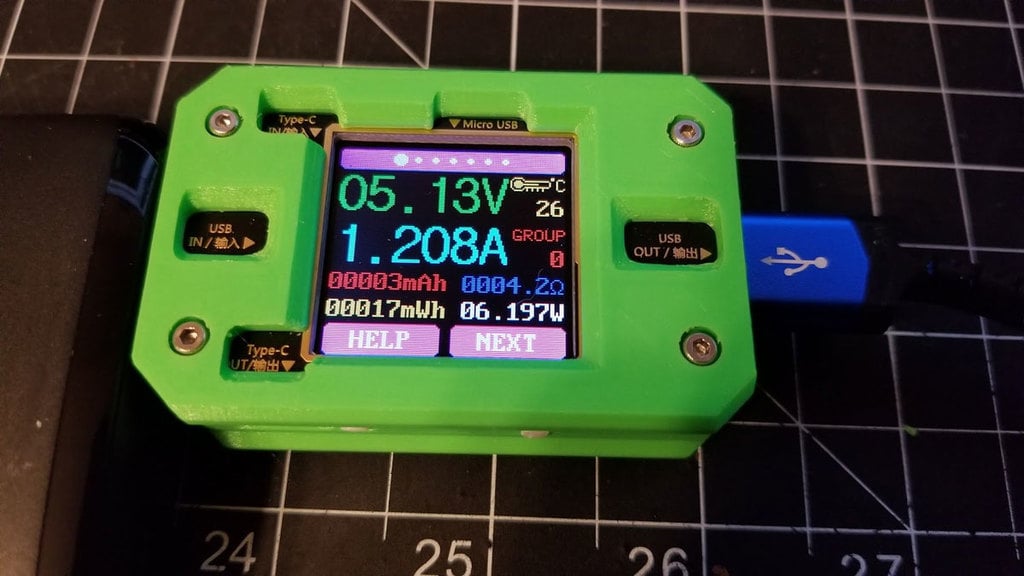
This is a USB volt meter case designed to be used with a USB Power Meter / Tester (I bought mine on Ebay but they are all pretty much the same). You can find a similar model at Amazon, the "MakerHawk USB Multimeter USB Voltmeter Ammeter Load Tester USB Voltage Current PD Battery Power Capacity Charger Digital Type C Meter Tester Color LCD Display Cable Resistance QC2.0/3.0/4.0 MTK " (lol) - or just search for item "B07DCSNHNB" (please copy and paste the item in the search field at Amazon, you can read why I'm not posting direct Amazon links below). (I have not tried the BT version so if you do, let me know how it works out). I swapped the screws with some slightly longer M2x6mm cap head screws since the stock ones are too short to use with the case. You can get an assortment of M2 screws pretty cheap on Amazon or Ebay which may be a good way to go. A note if printing the sleeve case - you may want to print the test part first and verify it will not be too tight or loose. The sleeve is just a friction fit, so it would be a good idea to calibrate your extruder steps per mm, and flow prior to starting this print. I posted a thing here which explains how to do a flow calibration (https://www.thingiverse.com/thing:4877680). If you have done that and still find the sleeve is too tight or loose, then it may require some scaling or sanding. Assembly can be tricky, but here is how I do it: 1. Remove the screws from the top of the meter first (leave the screws in the base). 2. Use some tape to hold the printed buttons in the case, on side with the USB-C out only (this tape will stay so don't let it block the port). See the pics of how I did this. 3. On the opposite side (without the tape) drop the buttons in place, allowing gravity to hold them in position, and then set the top plate into the case. 4. Still holding the case so gravity holds the un-taped buttons in place, slide the meter into position. 5. Install the M2x6mm screws into the top of the case. 6. Remove the stock M2 screws from the meter and then install the bottom cover of the case. 7. Check that the buttons move freely, if not they may need to be cleaned up or trimmed. 8. Install the bottom M2x6mm screws to close the case up. If you make one, please post a make, and if you have any questions or comments, please let me know. Minimal supports will only be necessary on USB-VOM_CASE-9C_TOP.stl (for the ports). I printed everything with a 0.4mm nozzle at 0.16mm resolution. Parts are not oriented for printing. The STEP file is uploaded for easy remixing, but please maintain the non-commercial licensing. This has a non-commercial license. This project took some time and effort to get correct, due to the tight fitting parts, so if you intend to produce these for sale, please contact me by PM for reasonable terms. 1/23/2021 - I have removed any Amazon links, and instead provided the amazon item numbers in quotes. This was done as a small protest against the way Thingiverse edited my description, and installed their Amazon Affiliate links without notifying users that they were doing it. Sorry for the extra step of having to copy and paste the item numbers, but I believe they need to be clear with content creators about this. I did not originally post my own affiliate links here - they were "clean" Amazon links, but for some content creators here, the affiliate links are the only way they receive anything back for their work, and that avenue is now closed off. More info here: https://www.thingiverse.com/groups/thingiverse/forums/site-issues-and-feedback/topic:49539
With this file you will be able to print USB Volt Meter / USB Multimeter Case with your 3D printer. Click on the button and save the file on your computer to work, edit or customize your design. You can also find more 3D designs for printers on USB Volt Meter / USB Multimeter Case.