Useless Machine
thingiverse
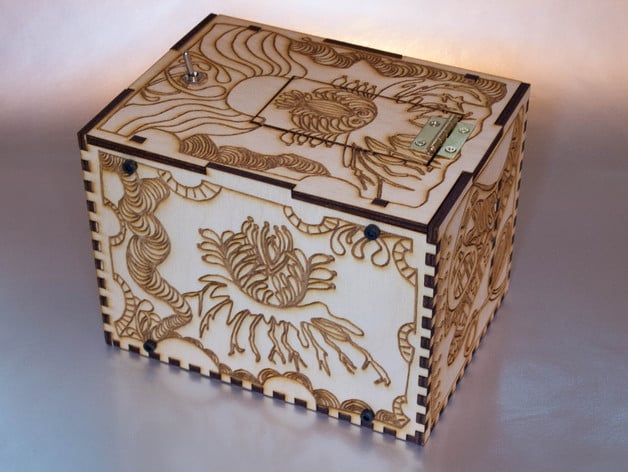
It's about as worthless as it gets. The included plans are for cutting a worthless machine from 3.8mm 3ply wood on a laser cutter. See the instructions below for customizing the laser cutter output file. If you've never seen a worthless machine, hit the link below: https://www.youtube.com/watch?v=fL7p87y9xQY&index=26&list=PL5684E54C1D0B97D7 Instructions Useless Machine Preparing This worthless machine is ready to cut on 3.8mm plywood. The DXF in the zip file includes complete plans that can be sent to a laser cutter. Tiff files for the artwork shown in the photos are included in the zip file (/tiffs/). The servo driver circuit includes a PDF on both letter and A4 paper for etching. A complete list of materials is also included. Customizing If you would like to adjust the dimensions, use different thickness wood, a different servo or hinges, check in the .zip file. The box dimensions live in the useless_machine.scad file. The toggle, microswitch, servo and hinge can be found in the libraries directory. The useless_machine.scad file has an option to render the box in 3D; use the 3D mode to view the placement of parts and check dimensions. Use the 2D mode to export a DXF. The most important dimensions to consider changing are as follows: Wood thickness - useless_machine.scad This is critical to change if you use plywood that is a different thickness! microswitch height off of bottom - useless_machine.scad Servo dimensions and hole locations - ./libraries/futabaS3004.scad Hinge dimensions and hole locations - ./libraries/standard_hinge.scad Construction Customize, cut, engrave, etch, solder, test, etc. as needed. Mount the servo and circuit board to the center panel a. Use M3 bolts and the round spacers to stand the circuit board off of the center panel. b. Glue head to pusher arm. c. use 2mm wood screws to attach the servo horn to the pusher arm; Mount the microswitch to the small support using two washers and M3 bolts. Glue the center panel into the base and glue on the two square panels on either side. Adjust the position of the microswitch so the arm comes to rest completely inside the box while triggering the switch. Prepare four catches that will secure the lid to the faces a. Use one tab and one spacer. b. use PVA glue to glue a nut into the back side of the spacer. c. Glue the spacer to the tab. d. Insert a bolt while the tab is drying to ensure proper alignment Prepare four catches that will secure the large faces to the base: a. Use one tab and two spacers. b. glue use PVA glue to glue a nut into one spacer. c. glue the spacer to the tab. d. Glue an empty spacer to the other side of the tab. e. Insert a bolt while the tab is drying to ensure proper alignment While the catches are drying, attach the hinge to the lid and the door opener Attach the door jamb (rectangular piece cut out below microswitch support) to the lid using PVA glue a. NB! The door jamb must be located slightly off center to allow the lid to fit properly on to the box. The door jamb may interfere with the center panel. Check the fit before glueing! b. use hook and loop fasteners to attach battery pack to one face. Use PVA glue to attach catches with nut facing inward: a. Four catches are attached to the lid (1x Tab + 1x spacer) b. four catches are attached to the base (1x Tab + 2x spacer) Use hook and loop fasteners to attach battery pack to one face. Attach toggle switch to lid using included nuts. Attach lid to wide faces using 4x 10mm M3 bolts Route wires to switches through hole in middle panel Use zip ties to secure wires to middle panel through rectangular slots Attach wide faces to base using 4x 15mm M3 bolts Seal up box using bolts NB You will probably have leftover round spacers and catch spacers. This is normal. Extras were included to account for errors and loss. Credits Servo driver derived from: http://www.555-timer-circuits.com/servo-tester.html The external artwork was created by Patti Ciuffo. The awesome raven was created by Rones: https://openclipart.org/detail/173513/raven-by-rones-by-rones-173513
With this file you will be able to print Useless Machine with your 3D printer. Click on the button and save the file on your computer to work, edit or customize your design. You can also find more 3D designs for printers on Useless Machine.