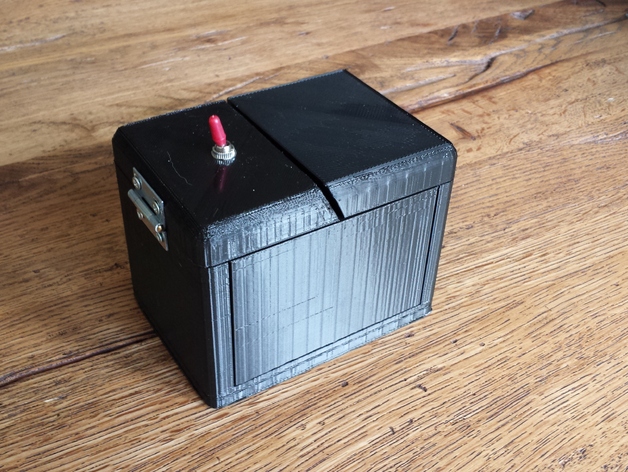
Useless Machine
thingiverse
Get ready for some fun! But first, obtain all the necessary electronics from this source: http://9x20lathe.blogspot.ch/2010/01/components-and-schematic-for-useless.html. You'll also find a helpful wiring diagram there. Next, print out all the parts, ensuring a solid wall thickness for the arm and a layer height of 0.1mm. The rest can be printed with a layer height of 0.2mm and 25% infill, using "thermal ears" to prevent curling edges. Don't forget to remove the thermal ears and support rods before proceeding. Attach the lids to the box using hinges (pre-drilled holes for screws). Measure the cable lengths and solder them to the motor and end button. Figure out how to fix your cables on the switch for proper operation. Test the motor rotation with batteries, then screw the switch and motor in place. Attach the limit button using double-sided tape or glue. Guide the cables through the ring and solder them onto the switch. Assemble the arm onto the motor axle with a bit of glue if desired. Finally, close the lid with the switch, and enjoy your Useless Machine!
With this file you will be able to print Useless Machine with your 3D printer. Click on the button and save the file on your computer to work, edit or customize your design. You can also find more 3D designs for printers on Useless Machine.
