UV Cure Chamber
myminifactory
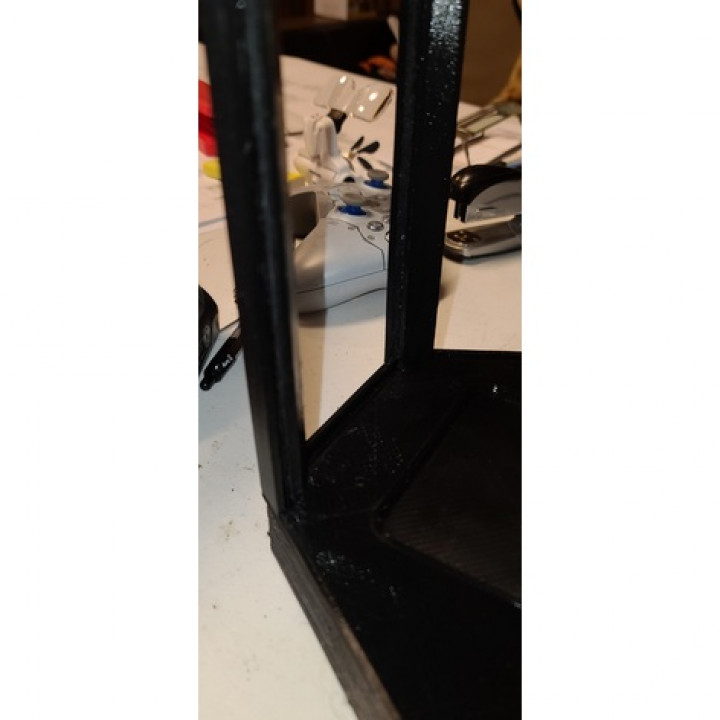
Notes:All Parts will interlock, can be held together with small nails or tiny screws at verticals while glue cures, I used Gorilla Super glue Gel with spray activator. Filler panels are from 1/8" modeling plywood. hinge is 3/32 alum rod, just what I found at the hobby store that day. Small angles are to make the UV led strip lay down easier, I ended up using hot glue to perm mount them (2 strips per vertical). Large angle are to give more reflective angles for coverage. covered all internal surfaces except vertical rails with aluminum tape for reflection. Also covered top of table with tape to allow reflection up into the model. All wires were routed thru bottom and spliced together in empty bottom base then receptacle mounted to side so I could just plug in the power and let it go. You will need 5 verticals, 2 bases for top & bottom, 1 UV Base, 2 hinge lines, 1 door center, 2 door caps, 8 Large angles, 10 small angles. 1 roll of UV lights ($17 with power supply on Amazon),1 3/32 rod( 2.3mm). Light powered display base, Aluminum tape(or something reflective) Each of my 10 light strips I wired up in parallel then attached the supplied receptacle maintaining polarity in the base.
With this file you will be able to print UV Cure Chamber with your 3D printer. Click on the button and save the file on your computer to work, edit or customize your design. You can also find more 3D designs for printers on UV Cure Chamber.