vABFsi3 Sixth Generation Mini Desktop Case for Raspberry Pi 4 and Ice Tower Cooler.
prusaprinters
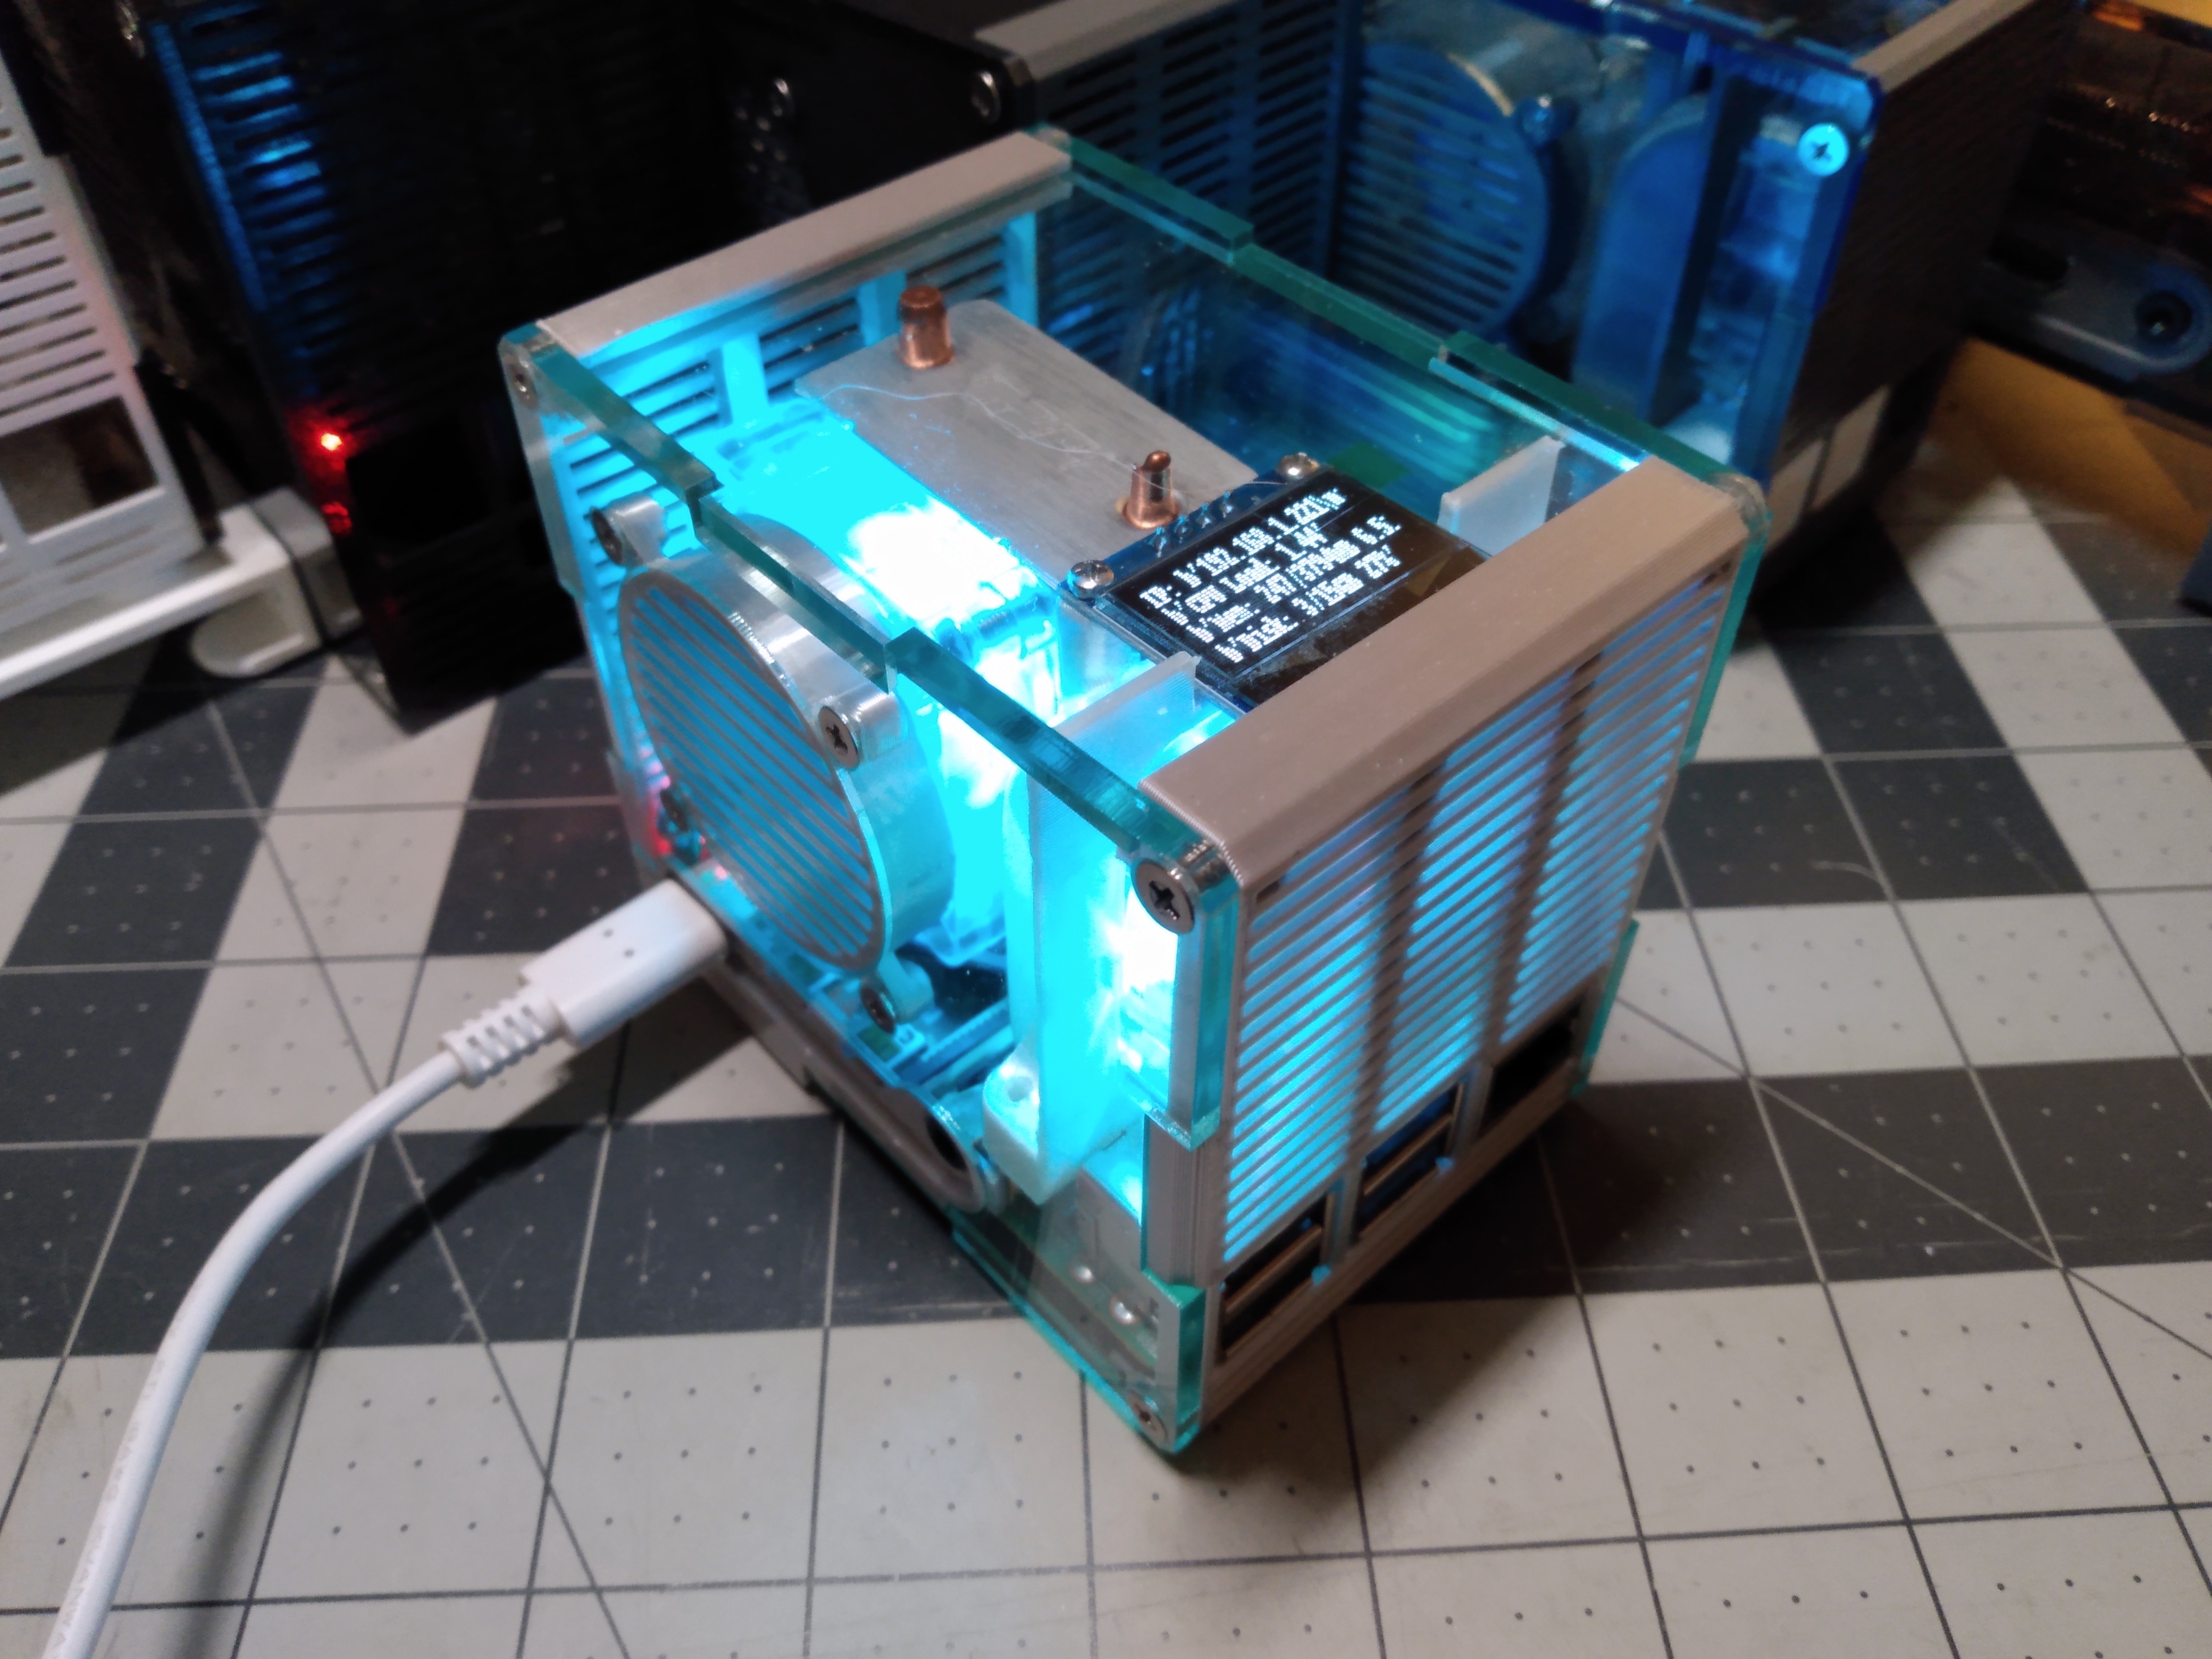
<p>I uploaded my original Mini Desktop Case to Thingiverse in March of 2020. For the last two years I've been printing those (and similar) cases to sell on my little Etsy shop. In that time I've done five clean sheet of paper redesigns, each time incorporating improvements that I had learned from producing previous cases.</p><p><br>In January 2020 I bought a laser cutter and for the last few months I've been working on a sixth generation case. But not just one case. I've made 10 or 12 different cases that fit different Raspberry Pi hardware configurations. I've dialed in tolerances and rethought various different design details. And each time I've figured out a new way to do things, I've gone back to the beginning of the process and added those details and features to all the previous variants. So this project is thoroughly iterated and refined and optimized.</p><p><br>This particular version of this case works with a Raspberry Pi 4, an original Ice Tower Cooler by 52Pi (B07V35SXMC), and (optionally) a .96" OLED I2C display (B0833PF7ML - get the one made my GeeekPi to make sure you get one that fits, there are similar brands that might not fit - also the GeeekPi screens come with appropriate length cables whereas the other brands don't always come with cables).</p><p><img src="https://media.printables.com/media/prints/203971/rich_content/475542c3-e0d3-4815-87f6-3a6447f82c6b/img_20220512_210010098.jpg#%7B%22uuid%22%3A%2255058c55-9795-4902-8195-809fe92a94a9%22%2C%22w%22%3A4160%2C%22h%22%3A3120%7D"></p><p> </p><p>The printed parts are intended to printed at .24mm layer height (or similar). Support only from build plate if at all. Cura 5.0beta has some new features that are applicable to this project - reducing printing time and improving quality. I have not tried printing this project with other slicers.</p><figure class="image"><img src="https://media.printables.com/media/prints/203971/rich_content/79da8e82-852a-4af5-adb4-91a700e6e7e2/img_20220512_203603563.jpg#%7B%22uuid%22%3A%22122472dd-4c70-4848-87b9-13f6b6f13aac%22%2C%22w%22%3A4160%2C%22h%22%3A3120%7D"></figure><p> </p><p>The large flat pieces are intended to be laser cut from 3mm (.125") thick acrylic or wood. But they can be printed instead. But of course you won't be able to see the OLED screen through a printed top panel. It's worth the trouble to get access to a laser cutter to get cut panels.</p><p> </p><figure class="image"><img src="https://media.printables.com/media/prints/203971/rich_content/73358e29-bcf2-429d-80ad-c00982c6f4c7/img_20220512_210113376.jpg#%7B%22uuid%22%3A%22fd0b8b45-9066-44c4-b280-96de07c47018%22%2C%22w%22%3A4160%2C%22h%22%3A3120%7D"></figure><p> </p><p>The duct is intended to print at a 45 degree angle - the part model is oriented as it is intended to be printed. The duct part DOES NOT NEED SUPPORT. Your slicer may try to put support under a few bridges, there's a couple of small overhangs near the bottom that your slicer will thing should be supported, but these overhands are less than 2mm and will never been seen once the final product is assembled. Any globs created by lack of support can be trimmed off and nobody will be any wiser. Depending on your print surface and your bed adhesion, you may want to put a raft (with a 5mm margin - no more is needed) under it. But I've printed ten of these, on glass, out of PLA, and only had one failure out of ten. </p><p> </p><p>The HDMI recess part and the SD card slot on the SD side of the case have sacrificial layers. You will need to cut these layers out with an X-acto knife or similar. These sacrificial layers are here because they make a huge improvement in the quality of the finished item. In the picture below the bottom part was printed with the sacrificial layer (cut out) and the top one is one printed without the sacrificial layer.</p><p> </p><figure class="image"><img src="https://media.printables.com/media/prints/203971/rich_content/11cfd5ea-5e4d-4bc6-bd77-19ab8e1c0938/img_20220512_204628277.jpg#%7B%22uuid%22%3A%225857ae0f-0e3c-4015-8919-a16b2f85ec2e%22%2C%22w%22%3A4160%2C%22h%22%3A3120%7D"></figure><p><br>Only the HDMI intake part NEED support. There are mounting ears that will not print properly without support. These mounting ears also have sacrificial layers that will need to be cut or poked out.</p><p> </p><p>This case is intended to be assembled with m3 x 8mm screw. I personally prefer to countersink the holes and use philips head countersunk screws. But I know that's kind of an odd choice on my part.</p><p><br>The screen mounts with m2 screws. I use m2x6mm (B07M6RT9HY), but longer or shorter will work. I don't bother tapping the holes for these screws, it's pretty much pointless. I do have an m2 tap and have tried it and it just seem to strip holes in printer PLA plastic.</p><p> </p><p>I HIGHLY RECOMMEND tapping the screw holes. It makes the end project so much nicer. It makes assembly so much easier. It's fun too… well, maybe not fun, but it'll keep your hands busy for 10 minutes anyway.</p><p><br>The screw holes on the duct are intended to be tapped with an m2.5 tap (B07DPRVSCR) - which is an odd tap size. Totally worth going out of your way to get one and do it right.</p><p> </p><p>There are also some optional rails that attach to the bottom of the case and can hold a 2.5" SSD or hard drive up to 9mm thick. Those should be tapped with an m3 tap as well.</p><p> </p><p><br>There are recessed holes on the bottom of the case and on the bottom of the hard drive rails. These are intended to be used with some 8.5mm x 2.5mm adhesive silicon feet (B073W1B3G1)</p><p> </p><p>---</p><p>Does this work with Sunfounder Ice Cube?</p><p> </p><p>There is a new Sunfounder Ice Cube cooler that looks similar - at first glance - to the 52Pi Ice Tower. It is not. It will not work well with this case. It is close, but the heatsinks are different thickness. I have developed a version of this project to work with that heatsink. but I have some testing to do still. I may release that version at a later date if requested.</p><p> </p><p> </p><p>---</p><p> </p><p>Explanation of the name:</p><p> </p><p>v = this architecture of case, with four screw holes around the HDMI and GPIO side</p><p>A = intended to be used with laser cut Acrylic panels</p><p>B = Basic - does not work with Geekworm m.2 board</p><p>F = Sixth generation of Mini Desktop case I have made</p><p> </p><p>s = standardized, I have integrated all of the things I learned elsewhere in this project into this case.</p><p>i3 = this is the third clean sheet of paper iteration of this particular case, when standardizing certain things I just decided to start from scratch.</p><p> </p><p>---</p><p>In this post I have cited some Bxxxxxxx numbers. Those are Amazon product ID numbers. I've only done this to be clear about the particular item I am talking about. These aren't affiliate links or anything like that. I'm not even suggesting you get these things from Amazon. I'm just doing it to be clear about what I'm talking about.</p>
With this file you will be able to print vABFsi3 Sixth Generation Mini Desktop Case for Raspberry Pi 4 and Ice Tower Cooler. with your 3D printer. Click on the button and save the file on your computer to work, edit or customize your design. You can also find more 3D designs for printers on vABFsi3 Sixth Generation Mini Desktop Case for Raspberry Pi 4 and Ice Tower Cooler..