Vacuum Pen for Manual SMD Assembly
prusaprinters
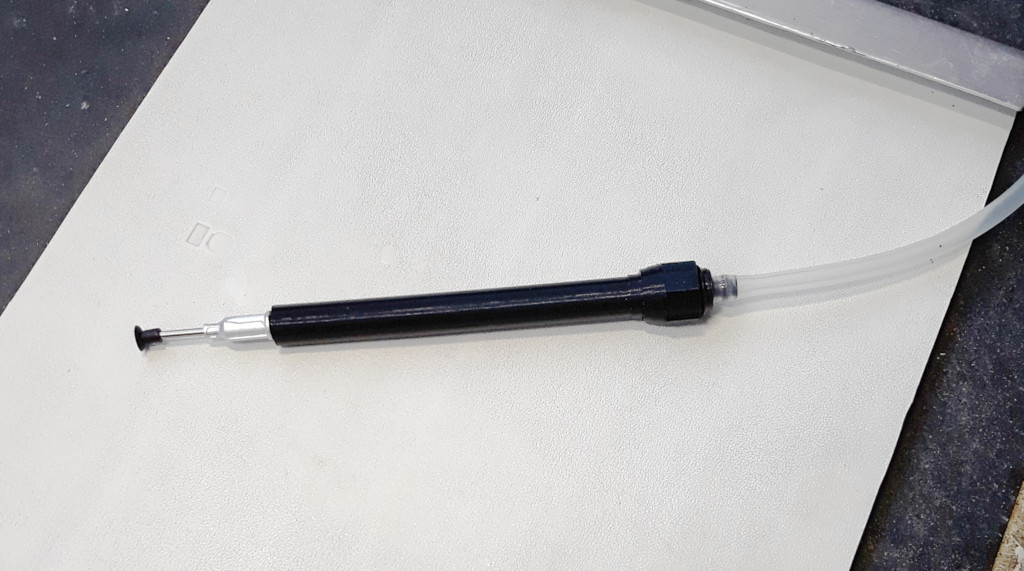
<p>This pickup tool for SMD components is intended for use with an external pump. The main novel feature of this pen is an adjustable leak air slot.</p> <p>Some background may be useful. For picking up SMD omponents from cut tape or from tray, a vacuum pen is most convenient.</p> <p>However, the hand-operated vacuum pens are inadequate: there is <em>always</em> some air leakage between the nozzle and the component, or between the nozzle and the pen. The vacuum only holds for a few seconds at best, and it changes from one pickup to the next. Not good, because you will want to carefully align and position the component over the pads on the PCB (with the solder paste already on the pads) and not worry about the component going to drop off the tool <em>any moment now</em>.</p> <p>The solution is a pen connected to a pump. We bought a cheap set a few years ago that turned out to be based on an aquarium pump. It is a very simple design, that you can also find in do-it-yourself solutions. The point is: the pump runs continuously, to maintain vacuum, so that the component stays being sucked on the nozzle for as long as you need. To make the component drop from the nozzle, there is a small hole at the tip of the pen. You are supposed to keep that hole covered with your index finger while positioning the component. When you lift your finger, that hole is open and causes the vacuum to drop (and then the component drops too).</p> <p>The trouble is: Firstly, you normally hold a pen between your thumb and the index finger. If you lift the index finger, you are no longer holding the pen stably. It may move. If it does, it moves while it still rests on the component on the PCB, so that moves too. Not good, because it will smear the solder paste from the pads. Secondly, you may need to rotate the component to get from the orientation in the tape to the orientation on the print. This implies that you need to rotate the pen. No big deal… <em>except</em> that you have to keep that little hole covered. This makes for truly akward hand gymnastics when placing components with the vacuum pen.</p> <p>The solution is to plug that hole and then add a foot switch to the pump. Once you get the hang of it, it works like a charm… <em>except</em> for one little detail: when you lift the foot from the switch, the vacuum isn't gone right away. It takes a little bit of time. In our case, depending on the component, it can take up to a full second.</p> <p>Our pick-&-place machine reverses air flow at the moment it has put the component on the PCB, meaning that it <em>blows</em> air through the nozzle before lifting the nozzle. You cannot do that with a simple diaphragm pump (which is what aquarium pumps are), but you might be able to do that with other kinds of pump (we may be experimenting with that in the future).</p> <p>A simpler alternative is to have an air leak, which is small enough to keep a sufficient vacuum when the component is on the nozzle, but which reduces the time that is needed to annul the vacuum once the pump is off. The amount of leak depends on various factors, including the component. That calls for an adjustable air leak.</p> <p>That brings us to the current design of a vacuum pen.</p> <p>The design is done in OpenSCAD. The source of the model has several parameters that you may wish to change. The current settings are for a silicone tube with an internal diameter of about 4 mm. You can adjust the pen length and width to your preference. Note that some tweaking may be required: there is a relation between the thread size on the pen and the maximum pen diameter. The OpenSCAD file contains a few checks to verify that there are no conflicts between the selected dimensions.</p> <p>The following libraries are required to build the vacuum pen; please copy these into the OpenSCAD library folder (use the menu "File" → "Show Library Folder..." (in OpenSCAD) to locate the library folder on your system).</p> <ul> <li><a href="https://github.com/adrianschlatter/threadlib">threadlib</a></li> <li><a href="https://github.com/openscad/scad-utils">scad-utils</a></li> <li><a href="https://github.com/openscad/list-comprehension-demos">list-comprehension</a></li> <li><a href="https://github.com/MisterHW/IoP-satellite/blob/master/OpenSCAD%20bottle%20threads/thread_profile.scad">threadprofile</a></li> </ul> <h3>Print instructions</h3><p>The pen is printed in three parts: the basic pen, the plug that the silicone tube attaches to, and the nut for adjusting the air leak. It can be printed without supports, but I recommend a brim.</p> <p>The plug must be glued into the pen base. Both superglue and epoxy are appropriate.</p> <p>The tolerance between the hole of the nut and the diameter of the pen is small: 0.05 mm (meaning that the inside diameter of the nut is designed to be 0.05 mm larger than the outside diameter that the pen has in the vincinity of the air slot). A tight fit is by design, we don't want to leak too much air. However, it may be too small a tolerance for your printer.</p> <p>In any case, a little bit of grease on that area and on the thread of the pen and nut helps to make it smoother.</p>
With this file you will be able to print Vacuum Pen for Manual SMD Assembly with your 3D printer. Click on the button and save the file on your computer to work, edit or customize your design. You can also find more 3D designs for printers on Vacuum Pen for Manual SMD Assembly.