Tapir Shroud for MakerGear M2
thingiverse
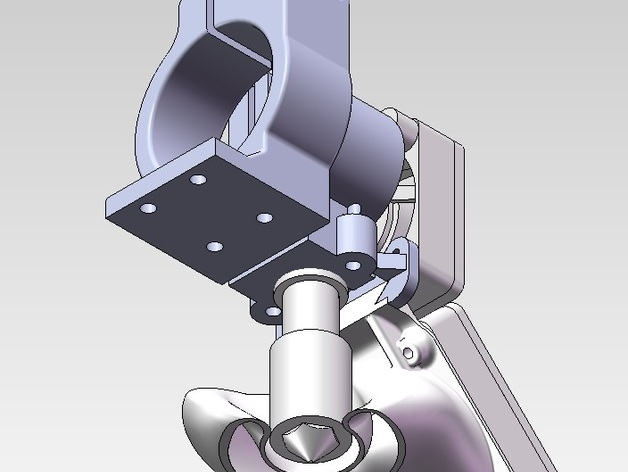
Bank shot! Blow some of the air behind the nozzle in the hopes of improving the surface finish on the far side of PLA parts. Thanks to nhfoley for providing the source solidworks file on his excellent part. Instructions Print both parts in ABS. PLA will melt. Clean up with a hobby knife and test fit. Trim the dovetail as necessary for a tight fit. Pre-drill the fan mounting holes M2.5 and form thread with an M3 screw. Assemble fans, fan covers and shroud and test fit. The tabs on the fan hanger should straddle the existing filament guide and may need to be trimmed to fit. Once you're happy with the fit around the nozzle, glue the two pieces together with super glue. Hold the parts in the right spot till the glue dries. Shroud clears the clips when aligned correctly.
With this file you will be able to print Tapir Shroud for MakerGear M2 with your 3D printer. Click on the button and save the file on your computer to work, edit or customize your design. You can also find more 3D designs for printers on Tapir Shroud for MakerGear M2.