Vector 3 SD Card Extension Clip
thingiverse
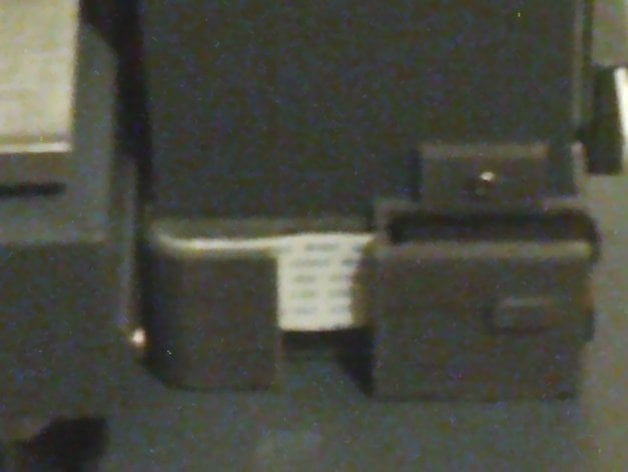
The Vector 3 3D Printer has the facility to add an SD Card but the socket for it is internal and therefore impractical. By adding an extension cable it is possible to take the SD card outside the case. This could be done by cutting the case but a simpler solution is to route the extension through the existing slot that carries the wiring to the Y-axis. Using this clip it is then possible to secure the extension to keep everything tidy. Parts (available on ebay/Amazon) 1 x 48CM TF to Micro SD TF Flex Zip Extension Cable Memory Card Extender Cord Linker by LANMU 2 x M2.6 x 7mm self-tapping screws Instructions Raise the print bed to give clearance and remove the 'Front Top Cover'. Insert the plug end of the extension into the edge connector on the main circuit board. Thread the extension up inside the 'Main Frame Rear Cover' (isssue 44, page 19) and out the slot. Attach the Clip to the 'Main Frame Rear Cover' using 2 x M2.6 x 7mm self-tapping screws. You will probably find insertion of the screws easier if you drill a small pilot hole for each one. Ensure you do not damage any wiring inside the cover. Carefully slot the extension socket and ribbon cable into the Clip ensuring you have it the correct way up - both the Clip and the Socket are marked to show the correct orientation of the SD Card. Ensure that the ribbon cable is tucked out of the way inside the 'Main Frame Rear Cover'. Replace the 'Front Top Cover'. Acknowledgement The idea for this project came from Paul http://v3uc.com/forums/topic/adding-a-microsd-card-slot-to-the-vector-3/
With this file you will be able to print Vector 3 SD Card Extension Clip with your 3D printer. Click on the button and save the file on your computer to work, edit or customize your design. You can also find more 3D designs for printers on Vector 3 SD Card Extension Clip.