Vibrating Bowl Feeder V1.0 - Tooled for M3 Hex Nuts
thingiverse
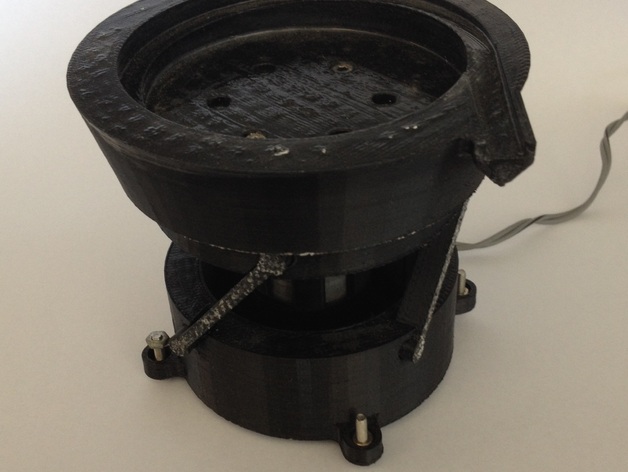
I wanted to develop a 3d printable bowl feeder that was cheap and easy to make. The industrial units are super cool - but just way too expensive and specialist for all you inventors and makers at home! This wee unit was my first design in producing an open source alternative - it's not there yet, but will be soon. If you find this model useful, please consider supporting the project by leaving a tip. Alternately you can find the full source files using the CGTrader link below. https://www.cgtrader.com/viking-nz You can see it in action on my YouTube channel here: https://www.youtube.com/watch?v=xXfcDdvP9jU So this really is a V1.0 - it works, but not reliably. I really wanted to use an off the shelf DC motor to energize it, but the results were a bit disappointing. The industrial units use a linear vibrator, and for good reason... This thing is noisy and temperamental. To make this run, I needed to stick the base down to the bench with double sided foam tape - screwing down too rigidly gave vibrations that were too aggressive and threw parts from the track. The DC motor was controlled via an el cheapo 12V PWM controller from eBay and was a right pain to get dialed in correctly. If you want to have an experiment with this, I would suggest: Scale the Vibro Spring parts to make different thicknesses (and therefore stiffnesses) Investigate a linear vibrator moving up & down - scrap the DC motor idea. I will be releasing a V1.1 once it is working - you can follow me here or on YouTube for all the updates! As far as I can see, this is the first working 3d printed feeder of it's type uploaded on the internet - pretty damn cool really. If you think this is a neat project, and do end up experimenting please share your results for everyone to see! Print Settings Printer Brand: Up! Printer: Up Plus2 Rafts: Doesn't Matter Supports: No Resolution: 0.2mm Infill: Dense Notes: I printed this without rafts and at 0.2mm layer height. The parts have all been designed to print without supports. For the actual bowl, the finer the layer height the better as you need to get the track very smooth after printing. Post-Printing Acetone, so much acetone.... To get a really nice surface on the track, I gave the inside of the bowl a sand and a super aggressive acetone vapor bath. On my second bowl print, I actually just sanded and then rubbed the track down with a rag soaked in Acetone and this worked just as well, but was a lot easier. This track smoothing was key to success. I had absolutely no luck at all getting the parts to progress up the track until I had it mirror smooth. You will also need some M3x12 Socket Head Cap Screws to attach the bowl and motor mount to the vibrator. The screws seem to self tap into the printed holes just fine. The motor mount tends to slip as printed, so I installed the motor and then used electrical tape to tension around the claws.
With this file you will be able to print Vibrating Bowl Feeder V1.0 - Tooled for M3 Hex Nuts with your 3D printer. Click on the button and save the file on your computer to work, edit or customize your design. You can also find more 3D designs for printers on Vibrating Bowl Feeder V1.0 - Tooled for M3 Hex Nuts.