Victrola Eastwood Platter Upgrade
prusaprinters
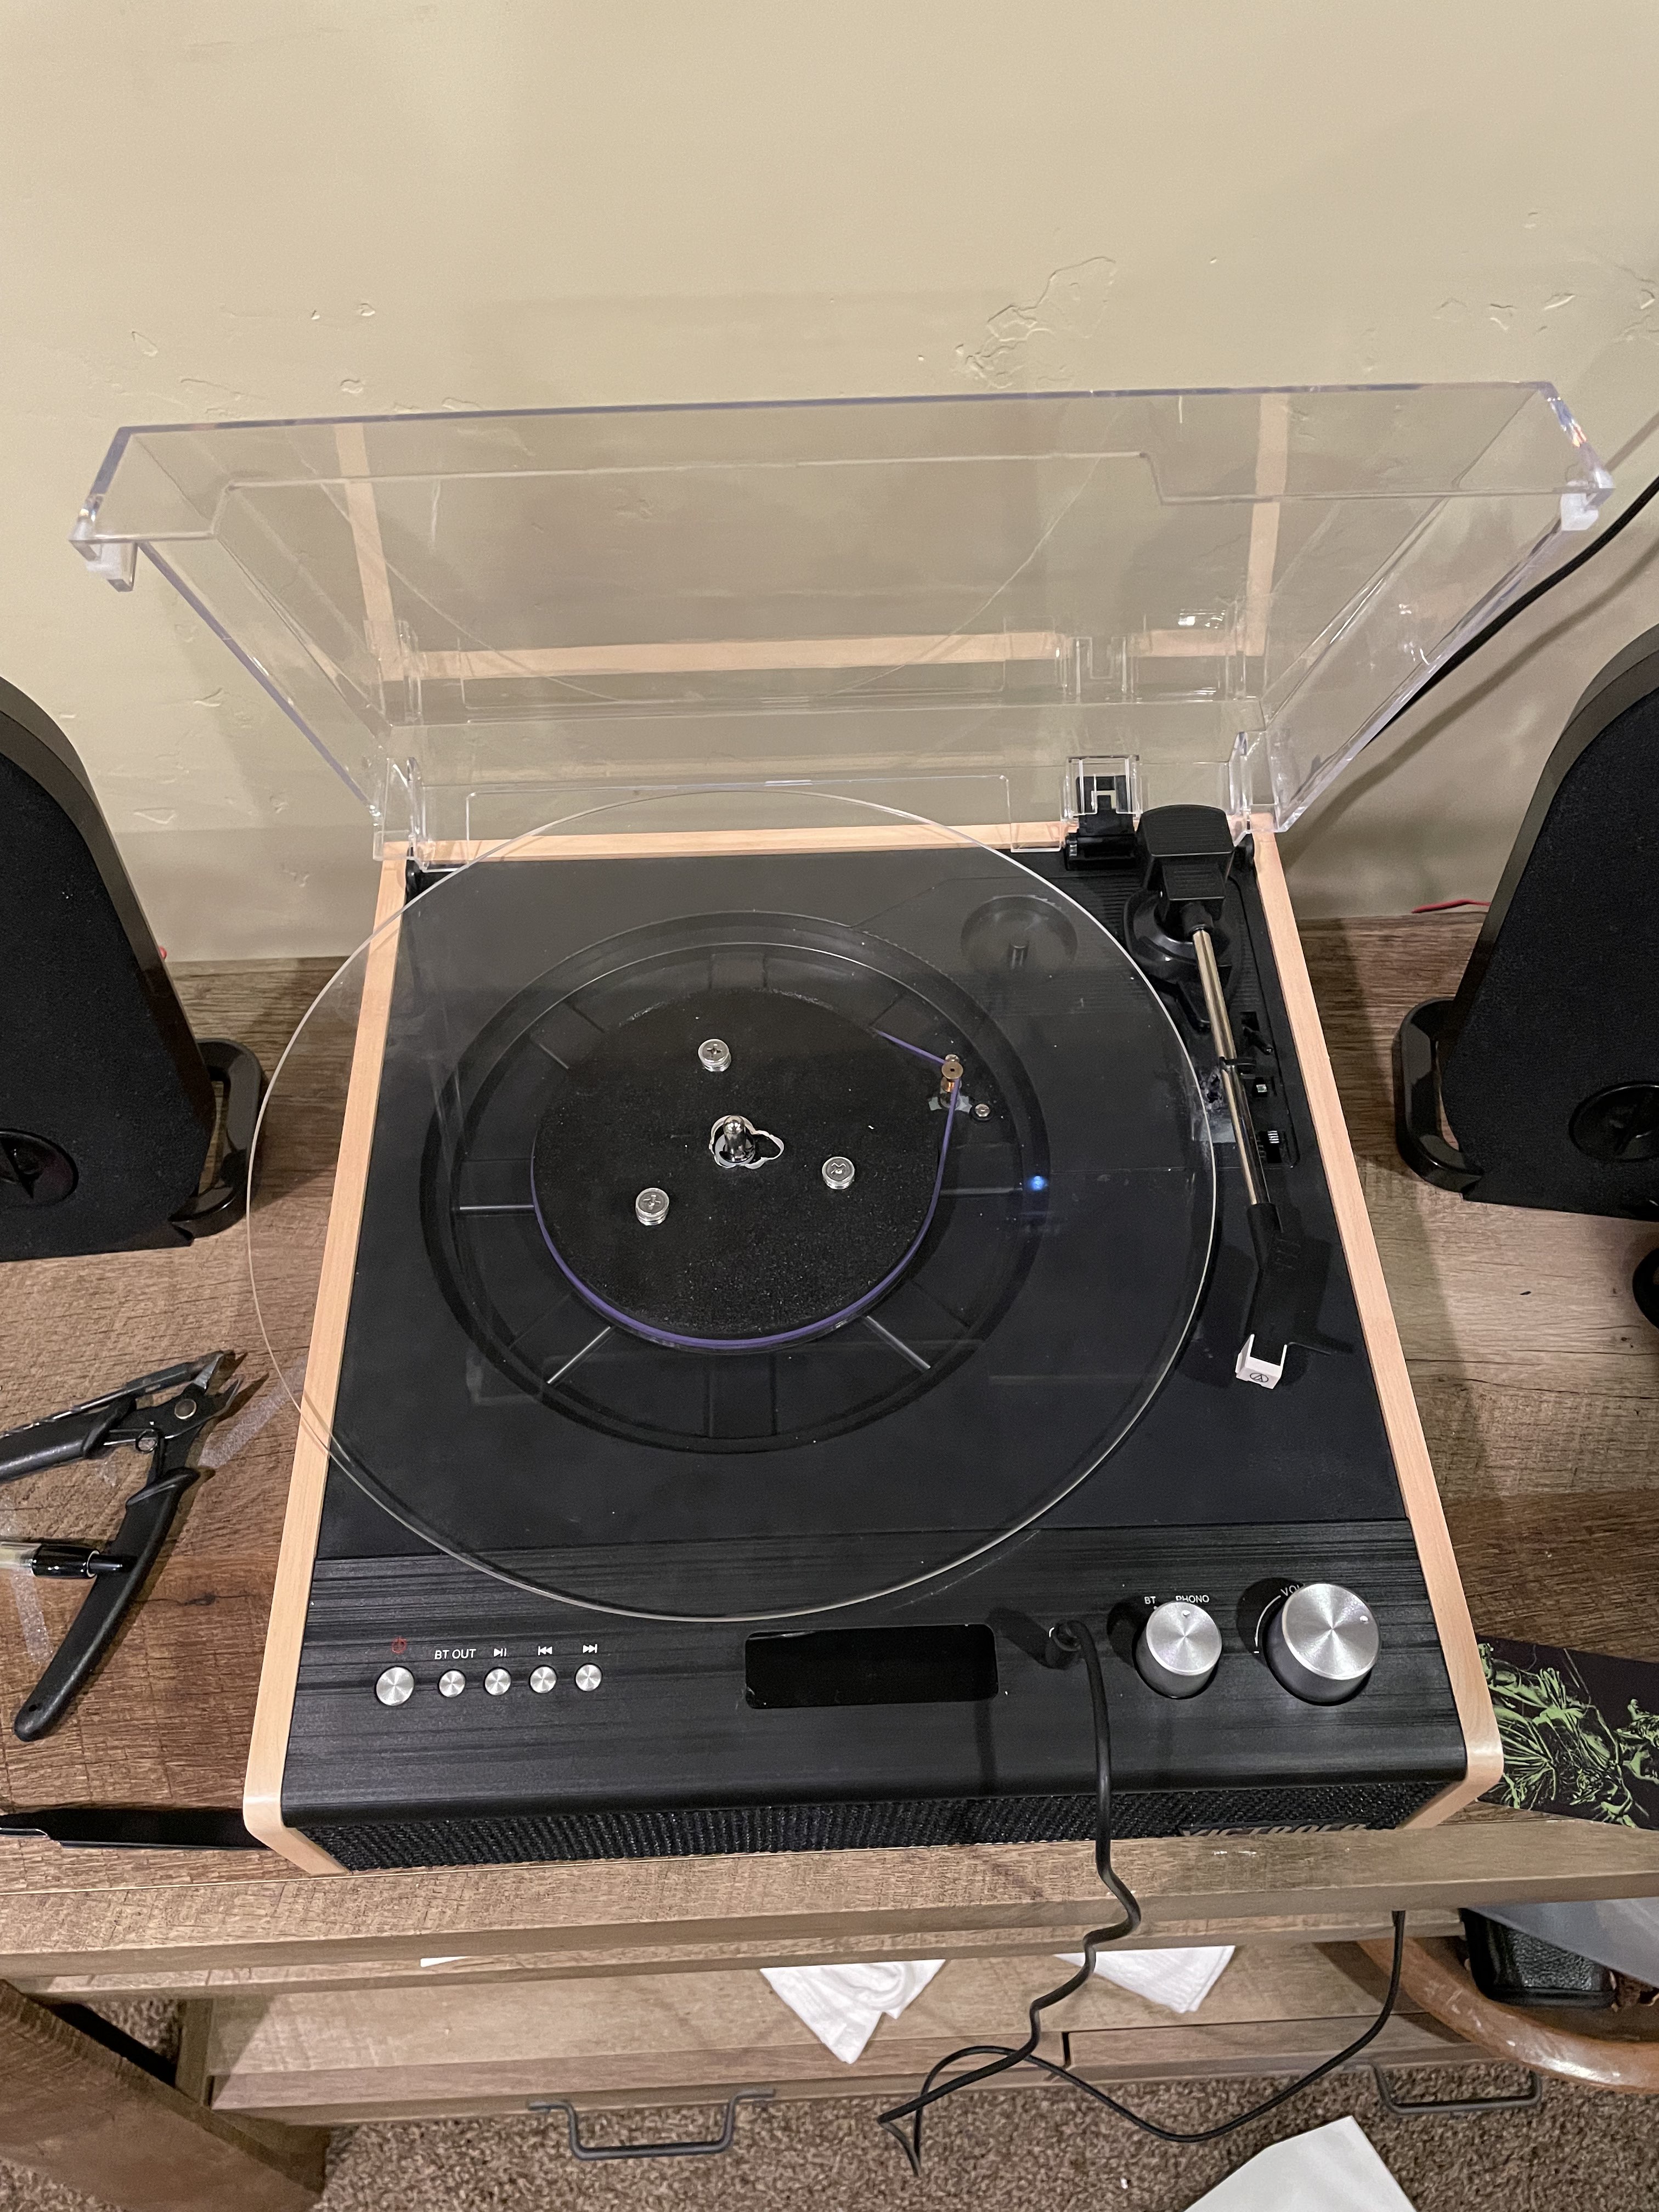
<p>The goal of this project is to fix an issue I've noticed with my Victrola Eastwood Record Player. The partial platter used is lightweight and cheap, and I believe the overhang the record makes contributes to some pitch distortion I experience at the start of every record. This model should theoretically solve that issue by providing support across the entire record and reducing any potential warping or sound issues that could result from the partial platter. I also think that this platter upgrade would be a huge boost to a player that is pretty affordable, widely available, and has a really good stock cartridge.<br><br>The acrylic platter version is currently designed to be used with 3 M5 countersunk screws, going through the acrylic platter to trapped nuts at the bottom of the part. I ordered acrylic blanks that are 1/8" (slightly larger than 3mm) thick, and with that in mind I calibrated lengths to suit M5x15 screws, but obviously if you happen to use thicker acrylic, you will want longer screws. I wouldn't recommend thinner acrylic, at some point the material begins to lose rigidity and ceases to function in terms of supporting the record.<br><br>Please do not attempt to machine the acrylic by hand. I tried it, and it looks awful, especially near the center hole, and it caused me many issues. There are loads of problems, but the big ones are just human error in measurements and the fact that the 12" LP standard is not actually 12" in diameter, it's slightly smaller. That is enough to cause an issue. Get it professionally done or use a personal CNC or laser cutting machine. I have provided a file to do this, although the countersinking will have to be completed manually afterwards. Step bits work great if you don't have a countersinking bit. <br><br>Using a drill to run the platter along sandpaper on the edges makes a nice, rounded edge. Try it!<br><br>To disassemble the stock player, carefully remove the C-clip holding the stock platter in place. Tweezers are a decent tool to use, you can place the tips in the gaps near the back of the clip. Once that is removed, you can just lift the stock platter up. Be mindful of the belt. It is possible to stretch, tear, or otherwise ruin it, but replacement belts are available online and I found that #117B rubber bands are an adequate substitute.<br><br>To assemble the new parts, I first recommend to secure the nuts to the printed part. It is almost impossible to re-insert the belt with the platter in place, so I would place the printed part onto the spindle first, place the C-clip, place the belt, and then attach the platter. Fairly straightforward.<br><br>There is a version provided that has an integrated platter. I would recommend using polycarbonate for this version because of the extremely similar properties to acrylic. It probably doesn't fit on your machine, and I figure that the struggle of trying to split and cookie cutter that model is harder than the struggle of just using acrylic. This is really only useful if you have a massive machine and want to show off or something.<br><br>I ran into the issue where my records played too slowly after installation. Even after reverting, it was still too slow. I initially blamed the belt, but it didn't fix it. I ended up needing to re-calibrate the motor. This is a pain to do, so hopefully this is just me being unlucky. I found this guide that applies to this turntable: </p><figure class="media"><oembed url="https://youtu.be/MqA7nf9a4Wg"></oembed></figure><p>For this turntable, you just need to remove two screws at the back and then lift at the dust cover hinge. According to the pinned comment, the L hole is for 33.3RPM, H is for 45RPM, and then the circuit board should have a separate calibration for 78RPM. Clockwise slows down the speed, counterclockwise speeds it up. The easiest way to test it for me was to pick a reference track (I used Enter Sandman), and then just play it. I recommend something with a recognizable and punchy intro, although if that's not possible then you can just wait a bit longer. Then, I just listened and did trial and error until it sounded right. Once I was satisfied, I timed the entire track and came out with the correct time within under a second. The best way would be to use a real tachometer that can actually tell you the RPM, the strobe-light mobile apps didn't work for me.<br><br>I don't claim to be a vinyl expert, I'm just a casual collector, so anyone with a wider sense of knowledge about the subject is encouraged to share their feedback regarding any part of the project. This also isn't intended to be an audiophile-tier build, I just want to get the most out of my record player.<br><br>Updates:<br>05/04 Project Uploaded<br>05/04 Description changed to reflect the issues with the integrated platter version.<br>05/05 Acrylic Platter Version Added<br>05/06 Updates to tolerances added, additional information about acrylic added<br>05/27 WIP Status removed, all files updated to functional state</p>
With this file you will be able to print Victrola Eastwood Platter Upgrade with your 3D printer. Click on the button and save the file on your computer to work, edit or customize your design. You can also find more 3D designs for printers on Victrola Eastwood Platter Upgrade.