Vintage Chumby Clock Radio
pinshape
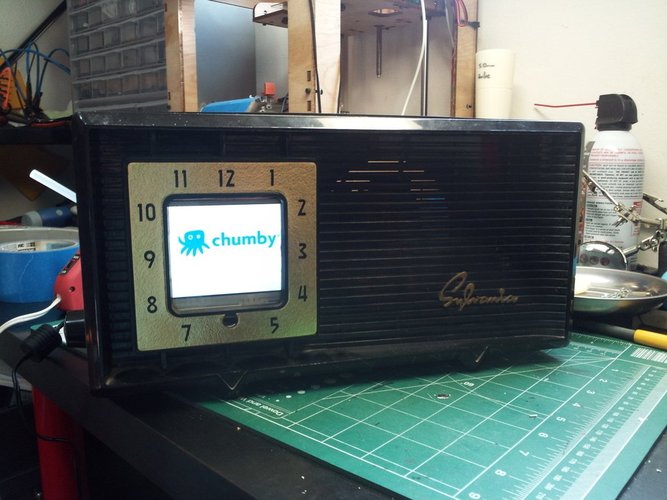
I've been wanting to do a case modded Chumby for quite some time. I bought the Chumby One for $50 quite a long time ago from Woot and started it up once then tore it apart. It sat like that for a while, then I bought the radio off ebay. Luckily the clock opening was close to the correct size for the Chumby screen. I sat on it for a while until I got my Makerbot. The radio and clock internals are on a removable chassis held into the body by 2 screws, I decided to use this same basic idea for my Chumby mod because I didn't want to permanently modify the radio. The base plate is a piece of aluminum sheet and the various components are riveted in place. All the Chumby components are held in place with the screws that originally held them together. Problems/Future Plans: One of the knobs from the radio wasn't reused (under the screen), this might get made into a power button. The screen holder back plate had to be bend a bit to work. (I also didn't want to print another screen holder). Make a back cover. Make a cover to hide the gap around the screen. There was no other way to attach the screen, so the holder is hot glued onto the case, but this is easily removed. Some Chumby apps are no longer supported, a big example being Twitter. *I broke the microphone connector and may fix it and add this back later.
With this file you will be able to print Vintage Chumby Clock Radio with your 3D printer. Click on the button and save the file on your computer to work, edit or customize your design. You can also find more 3D designs for printers on Vintage Chumby Clock Radio.