Vintage Launch Controller for Model Rockets
thingiverse
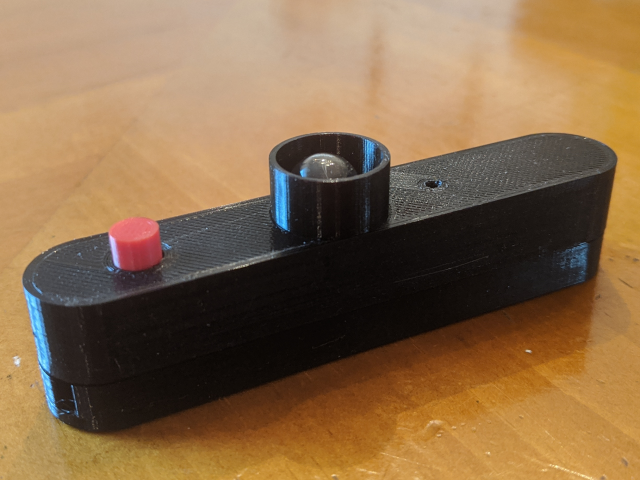
Vintage Model Rocket Launch Controller Background: This project began as a search for an Estes Electro-Launch controller like I bought and used in 1970. I wanted to share a similar launch experience with my grandson. This launch controller was designed with separate upper and lower sections, similar to the original. I printed the upper section with its interior facing downward, in part due to the bulb shroud, and for a smoother outer appearance, with internal support added for the print. The internal support can be carefully removed after printing without damaging the upper section. The lower section was printed with its opening facing upward, without support, and with additional top layers added to the raft for a smoother outer appearance. Launch Controller Internal Electrical Hardware: The brass electrical hardware is fabricated. I was fortunate to have original brass hardware on loan, and I used the three pieces to trace templates on paper. The templates can be printed to scale and used as an aid in sizing, drilling, and cutting the three pieces for this launch controller. I purchased two six-inch-square sheets of 28 gauge brass from Amazon to fabricate the hardware. It was sufficient for test fitting, but more suitable material with better tension (for spring-return of the push button) may be necessary. With that in mind, note that the brass hardware is optional and could be replaced with modern electronic components while keeping the vintage appearance. The brass hardware is shown in the photo above during fit adjustments and before final filing. I cannot provide fabricated brass hardware. Brass preparation tips for launch controller: If you have better methods for fabricating the brass hardware than what I’ve listed below, I heartily recommend that you use them! * I scored brass sheets in adjacent rows of 1/2” widths, marking 1/8” spacing between rows for cutting with tin snips. * All holes were marked and drilled before cutting out the rows and individual pieces. See below. The uncut brass sheet was easier to work with than individual small pieces that had already been cut out. * Printed, cut out, then taped paper templates to the brass rows, with additional length for bends in the switch terminal contact strip and the switch upper contact strip. I obtained better results by taping the switch upper contact strip template on an inside row rather than a row along the edge, due to drilling the larger access hole for the bulb. * A small indentation was made in the brass as a start guide for drilling each hole. The bulb (#51 or #53) is a miniature bayonet with 0.355” diameter. I used a General No. 1280 5/16” hollow steel punch to create the bulb hole, then used a reamer to further open the bulb hole to the correct size. A small file was used to create openings in the brass for the bulb’s bayonet-mount pins. NOTE: As stated above, this design is similar to the original. For example, the bosses and screw holes for the switch upper contact strip (bulb) brass hardware are more narrowly spaced from each other than the original spacing. The paper template shows the original hole spacing, with additional markings for narrow spacing for this design. Notes: During design I intentionally made the holes for many of the screw bosses small in diameter. This is to allow for using hardware chosen by the user. The hole diameters can be opened as needed with the appropriate drill bit or tool. The safety key for the launch controller requires fabrication. I used a section of 2mm diameter rod purchased from Amazon for use as the key. The brass hardware is held in place with #4-24 x 3/16" pan self-tapping screws purchased from Amazon. The hardware is pliable for fine-tuning the fit and function of the controller. The internal support structure of the upper and lower sections may likewise require sanding and/or filing. The incandescent bayonet bulb for the launch controller is either a #51 for 6 volt operation or a #53 for 12 volt operation. Optionally a LED bayonet lamp such as https://www.pinballlife.com/ablaze-premium-ghost-buster-1-smd-led-4447-bayonet-base-lamp-with-clear-dome.html can be used. Wiring documentation and additional information can be found here: https://www.oldrocketplans.com/pubs/Estes/OldElecLnch.pdf and here: https://www.oldrocketplans.com/pubs/Estes/Electro_Launch.pdf A vintage model rocket launch pad with upper and lower sections is available as a separate design and is currently a work-in-progress.
With this file you will be able to print Vintage Launch Controller for Model Rockets with your 3D printer. Click on the button and save the file on your computer to work, edit or customize your design. You can also find more 3D designs for printers on Vintage Launch Controller for Model Rockets.