Vintage Nixie Clock
prusaprinters
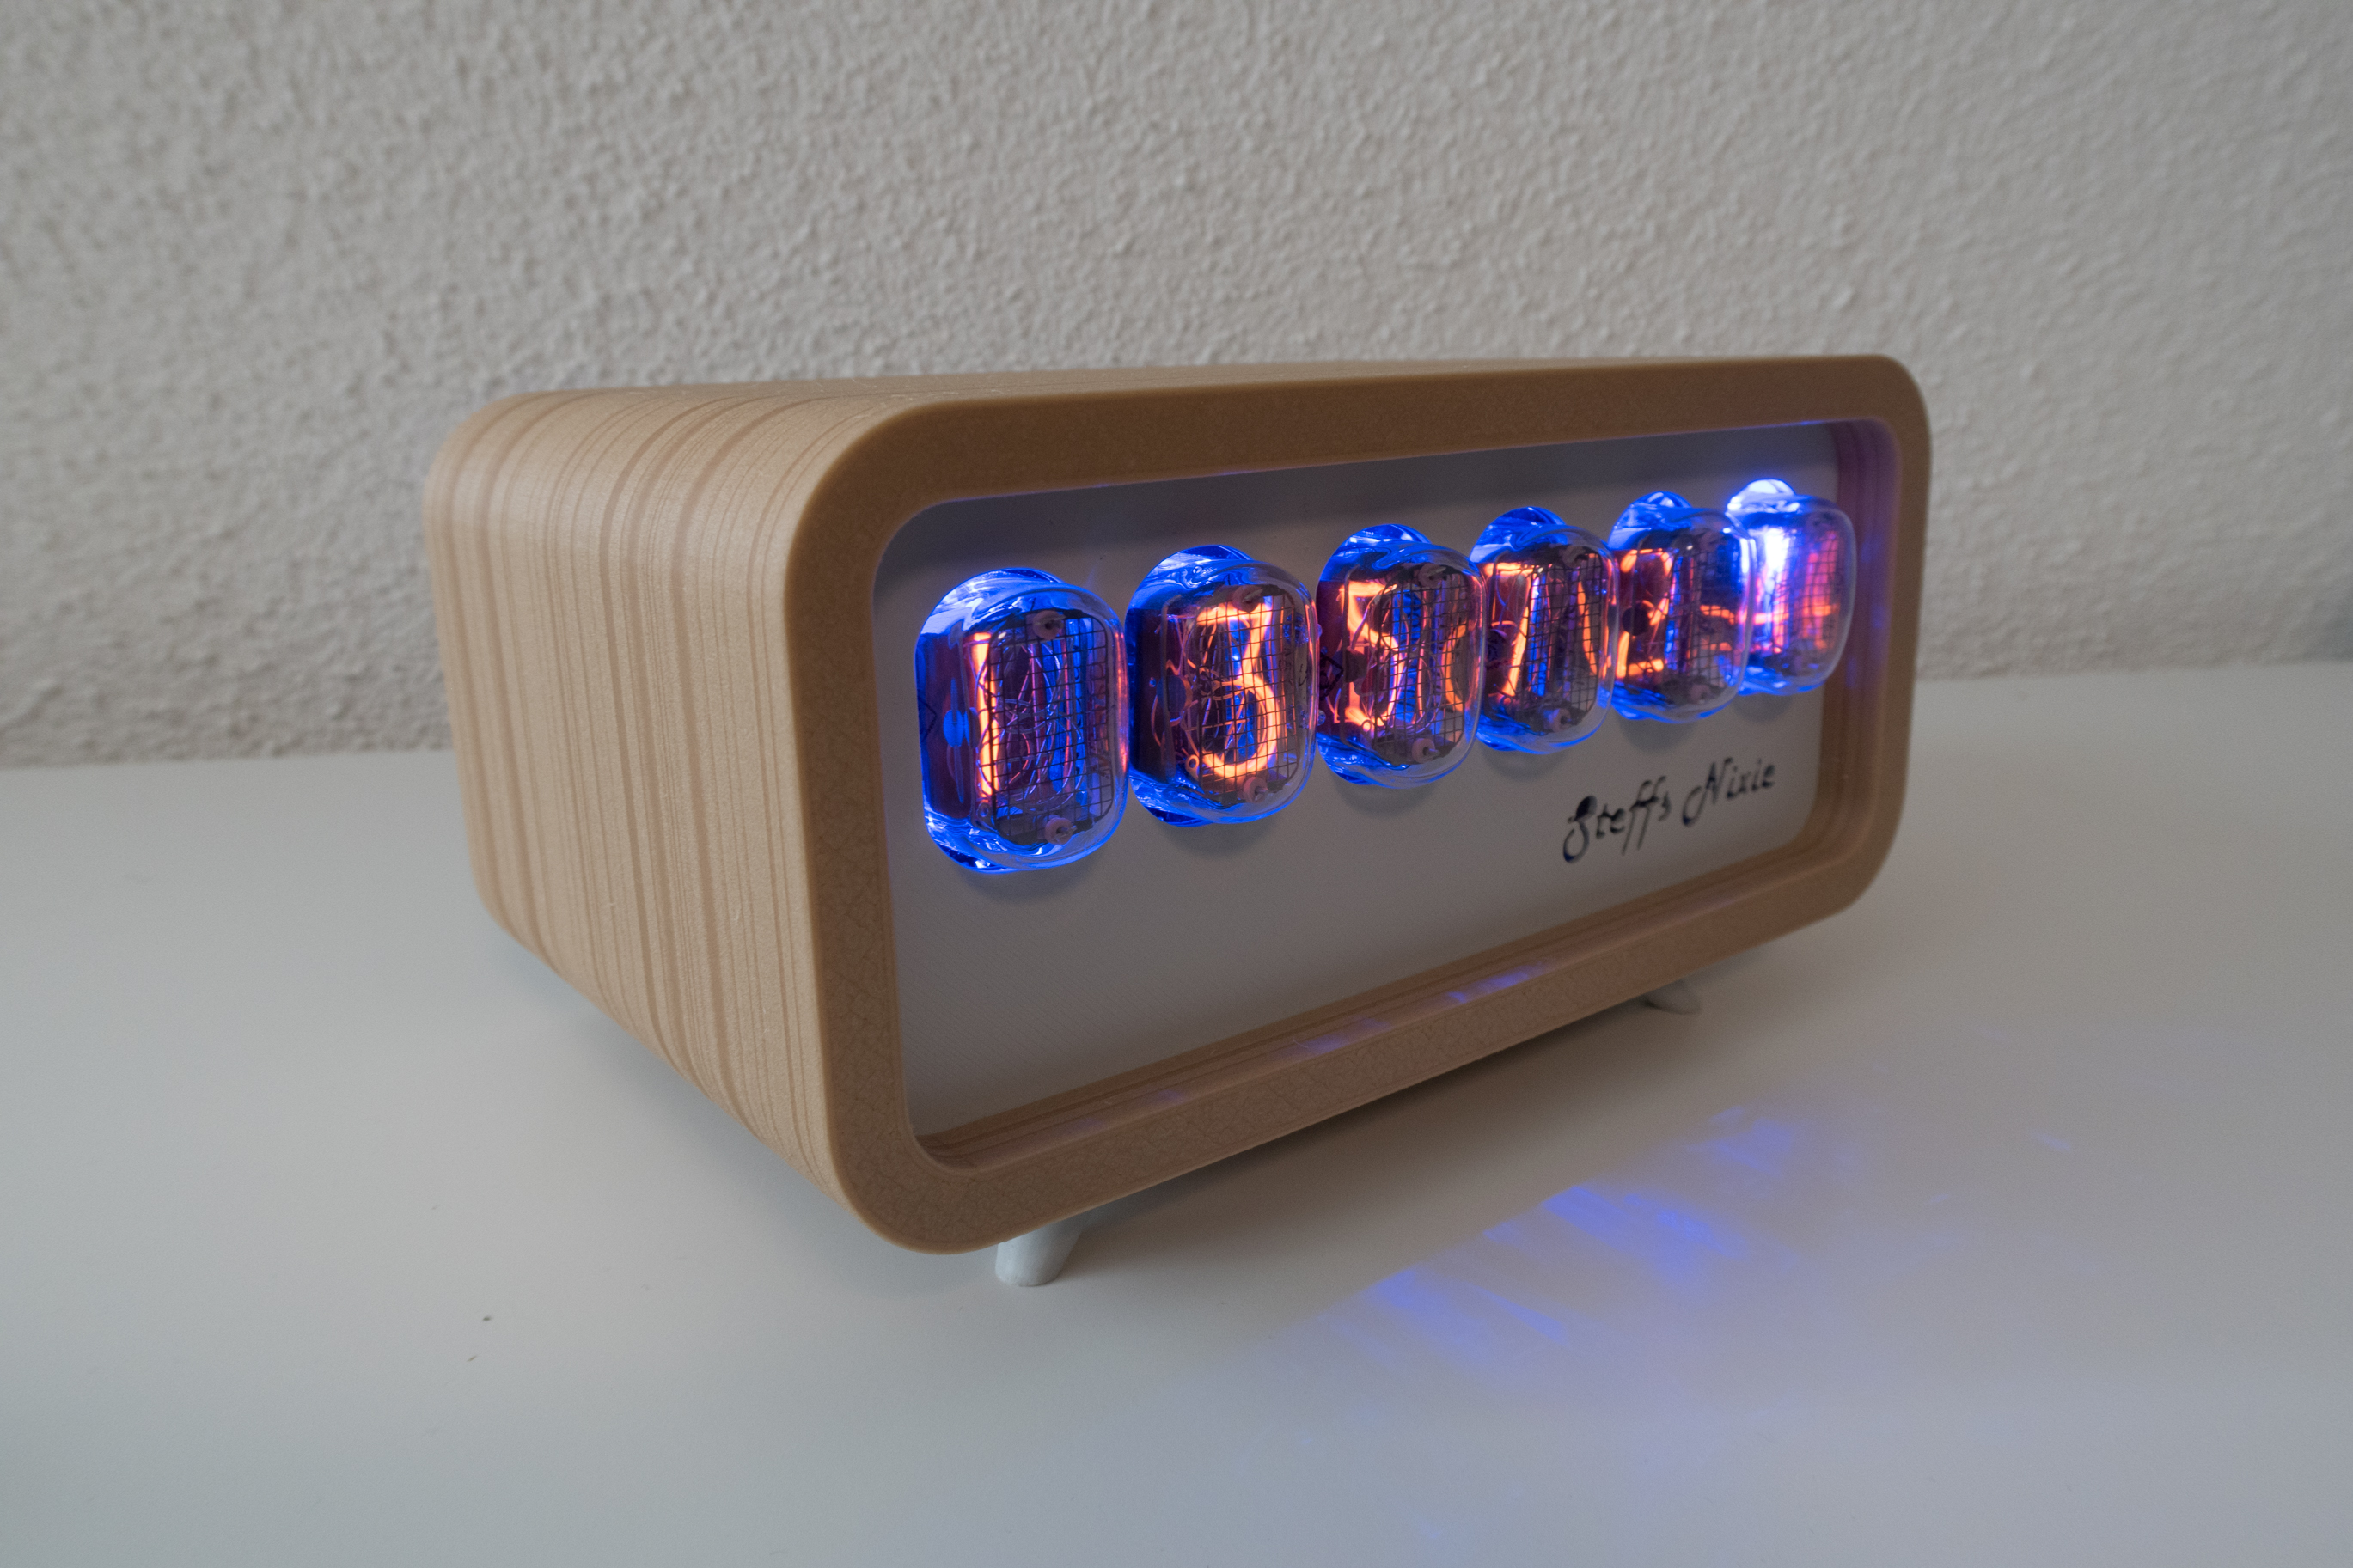
<figure class="media"><oembed url="https://youtu.be/42yCezBxFrs"></oembed></figure><p>This is my interpretation of a nixie clock in the style of a radio receiver from the fifties.</p><p>The nixie clock itself is a electronics kit from elektor.de: <a href="https://www.elektormagazine.de/labs/150189-6-digit-nixie-clock">https://www.elektormagazine.de/labs/150189-6-digit-nixie-clock</a></p><p>The RGB backlight is connected to my Philipps Hue network with the integrated Zigbee controller. This makes it easy to change the color of the backlight. Also the switching on and off of the clock is controlled via the network by the shelly1 WLAN switch. </p><p>I saw that elektor sells the upgraded version of this, it includes the RGB backlight, so this part my design is already obsolete. <a href="https://www.elektor.de/nixie-clock-with-seconds-v2-1-kit-150189-71">https://www.elektor.de/nixie-clock-with-seconds-v2-1-kit-150189-71</a></p><p>The wood pattern is created with the famous gcode postprocessor from <a href="https://github.com/MoonCactus/gcode_postprocessors">https://github.com/MoonCactus/gcode_postprocessors</a> </p><p> </p><h5><strong>Parts required</strong></h5><ul><li><a href="https://www.elektor.de/nixie-clock-with-seconds-v2-1-kit-150189-71">Nixie Clock from Elektor</a></li><li><a href="https://www.aliexpress.com/item/1005002282037797.html?spm=a2g0o.productlist.0.0.48e77956E2V12B&algo_pvid=84b9c876-02b1-4508-9714-4a9825f94c38&algo_exp_id=84b9c876-02b1-4508-9714-4a9825f94c38-0">Zigbee RGB stip</a></li><li><a href="https://www.aliexpress.com/item/32802941052.html?spm=a2g0o.productlist.0.0.78316d35nSBdlb&aem_p4p_detail=202106270556557425060475989000012543016">5V USB voltage buck converter</a> for the RGB strip, since the original Power supply from kit the has a 10V output</li><li>WLAN switch, e.g. <a href="https://shelly.cloud/products/shelly-1-smart-home-automation-relay/">Shelly 1</a></li><li>3* threaded inserts M3, screw nuts for the 3 foots</li><li>3* screws M3 10mm, screws for the foots</li><li>4* plastic screws appox. 10x2.5mm for electronics assembly</li><li>2* plastic screws appox. 10x2.5mm for backplate</li><li>some wires<br> </li></ul><h5><strong>Assembly</strong></h5><ul><li>Print all parts</li><li>OutherCase: after the gcode export from prusaSclicer I applied the wood pattern with the python library from MoonCactus with the following settings: <code>python2 ../wood.py --grain 3 --scan-for-z-hop 0 --file outputfile.gcode</code></li><li>FrontCover: I applied a color change at the height of 1.8mm, below: white filament, above back filament. Since I wanted a good contrast for the "Nixie" lettering. This way, also the RGB backlight does not shine through the front cover.</li><li>Mount the RGB stip into the FrontCover, since it has a layer of self adhesives no clue is needed</li><li>Glue the “Second” glow lamps into the 4 holes in the FrontCover. Connect them with wires on the glow lamp output of the tube pcb.</li><li>Mount the nixie electronic into the InnerCase. Slide the FrontConver into the InnerCase</li><li>Mount the Zigbee Receiver and the Shelly 1 onto the electronics plate</li><li>Create the wiring according the diagram</li><li>Slide the whole InnerCase into the OuterCase. The FrontCover is hold in place through the OutherCase when fully assembled</li><li>Mount the 3 foots to the InnerCase with the M3 screws</li><li>Mount the backplate</li></ul><p> </p><p>Since Prusaprinters doesn't accept f3z files, the project files an be found here: <a href="https://a360.co/3gXGmDy">https://a360.co/3gXGmDy</a></p>
With this file you will be able to print Vintage Nixie Clock with your 3D printer. Click on the button and save the file on your computer to work, edit or customize your design. You can also find more 3D designs for printers on Vintage Nixie Clock.