Vintage "Perpetual" Flip Calendar
thingiverse
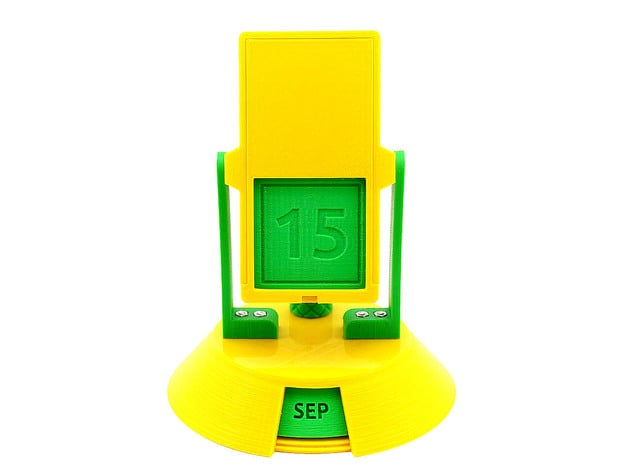
https://youtu.be/lXJwC3i0uQs Inspired by vintage flip calendars of the 60's, this desktop calendar will show you the current date and month. Flip it, and it will show you the next date. You will hear a gentle thud as a number card falls into the lower chamber to make room for the next card. This calendar requires no batteries, the force of gravity does all the work. See the video! UPDATE: We now have the month rings in Spanish, Italian, German, French and Russian. Please visit http://www.otvinta.com/download04.html to download them. Print Settings Printer Brand: MakerGear Printer: M2 Rafts: No Supports: Yes Notes: While Simplify3D offers to create support for the number cards, they seem to print fine without support, so we recommend switching off support generation when slicing the number squares. The only piece that may benefit from a raft is the pinion -- for better meshing with inner teeth of the month ring. Post-Printing The 17 number cards are 3 mm thick but in reality they come off the printer slightly thicker due to printing artifacts. Therefore you need to give each side of each number card a gentle but thorough scraping (we used a scissor blade for that.) If you have a digital caliper, make sure the thickness of the entire stack of cards does not exceed 51 mm (17x3) by more than 1 mm. Hardware required: 4 metric countersunk Phillips head screws M3x12, and 4 metric nuts M3. Assembly instructions: Place the number cards into the two chambers of box. The correct sequence and orientation of the cards is shown on the image. Slide box cover into the box's grooves. Mount month ring onto bottom, secure with washer. Insert pinion into the hole in base from the inside. Screw knob onto the pinion's threads tightly. Attach leg to base with two screws and nuts. Insert the leg's round peg into the box's side hole. The window in the box's cover with the number card 01 showing must face forward, away from the knob. Insert the other leg into the box and attach the leg to the base with two screws and nuts. Mount base onto bottom. How I Designed This The design is very straightforward except for the meshing internal and external gears used in the month display ring. The Planetary Gear tutorial we have created explains, among other things, how to design an external/internal gear pair in Blender 3D. For this calendar we used the following settings: External Gear: z = 15, x = 0.5 Internal Gear: z = 60, x = 0 This video explains how to design internal/external gears, such as those used in the calendar's month display ring, in Blender 3D. This tutorial explains how to model threaded objects (such as the knob and pinion in this model) in Blender.
With this file you will be able to print Vintage "Perpetual" Flip Calendar with your 3D printer. Click on the button and save the file on your computer to work, edit or customize your design. You can also find more 3D designs for printers on Vintage "Perpetual" Flip Calendar.