Volvo L70 Frontend Loader
prusaprinters
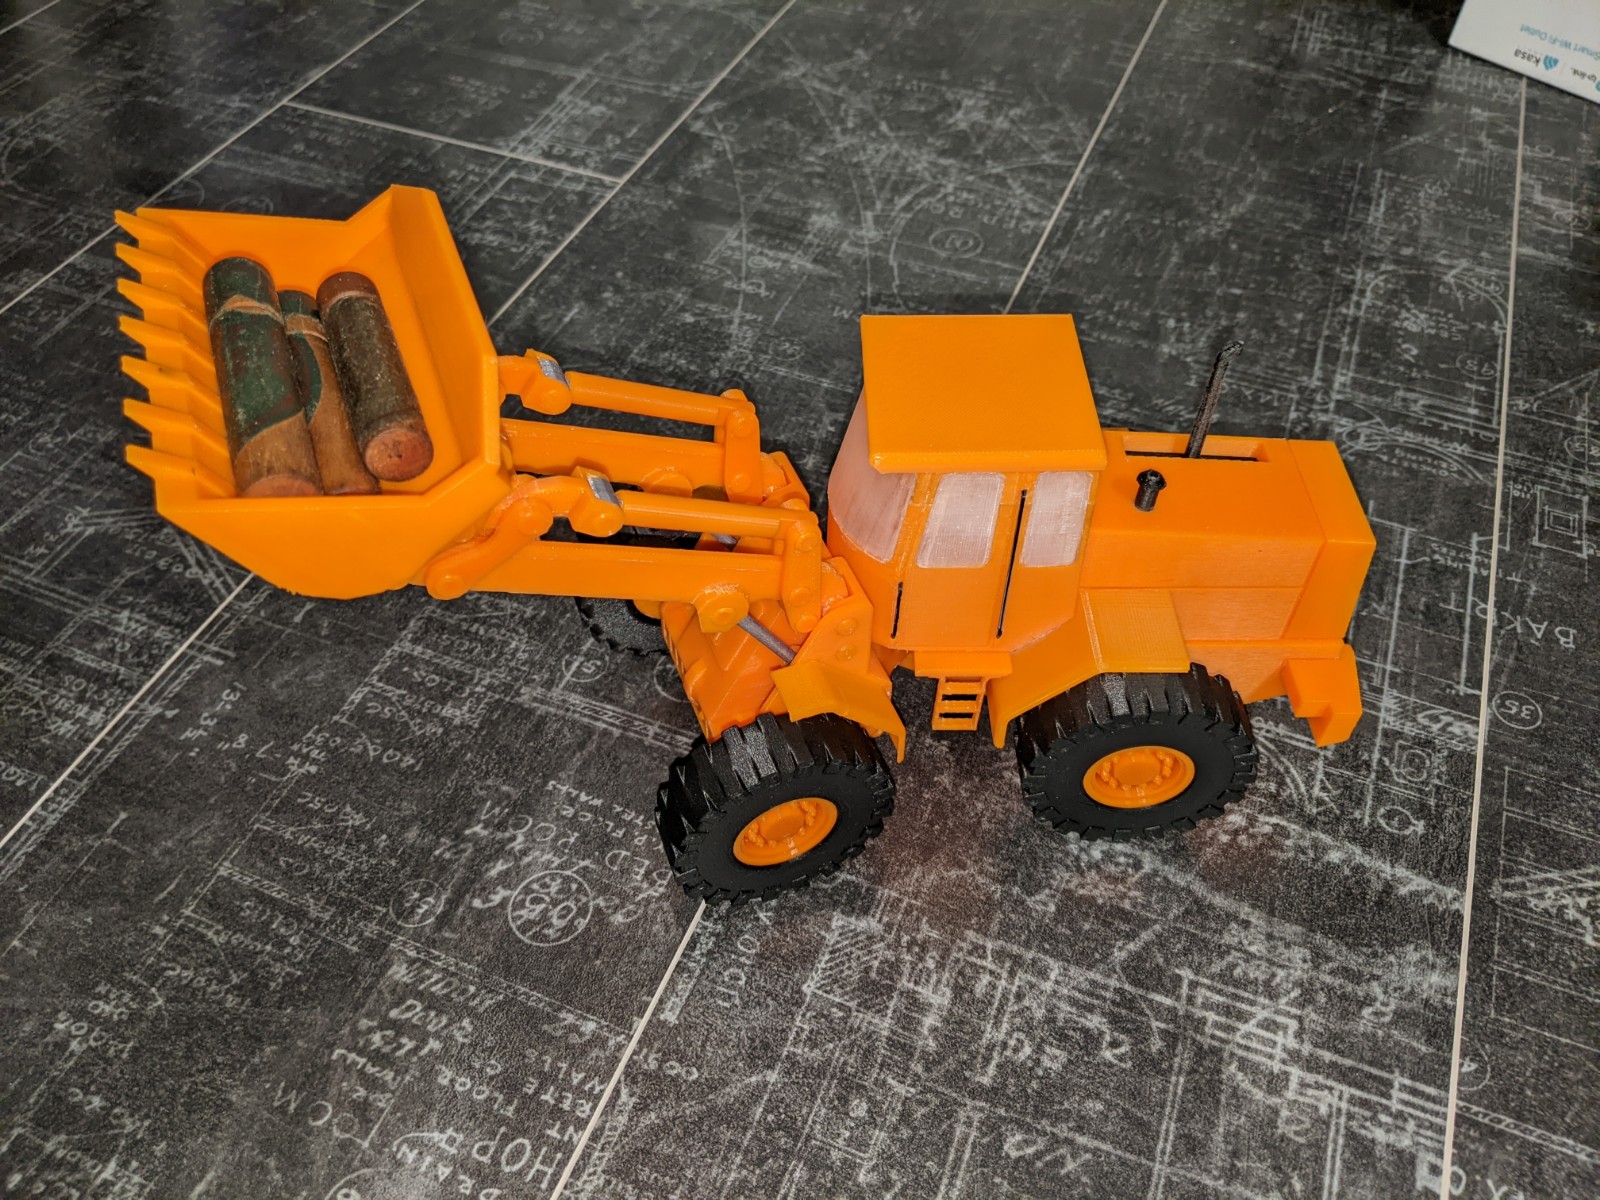
<p>Modeled and printed a fully articulating frontend loader becasue….well, becasue I could as I explained to my wife!</p><p>I'll be modeling various construction equipment in HO scale for a railroad in the near future, so I thought I'd start here, but at a larger scale to get a feel for what works and what doesn't. It's a lot of pieces the way I broke it up (for easier printing) but it's actually a pretty fun little project to print and assemble. </p><p>I designed it to be <i><strong>fully functional</strong></i>, with rolling tires, articulating middle knuckle and with all functions of the boom and bucket <i><strong>100% working</strong></i> as well. Everything is printed, with no outside hardware or other materials whatsoever. Some of the pieces benefit from some minimal supports (pretty self-explanatory where), but I designed it to print with very little support.</p><p>I kept the tolerances extremely close because I wanted the boom and bucket to hold overhead positions and not come crashing down to the table. As you can see from the pictures with a load in the bucket, mission accomplished. Just be aware you'll need to do a little filing of the various pin holes and sanding to the attachment pins to make everything fit just right. But for doing so, you have the ability to decide how tight you want the moving parts to be.</p><p>Interestingly enough, with the way I designed it and kept the tolerances close, I didn't need any glue on any of the pins so the whole thing can be disassembled if you want. The pins pop into the receiver just so.</p><p>Everything prints well except for the handrails which are really too small and should be made out of wire or something probably. I chopped off the mangled ends of the print and glued them in place as a flat feature on this prototype, but there's a better way for those tiny little bits. I might try printing them again with a smaller nozzle, but the 0.40 I printed everything else on doesn't do a great job on those.</p><p>On some of the more delicate pieces like the glass package I went with smaller layers, but mostly everything was printed with the 0.40 nozzle and a 0.20 layer.</p><p>I've included a lay-down of all the pieces with their file names, each part file has the required total quantity included in the stl file name, and I also included a color-coded blow up of the boom and bucket to show how it all goes together. the rest is pretty obvious but if you're going to take a shot at this and have questions, I'd be happy to answer them.</p><p>Enjoy!</p><p> </p><p>EDIT: thanks to the community for pointing out some errors in my files/design! I'm still learning, and I appreciate the constructive feedback. As a result, I've uploaded a few revisions as follows:</p><ol><li>Uploaded Cab Lower V2. Now has a hole in the floor so the lynch pin can be properly inserted. Also, please note that the lynch pin is overly long because the design assumes inserting it FROM UNDER THE CAB. You could certainly insert it prior to installing the glass package from above, but I put a larger head on it and left it long to go in from below so you can take apart the front and rear sections later on if you wish. If you want to insert it from the top you'll need to adjust the length. (Note: the screen snip I included of the parts spray looks like there is no floor in Cab Lower, but there is. The floor was obscured in the picture).</li><li>Deleted the original boom version that was inadvertently uploaded. Version 2 is the correct model to use, please delete the older version if you downloaded it. The old version had clearance problems with the boom in the fully upright position, V2 solved that.</li><li>Uploaded Body V2. Now has a hole penetrating the entire body for the rear axle. The prototype had the large hubs glued into the large body recesses, but the final version has a rolling axle. I forgot to adjust the body! Please delete your copy of the original Body file.</li><li>Deleted the original version of the Boom</li><li>Deleted the 3mf files because they had old version included.</li></ol><p> </p>
With this file you will be able to print Volvo L70 Frontend Loader with your 3D printer. Click on the button and save the file on your computer to work, edit or customize your design. You can also find more 3D designs for printers on Volvo L70 Frontend Loader.