Walkman WM-8
thingiverse
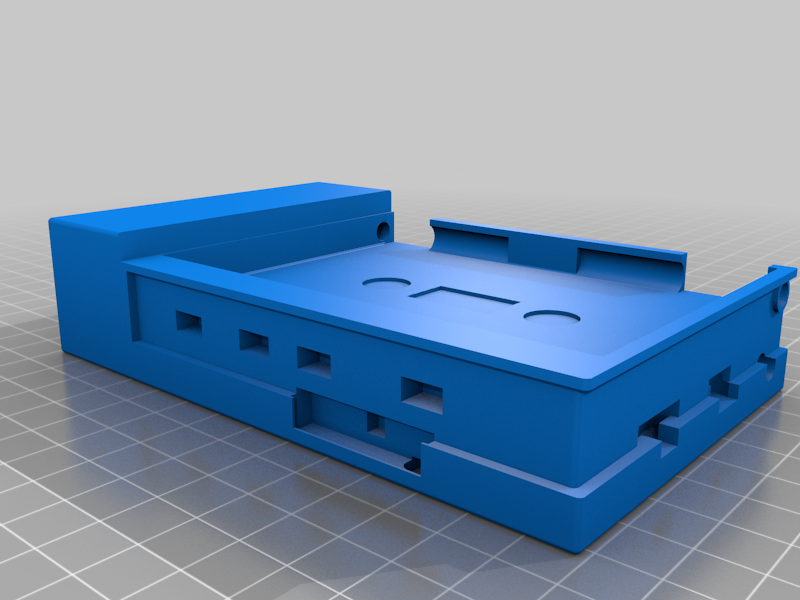
For anyone who needs help running up that hill. Loosely based on the specifications of the original Walkman WM-8. Use glue adhesive to connect all non-moving parts. To assemble: 1. On the top of the walkman slip the volume control knob and switch in their respective cavities. 2. Take the springs (s shaped figures) and place them in the notches on the side of the walkman. 3. Place the eject button in the slot and get the spring to pop into the back of the button. 4. Connect the other end of the springs into the play, rewind and forward buttons. 5. Place the trim piece over the buttons and then onto the walkman body. 6. Put the headphone jack tube into the hole on the top of the walkman 7. Glue the tape spinners in the respective spots in the interior of the walkman. 8. Align the lid with the holes on the inside of the area where the tape goes. Slip the pins into the holes to fasten the lid.
With this file you will be able to print Walkman WM-8 with your 3D printer. Click on the button and save the file on your computer to work, edit or customize your design. You can also find more 3D designs for printers on Walkman WM-8.