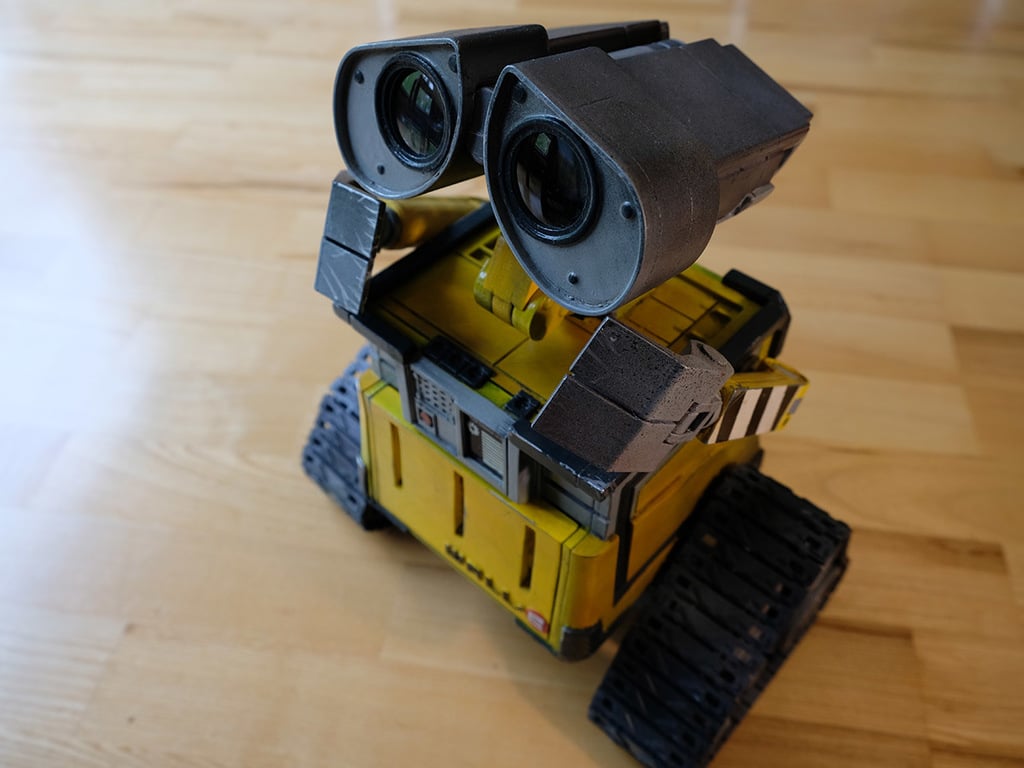
WALL-E Robot Replica
thingiverse
Here are the instructions for assembling the robot: 1. Unpack and organize all the parts. 2. Connect the micro servo motors to the Arduino Uno using the provided cables. 3. Attach the Plano-convex lenses to the eyes of the robot. 4. Assemble the body of the robot by attaching the printed parts together using M3 bolts and nuts. 5. Install the DC geared motors in the legs of the robot. 6. Connect the high-torque micro servo motors to the Arduino Motor Shield R3. 7. Connect the 16-channel 12-bit PWM servo driver - PCA9685 to the Arduino Uno. 8. Attach the Raspberry Pi to the Arduino Uno using a USB cable. 9. Connect the small speaker and USB camera to the Raspberry Pi. 10. Assemble the wheels of the robot by attaching the printed parts together using M3 bolts and nuts. **Note:** The above instructions are for assembling the robot as shown in the video. If you want to assemble the robot differently, please refer to the wiring diagram provided. Here is a summary of the hardware required: * (x14) M3 Bolt - 10mm length * (x12) M3 Bolt - 20mm length * (x2) M3 Bolt - 6mm length * (x26) M3 Nut * (x3) Paper clip - used as linkages * (x7) High-torque micro servo motor * (x2) Plano-convex lens: ⌀31.5 - 32.5mm * (x2) 12V DC geared motor - ⌀37mm, 150RPM * (x1) Arduino Uno or equivalent * (x1) Arduino Motor Shield R3 * (x1) 16-channel 12-bit PWM servo driver - PCA9685 * (x1) 12V DC battery pack * (x1) 12V to 5V DC buck converter * (x1) Raspberry Pi (get one with integrated WiFi) * (x1) Small speaker * (x1) USB camera **Note:** The above list is for reference only, and you may not need all the parts depending on how you assemble the robot.
With this file you will be able to print WALL-E Robot Replica with your 3D printer. Click on the button and save the file on your computer to work, edit or customize your design. You can also find more 3D designs for printers on WALL-E Robot Replica.