Wall Switch for Intertechno Remotes
thingiverse
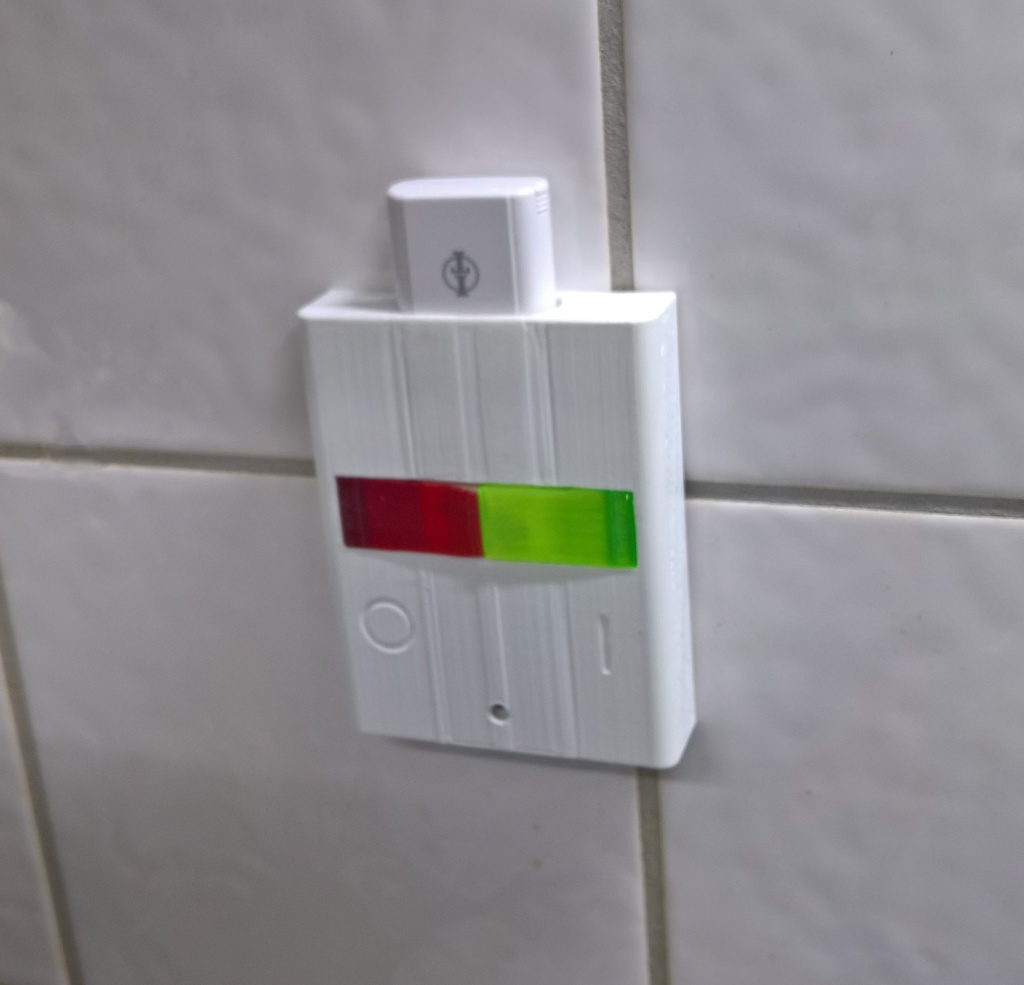
Converting an Intertechno handheld remote into a wall-mounted switch is a surprisingly straightforward process, especially since these remotes are often included as freebies in packs of three outlet remote switches. To get started, simply take the remote apart and identify the main circuit board. From there, you can start soldering wires to connect it directly to the electrical system, allowing for seamless control over your outlets from a convenient wall-mounted switch.
With this file you will be able to print Wall Switch for Intertechno Remotes with your 3D printer. Click on the button and save the file on your computer to work, edit or customize your design. You can also find more 3D designs for printers on Wall Switch for Intertechno Remotes.