Wanhao Di3/Maker Select LED stage lighting
thingiverse
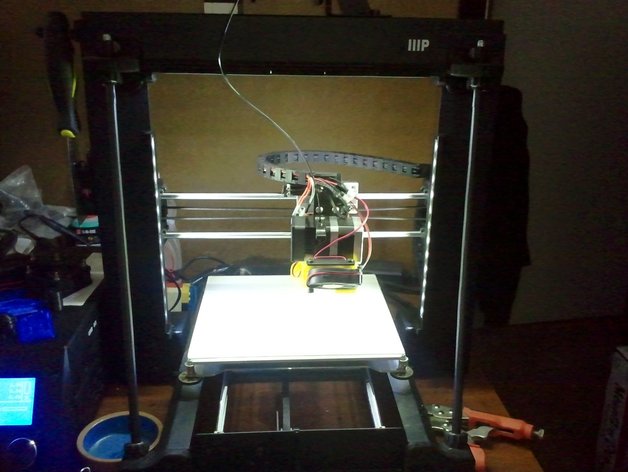
The steel frame edges on these printers make an excellent mounting location for LED strips. These mounts are low profile, positioning the strip in front of the frame. They are designed for 10mm, 30/meter, non-addressable, IP65 waterproof, 12v, 5050 style strips. These strips have a silicone overlay that forms an arched top surface. They are also cuttable into 3 LED (50mm) segments. The long parts are designed to fit a single segment. led_rail.stl is a middle part and is onmidirectional. The led_end_rail_?.stl parts are directional, and have a closed end to conceal the end of the strip. The led_z_spacer_?.stl parts lift the side strips up to put the lowest LED just above the bed surface. They also have a gap that allows the wire to be inserted and a channel that wraps the wire around the frame for concealment. The tab on top fits into the slot on the long parts to conceal the wired end of the strip. The parts have a strong grip on the frame so they won't fall off. The LED strip fits snug in the channel (leave the backing paper on). If your print has any pimples in the channel, they'll need to be shaved off. As shown I have 4 LED segments on each side and 5 across the top for a total of 39 LEDs. Use the latest revision of each file. This completes stage 1 of this Thing. TODO: Modify the relevant parts from AzzA's Z Braces to add positionable light bars at the front and rear of the bed frame Add a variant of led_rail.stl that can hold a filament filter in some way Design a control box to allow each strip to be turned on individially, likely with a dimmer circuit Modify the Diiicooler to place LEDs around its perimeter EDIT 16 May 2016: Added a rendering of the work in progress concept for the "foot lights" apparatus. Will probably reuse most of the same parts for the back lights, still need to figure out how to position around the bed cable bundle. EDIT 25 May 2016: Added first revision with files marked as rev001, and pictures showing a completed stage 1 install. The X and Z spacers go with strip segments oriented along that axis, so the Z spacers are for the sides, and X spacers for the top. There are now two versions of the Z spacers, low and high; these are meant to coincide with the mounting position of the Z endstop. Print Settings Printer: Maker Select Rafts: No Supports: No Resolution: .2mm Infill: 100% Notes: I printed with periemeter thickness 1.2mm on a .4mm nozzle (3 shells), which makes the infill mostly irrelevant. I also use 1.2mm top/bottom thickness. Post-Printing Installation and wiring These can be powered directly from the power supply inside the control box or on their own 12v wall wart. A full installation using 19 strip segments will draw approximately 1.14A at 12 volts. For side and top rails, solder on a pigtail at least 8" long, this makes routing the wires around the Z rods easier. For the top rail, if you run the wiring on the left side of the printer, make sure to route it in such a way that it doesn't interfere with the Z endstop switch. Slide the wires through the slot on the outward face of the spacer and thread the LED strip through your rail segments one at a time. Once all the pieces are on the strip they are ready for install. Slide the piece at the wired end onto the frame at an angle so that the strip leads away from the frame. Get the next piece slightly onto the edge, then push the first piece into position along with the adjacent end of the next piece. Repeat until done. The side rails require extra care because of the tabs atop the Z spacers. Follow the procedure above starting with the second piece (just above the spacer), making sure the spacer is sitting on the Z motor mount and slightly onto the frame edge. Push the second piece into place, then the spacer, and continue with the third piece. One of each X spacer and five rail segments is a fairly tight fit across the top of the gantry, you'll want to get the pieces as close to each other as possible. How I Designed This Modelled in Blender using digital calipers for measurements. Went through 10 iterations getting the LED channel profile fit correct, and 3 more revisions for practical considerations. All parts have been checked using Blender's 3d Printing Toolshelf add-on, so they are ready for slicing.
With this file you will be able to print Wanhao Di3/Maker Select LED stage lighting with your 3D printer. Click on the button and save the file on your computer to work, edit or customize your design. You can also find more 3D designs for printers on Wanhao Di3/Maker Select LED stage lighting.