wasp 76 nerf
thingiverse
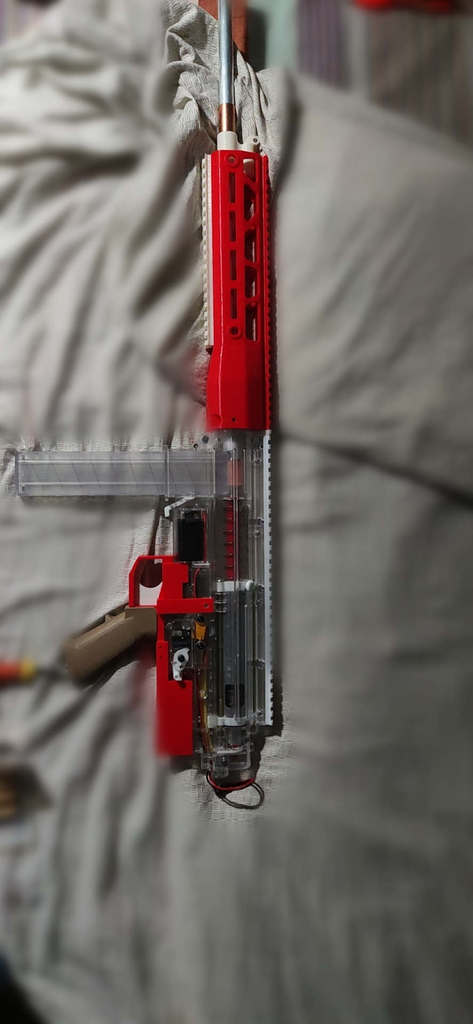
Adapted to wasp 76, grip movement One M4X50 screw and one nut to replace the pin in the middle of the gearbox There are 8 m3x8 screws, preferably flat head or countersunk head screws, to fix the two wrench units, and the front and rear grip groups are respectively 4 screw holes The grip is fixed with its own screws. The original grip position is fixed with the same set of screws The trigger needs to be disassembled and installed. The installation method is the same as that of the original trigger. Pay attention to the installation of the trigger spring to a new position. 需要一根 M4x50螺丝1个和螺母1个,替换机匣中间部位销钉 M3x8螺丝8个,最好是平头或者沉头螺丝,固定两个扳机组,固定前后握把组分别为4个螺丝孔 握把固定使用自带螺丝,原来握把位置同理使用那一套规格螺丝固定 扳机需要拆壳安装,安装方式和原来扳机一摸一样,注意扳机弹簧安装到新的位置。
With this file you will be able to print wasp 76 nerf with your 3D printer. Click on the button and save the file on your computer to work, edit or customize your design. You can also find more 3D designs for printers on wasp 76 nerf.