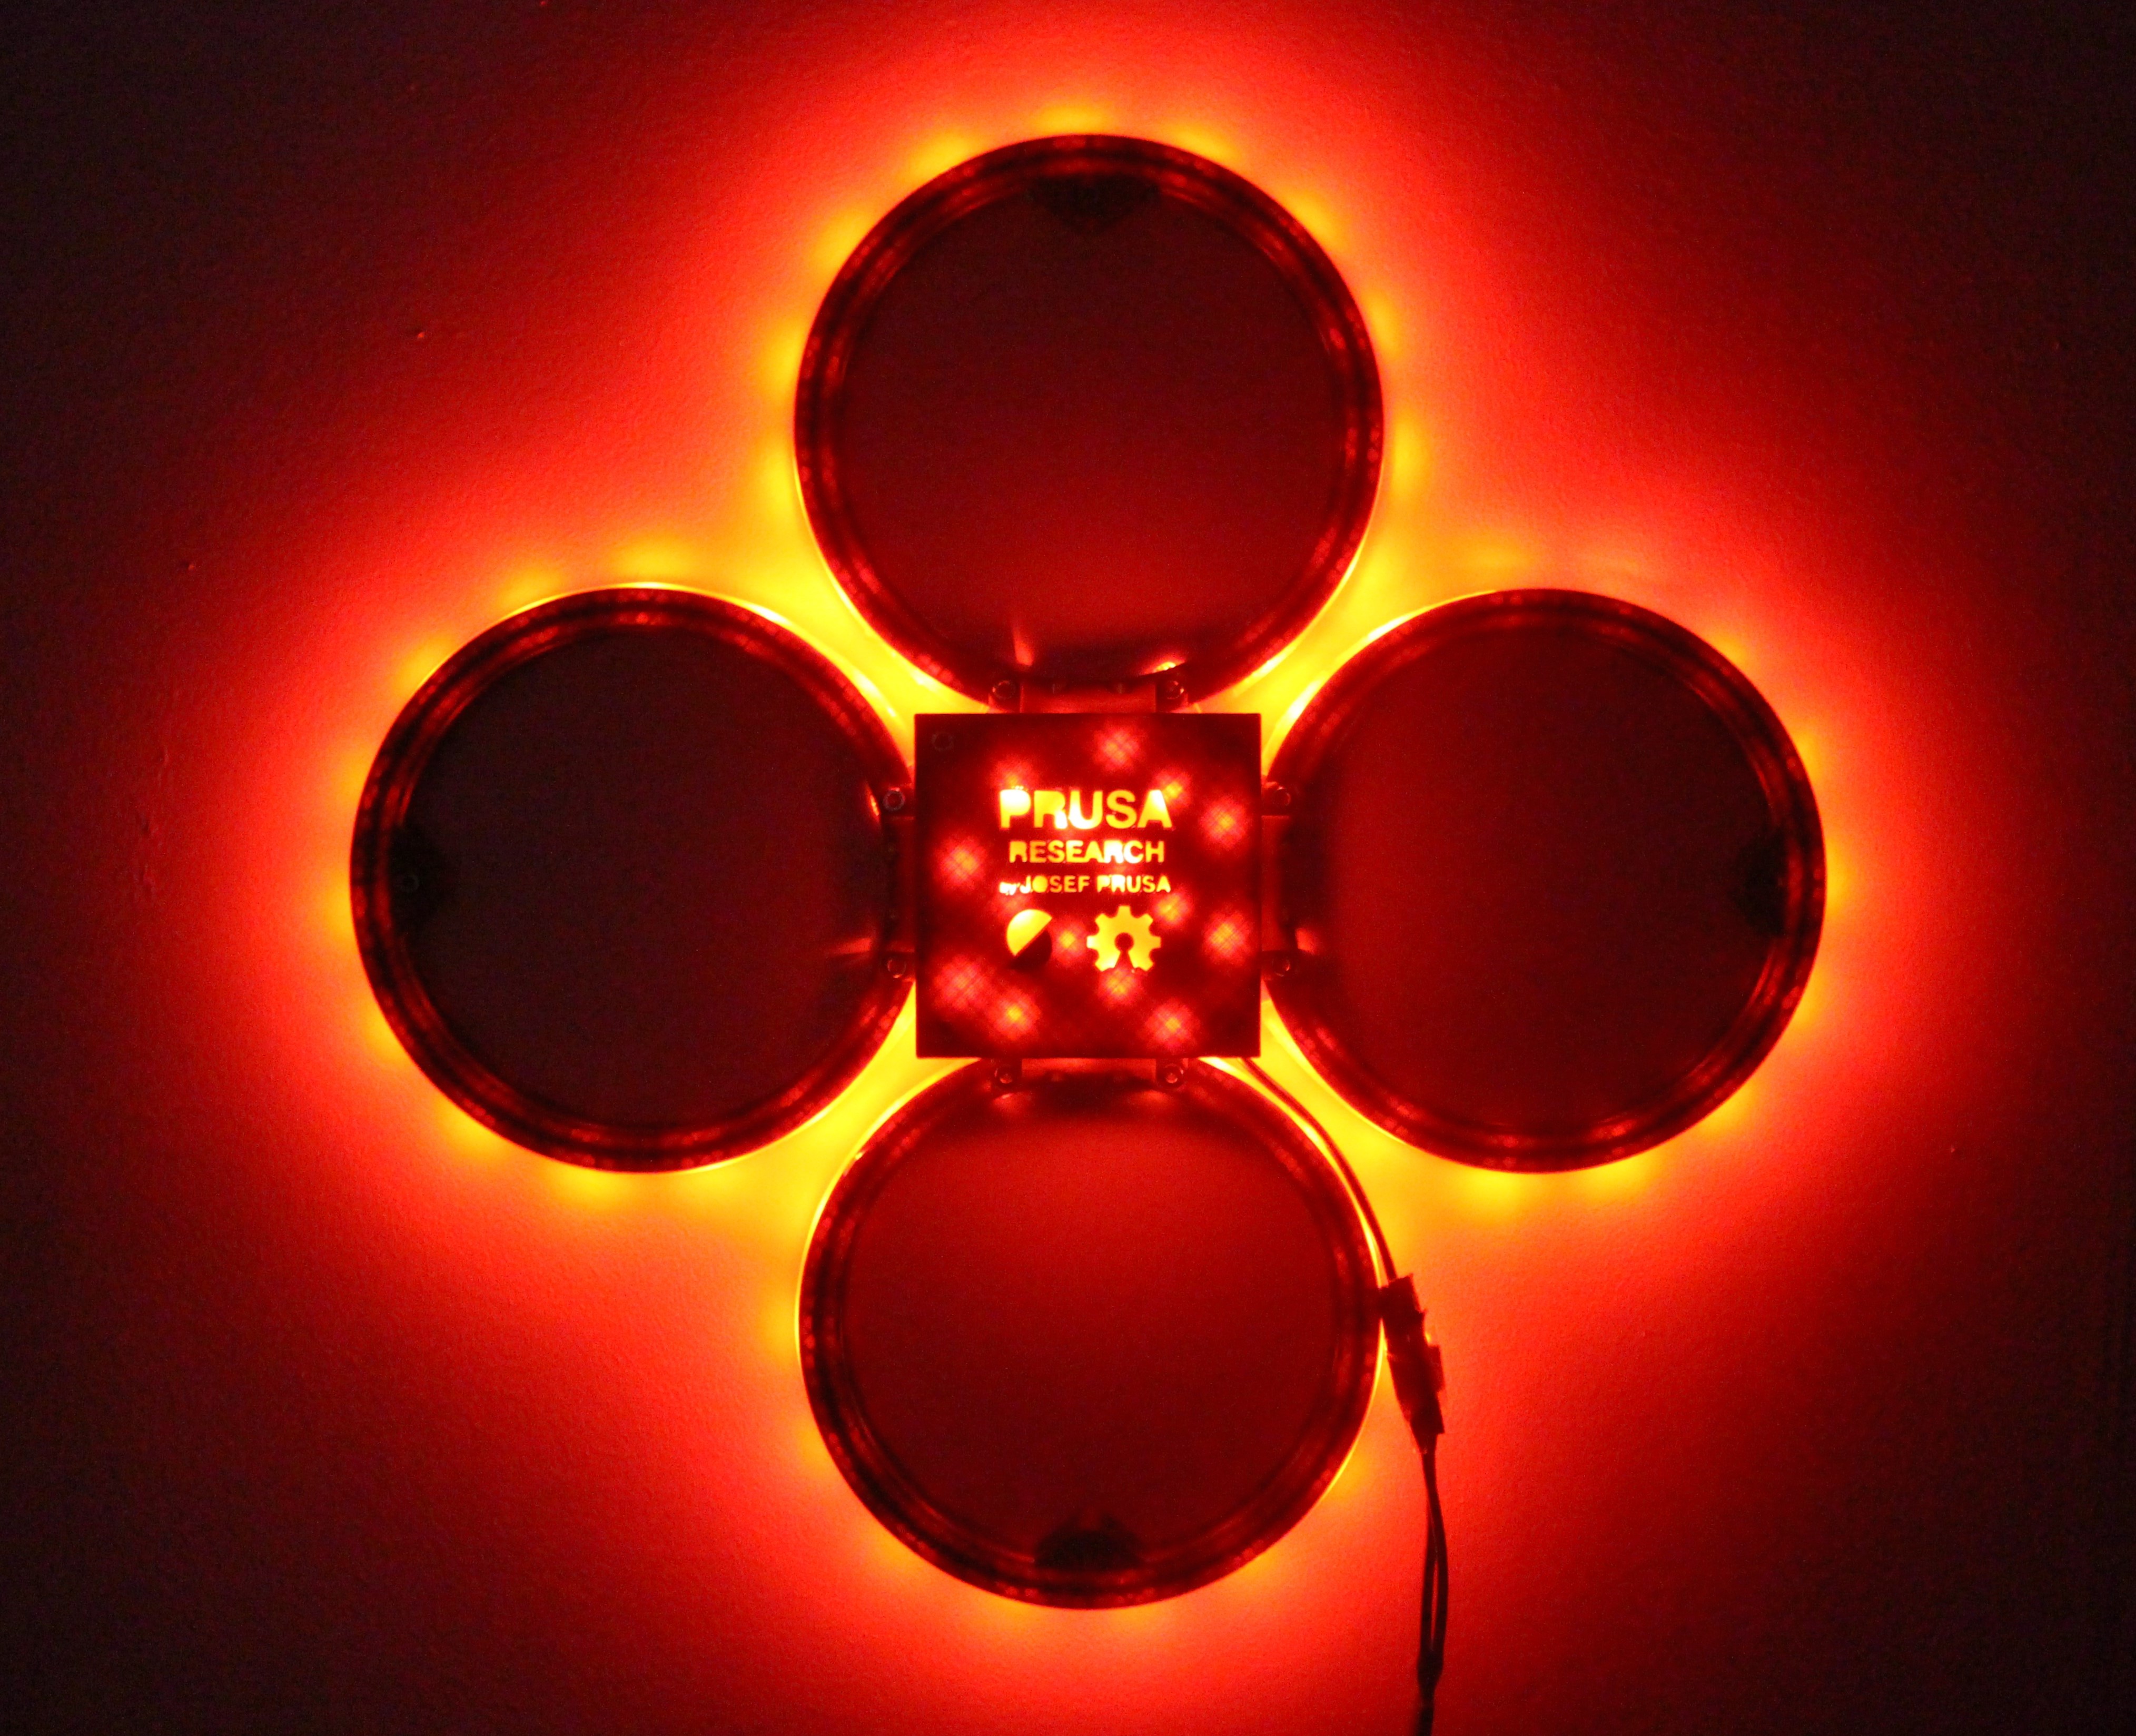
Water Defracting RGB Room Lighting - Prusa Edition
prusaprinters
<p>Firstly, before talking about my entry, I would like to thank Prusa for hosting this competition. It has been extremely fun and improved my CAD skills a lot.</p> <p>I have designed a modern RGB room lighting which mixes the most unlikely duo –<strong>electronics and water</strong>! We experimented with the defraction of light in water, and how it diffuses the light due to its particles moving slower. The water is designed to be <strong>safe in a sealed tube</strong> and not in contact with the electronics, but if you do have an issue with the safety, you can always just leave it out and do <strong>what you feel comfortable doing</strong>. I have made the design extremely simple and I have <strong>avoided tampering with the electronics</strong> or even using a soldering iron to make this design for everyone with <strong>any level of experience</strong>. The total print time is <strong>20 hours</strong> for all the parts with a <strong>0.4 nozzle</strong>, <strong>0.2mm</strong> layer height. The assembly requires some <strong>M4 bolts and nuts</strong>, <strong>RGB strips</strong>, <strong>a hot glue gun</strong>, and <strong>tubing</strong> with a external diameter below 15mm (I have used 11mm).</p> <p>This is the first version of my model, and I plan to develop it in the future for a more aesthetically pleasing design, using community feedback to generate new outcomes.</p> <p>Here is the link to the last version of the design in Fusion 360:<br/> <em><a href="https://a360.co/36mICQ3">https://a360.co/36mICQ3</a></em><br/> This link will allow you to rotate the model to have a closer look at the design.</p> <p>If you have any feedback, issues, or suggestions for future improvements please comment in the comment section or email me at niyam@outlook.com.</p> <p>Thank you for looking at my model and happy printing!</p> <h3>Print instructions</h3><h3><b><u>Printing</u></b></h3><p>Print with <strong>20% infill</strong> at a <strong>0.3mm layer height</strong>. Make sure your flow and dimensions are fine tuned.</p> <p>If you are using the GCODE files attached, you will have to print <strong>4 of the Top of RGB Rings.gcode</strong> and <strong>4 of the Bottom of RGB Rings.gcode</strong>. You only need to print one of everything else.</p> <h3><b><u>Assembly</u></b></h3><h4><u>Screwing Together</u></h4><p>For the assembly you need to use <strong>M4 Bolts and Nuts</strong>. The nuts have specific push fit holes, and you can use any size bolts as long as they reach the nut.</p> <h4><u>RGB Strips</u></h4><p>For the RGB strip, start by putting it through a hole on the wall of the main body. I didn't use the tape on the back as I designed slots to keep them in place. Push the RGB strip through the ring and repeat this from the same line of the strip for the other rings.</p> <p>For the top plate, push the strip through one of the holes at the top, thread it around and repeat for the hole below.</p> <p>Once you finish, cut the RGB strip to the right length.</p> <h4><u>Water And Tubing</u></h4><p>Cut the tubes to the right length by measuring them along the rings.</p> <p>Sand the outside of the tubes with sandpaper. I found 150 grit to 300 grit worked best.</p> <p>Hot glue one side and push the bung through while the glue is still drying to create a water tight seal. Fill the tube with water and leave 10mm at the top to seal it the same way as before.</p> <p>To attach to the rings, put some hotglue on the top and bottom parts where the ends of the tube will be. This method allows you to remove the tubes by melting the hot glue.</p> <p>I am not liable for any damage done. If you do not feel comfortable using water, leave it out from the design.</p> <h4><u>Mounting</u></h4><p>To mount to a wall, mark 2 spots on your wall, underneath the notch for the screw joint holding the top ring together. Put 2 nails in the wall and rest your model on top. 30mm long nails are advised.</p>
With this file you will be able to print Water Defracting RGB Room Lighting - Prusa Edition with your 3D printer. Click on the button and save the file on your computer to work, edit or customize your design. You can also find more 3D designs for printers on Water Defracting RGB Room Lighting - Prusa Edition.
