Water Fountain
thingiverse
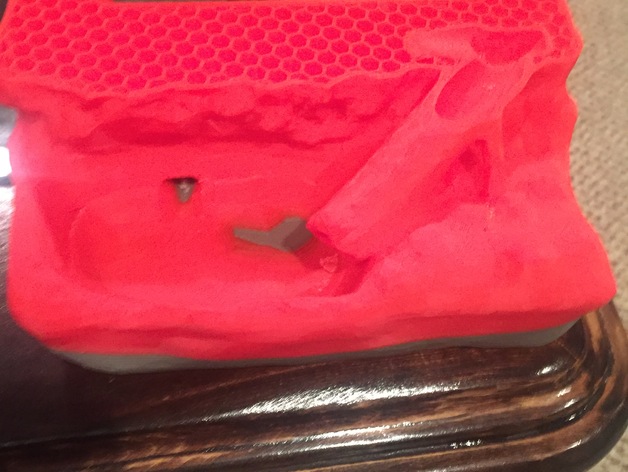
This project will give the students the basics to create their own water fountain. This model is an example of what you can create with this project. The project can easily be manipulated for different skill levels from beginners to experts. The project will provide the students with a list of materials that they will need along with information on how to incorporate them into their fountain. Note: I have not been able to print the complete fountain because my printer ran out of filament and I do not have any money to buy more. How I Designed This Desgining I designed my fountain using two different softwares first I made the general shape of the fountain in 123Design. I formed the bottom collection pool, water path, and the top collection pool with 123Design. I then put the model into Meshmixer to make the model look more organic. Note It’s important when designing your fountain to get detailed measurements of the connectors, tubes, and pump to make sure it will all fit in properly. Project: Home Made Water Fountain Overview & Background The students will learn how to design around objects with set dimensions. Objectives How to build from set dimensions, how to make models look more organic, and how to hook up simple electronics. Audiences This project can be adapted for ages as young as 14. This project can also be used for experts looking for a new challenge. Subjects This project covers subjects such as Engineering, Art, and Electrics. Skills Learned Students will learn how to properly measure objects, how to sculpt using Meshmixer, and how to hook up simple electronics. Lesson/Activity 1) Decide on the basics of your design. 2) Measure the pump and tube connectors that are provided. 3) Start designing the fountain; start with the bottom collection pool and work up. 4) Keep the shape and details simple for now. 5) Once the students have a rough design they need to import it into Meshmixer. 6) The students will use Meshmixer to make the fountain look more organic. 7) Once the students are satisfied with their work it needs to be printed, I recommend using abs (with my model I had to break it into three parts). 8) If the model needed to be broken into multiple parts then the student will need to put them together using abs slurry. 9) Once the model is whole the students should go about installing the tube connectors. 10) Once the tube connectors are installed the motor can be hooked up, I used an Arduino Uno because I plan on hooking up led lights to it. The other option is using a transformer. If an Arduino is used simply plug the wires from the pump into the positive and negative into the Arduino. If a transformer is used the student will need to solder the transformer to the pump. 11) Then plug the intake of the pump to the tube connector on the bottom collection pool, and the output of the pump to the top collection pool. 12) Now to prime the pump the student will need to put water in the top collection pool and let it flow down into the pump, they should also fill the bottom collection pool with water. 13) The last step is to paint the fountain. Duration This section depends on how difficult the student’s projects are. The fountain I created took me about eight hours to design, 1 hr to put together, and 2 days to print. It would take about 2 weeks for students to complete it. Preparation They should have a simple understanding of CAD software. Rubric & Assessment By the end of the project the students should have designed a fountain that can hold water without leaks or spills, collects it in one place, and transport it to another place. The projects should be grades not only on functionality, but also on the student’s ability to make it look organic using Meshmixer.
With this file you will be able to print Water Fountain with your 3D printer. Click on the button and save the file on your computer to work, edit or customize your design. You can also find more 3D designs for printers on Water Fountain.