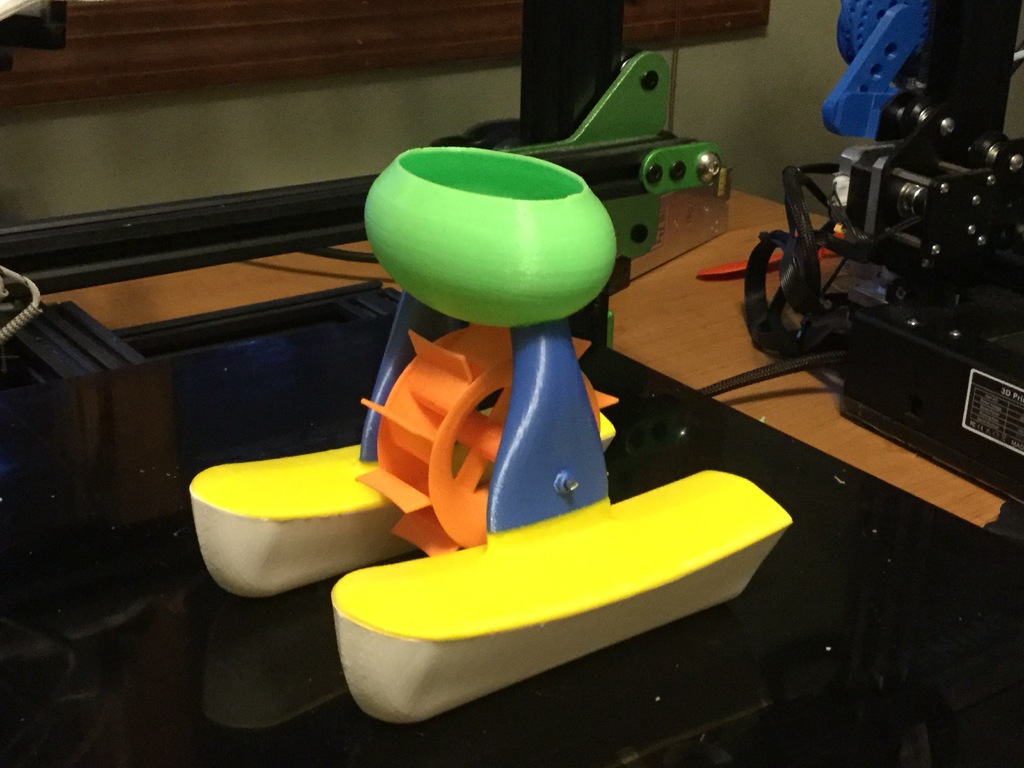
Water Wheel Toy Boat
thingiverse
Pour Water in the tank to spin the water wheel and make it go. In order for this toy to work well there are a few important things to get right. The hulls need to be water tight. It is surprising how porous prints can be. I had a prototype that started sinking in a few seconds. The water came in mostly thru the transom. So, I give the hulls a coating of clear Krylon paint inside and out. The other thing is the water wheel. You don't want it wobbling around very much or it will rub against the bottom of the water tank. Any restriction to the rotation of the water wheel will cause it to not work. Make sure it spins freely. The hulls are both the same and print best with their bows pointed up. I didn't need a raft or support material for them. The decks also print best pointed up in the air oriented like the STL. I used a raft and added a couple of supports to stabilize them. The water wheel parts will need support. I printed everything at .2mm and 2 layers and 10% infill except for the supports. Their tops were printed with 3 layers and I printed the spacer at .12mm not that it really needs it. The tank is more troublesome. You need less support material if you print it right side up. However, then the support material messes up the area where the tank supports attach to it. Either way works. When you glue the decks to the hulls make sure there are no gaps to let water in. The tank supports are labeled with an L and R for their respective sides and are glued onto the hulls next. The holes in the tank that accept the pins from the top of the supports will probably need to be opened up a little. There is a fixture that helps keep things aligned when gluing the tank to its supports. Put the fixture in the water wheel axel holes to keep the spacing right. There is also a little arrow in the tank that points forward. It won't work if you put the tank in backwards. The spacer is glued to the waterwheel and you are ready to fit the axel. Pour Water in the tank to spin the water wheel and make it go. In order for this toy to work well there are a few important things to get right. The hulls need to be water tight. It is surprizing how porous prints can be. I had a prototype that started sinking in a few seconds. The water came in mostly thru the transom. So, I give the hulls a coating of clear Krylon paint inside and out. The other thing is the water wheel. You don't want it wobbling around very much or it will rub against the bottom of the water tank. Any restriction to the rotation of the water wheel will cause it to not work. Make sure it spins freely. I used .1 inch aluminum rod for the axel. You will need to drill out the water wheel holes and support holes out to match the material you choose to use. Run the axel all the way from side to side. Since the printers tend to make the little holes smaller than the drawings you will also want to open up the outlet hole in the tank to about .12 inches.
With this file you will be able to print Water Wheel Toy Boat with your 3D printer. Click on the button and save the file on your computer to work, edit or customize your design. You can also find more 3D designs for printers on Water Wheel Toy Boat.