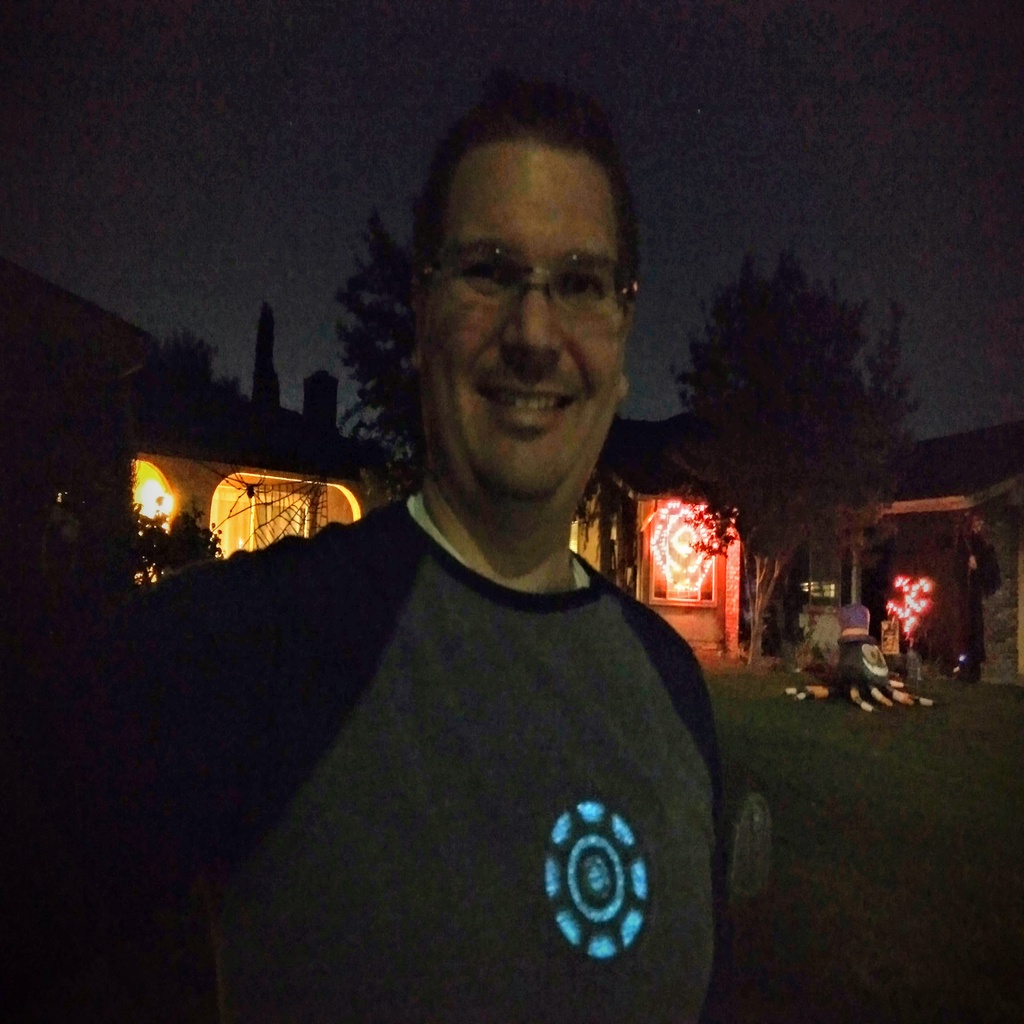
Wearable Tony Stark (Iron Man) Arc Reactors
thingiverse
Print 1x Casing, Diffuser, and Clip. Decide which design you'd like to use - the original coil or the triangle. The original coil requires both the core v2 (resized to fit properly) and the original coil from Landru. The triangle just needs triangle v1 to be printed. If you need to read up on the arc reactor: https://ironman.fandom.com/wiki/Arc_Reactor. Make sure the pieces assemble before gluing anything into place. I included color coded images to show how each design should go together and instructions below. I also found a design that make a pretty nice EDITH pair of glasses: https://www.thingiverse.com/make:722431 Needed to complete: EL wire (2 pack with multiple colors) : You'll want 1m (3') or electric/ice blue, blue or white: https://amzn.to/32EbGNT or https://amzn.to/2BAGN1i. These are powered by 2AA batteries. Its often cheaper to just get a multipack. Think of all the fun projects you could do with those colors. ;) 1/2" elastic band. Measure around your chest and subtract about 3 inches, maybe a little more depending on how tight you'd like the fit. Sadly its probably cheaper to buy this in bulk or maybe a little less at a local craft shop: https://amzn.to/2MEvTxz. Glue: I recommend E6000 (https://amzn.to/2BAHPdG) or hot glue for a faster build, just don't use too much or the pieces won't fit well. Do this first: 1M (3') of EL wire is wound through the diffuser. One of the photos gives an example of what I did, but you can pick any winding pattern you choose to get the desired effect. Original designed by Landru and modified to wear: 1) glue to core to the coil, locking the pieces together using the teeth. 2) glue the diffuser with the coiled EL wire to the casing, again align the teeth. Be sure to feed the EL wire out of the casing using the notch. 3) glue the coil/core over the diffuser and on the front of the casing, again align the teeth. Try not to get glue on the face of the diffuser otherwise this will block the light or add artifacts to the illumination. 4) run the elastic band through each side of the casing and attach each end of the elastic band to a clip by folding about 1/2" through and gluing it closed ( or stitch/staple it). If you'd rather not use the clip, you can just make a loop of elastic and slide it over your head to put it on or take it off. Triangle design 1) glue the diffuser with the coiled EL wire to the casing, again align the teeth. Be sure to feed the EL wire out of the casing using the notch. 2) glue the triangle front over the diffuser and on the front of the casing. Align the triangle so that it points down when worn. There is a notch on one corner that will align with a notch in the casing. Try not to get glue on the face of the diffuser otherwise this will block the light or add artifacts to the illumination. 3) run the elastic band through each side of the casing and attach each end of the elastic band to a clip by folding about 1/2" through and gluing it closed ( or stitch/staple it). If you'd rather not use the clip, you can just make a loop of elastic and slide it over your head to put it on or take it off.
With this file you will be able to print Wearable Tony Stark (Iron Man) Arc Reactors with your 3D printer. Click on the button and save the file on your computer to work, edit or customize your design. You can also find more 3D designs for printers on Wearable Tony Stark (Iron Man) Arc Reactors.