Weather Vane Connector
thingiverse
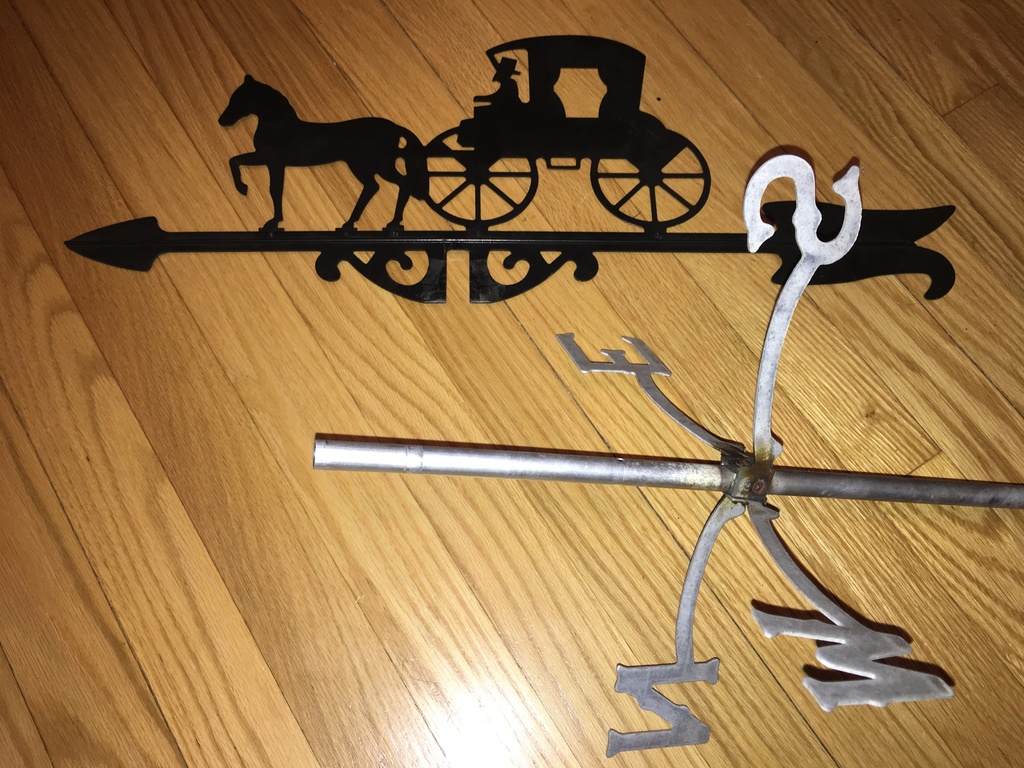
Beginning of March in Chicago we had strong winds gusting as high as 40mph. Our weather vane could not withstand the wind forces of mother nature. For the first time in sixteen years the weather vane blew off its stand. A new connector had to be designed to connect the Vane to the directionals. Using AutoCAD Mechanical 2017 I designed a new connector piece. I exported the model to STL format, and generated G-Code using Simplify3D. The new connector was printed on my 3D printer FlashForge Creator Pro. I used exotic filament Stainless Steel PLA supplied by ProtoPasta. The 3D model was printed at extruder temperature 230C and platform temperature 60C. The 3D model took 6hours and 4minutes to print. The results are good, and the connector fits perfectly. The Stainless Steel filament came out really nice and has the feel and weight of real steel. I used 220 grit sandpaper to polish the stainless steel connector. This was a fun project to create, design and model the replacement part and to use my 3D printer FlashForge Creator Pro to print the replacement part. Now the weather vane can go back up for many more years to come. A bottom connector will also need to be designed to connect to the mast. Once the design is completed, I will post new pictures and videos of the assembly in place, this most likely will be done when the weather is warmer and I can paint the mast to give a new look :) Have a nice day.
With this file you will be able to print Weather Vane Connector with your 3D printer. Click on the button and save the file on your computer to work, edit or customize your design. You can also find more 3D designs for printers on Weather Vane Connector.