Wedding Cake Topper & How To Make Your Own
prusaprinters
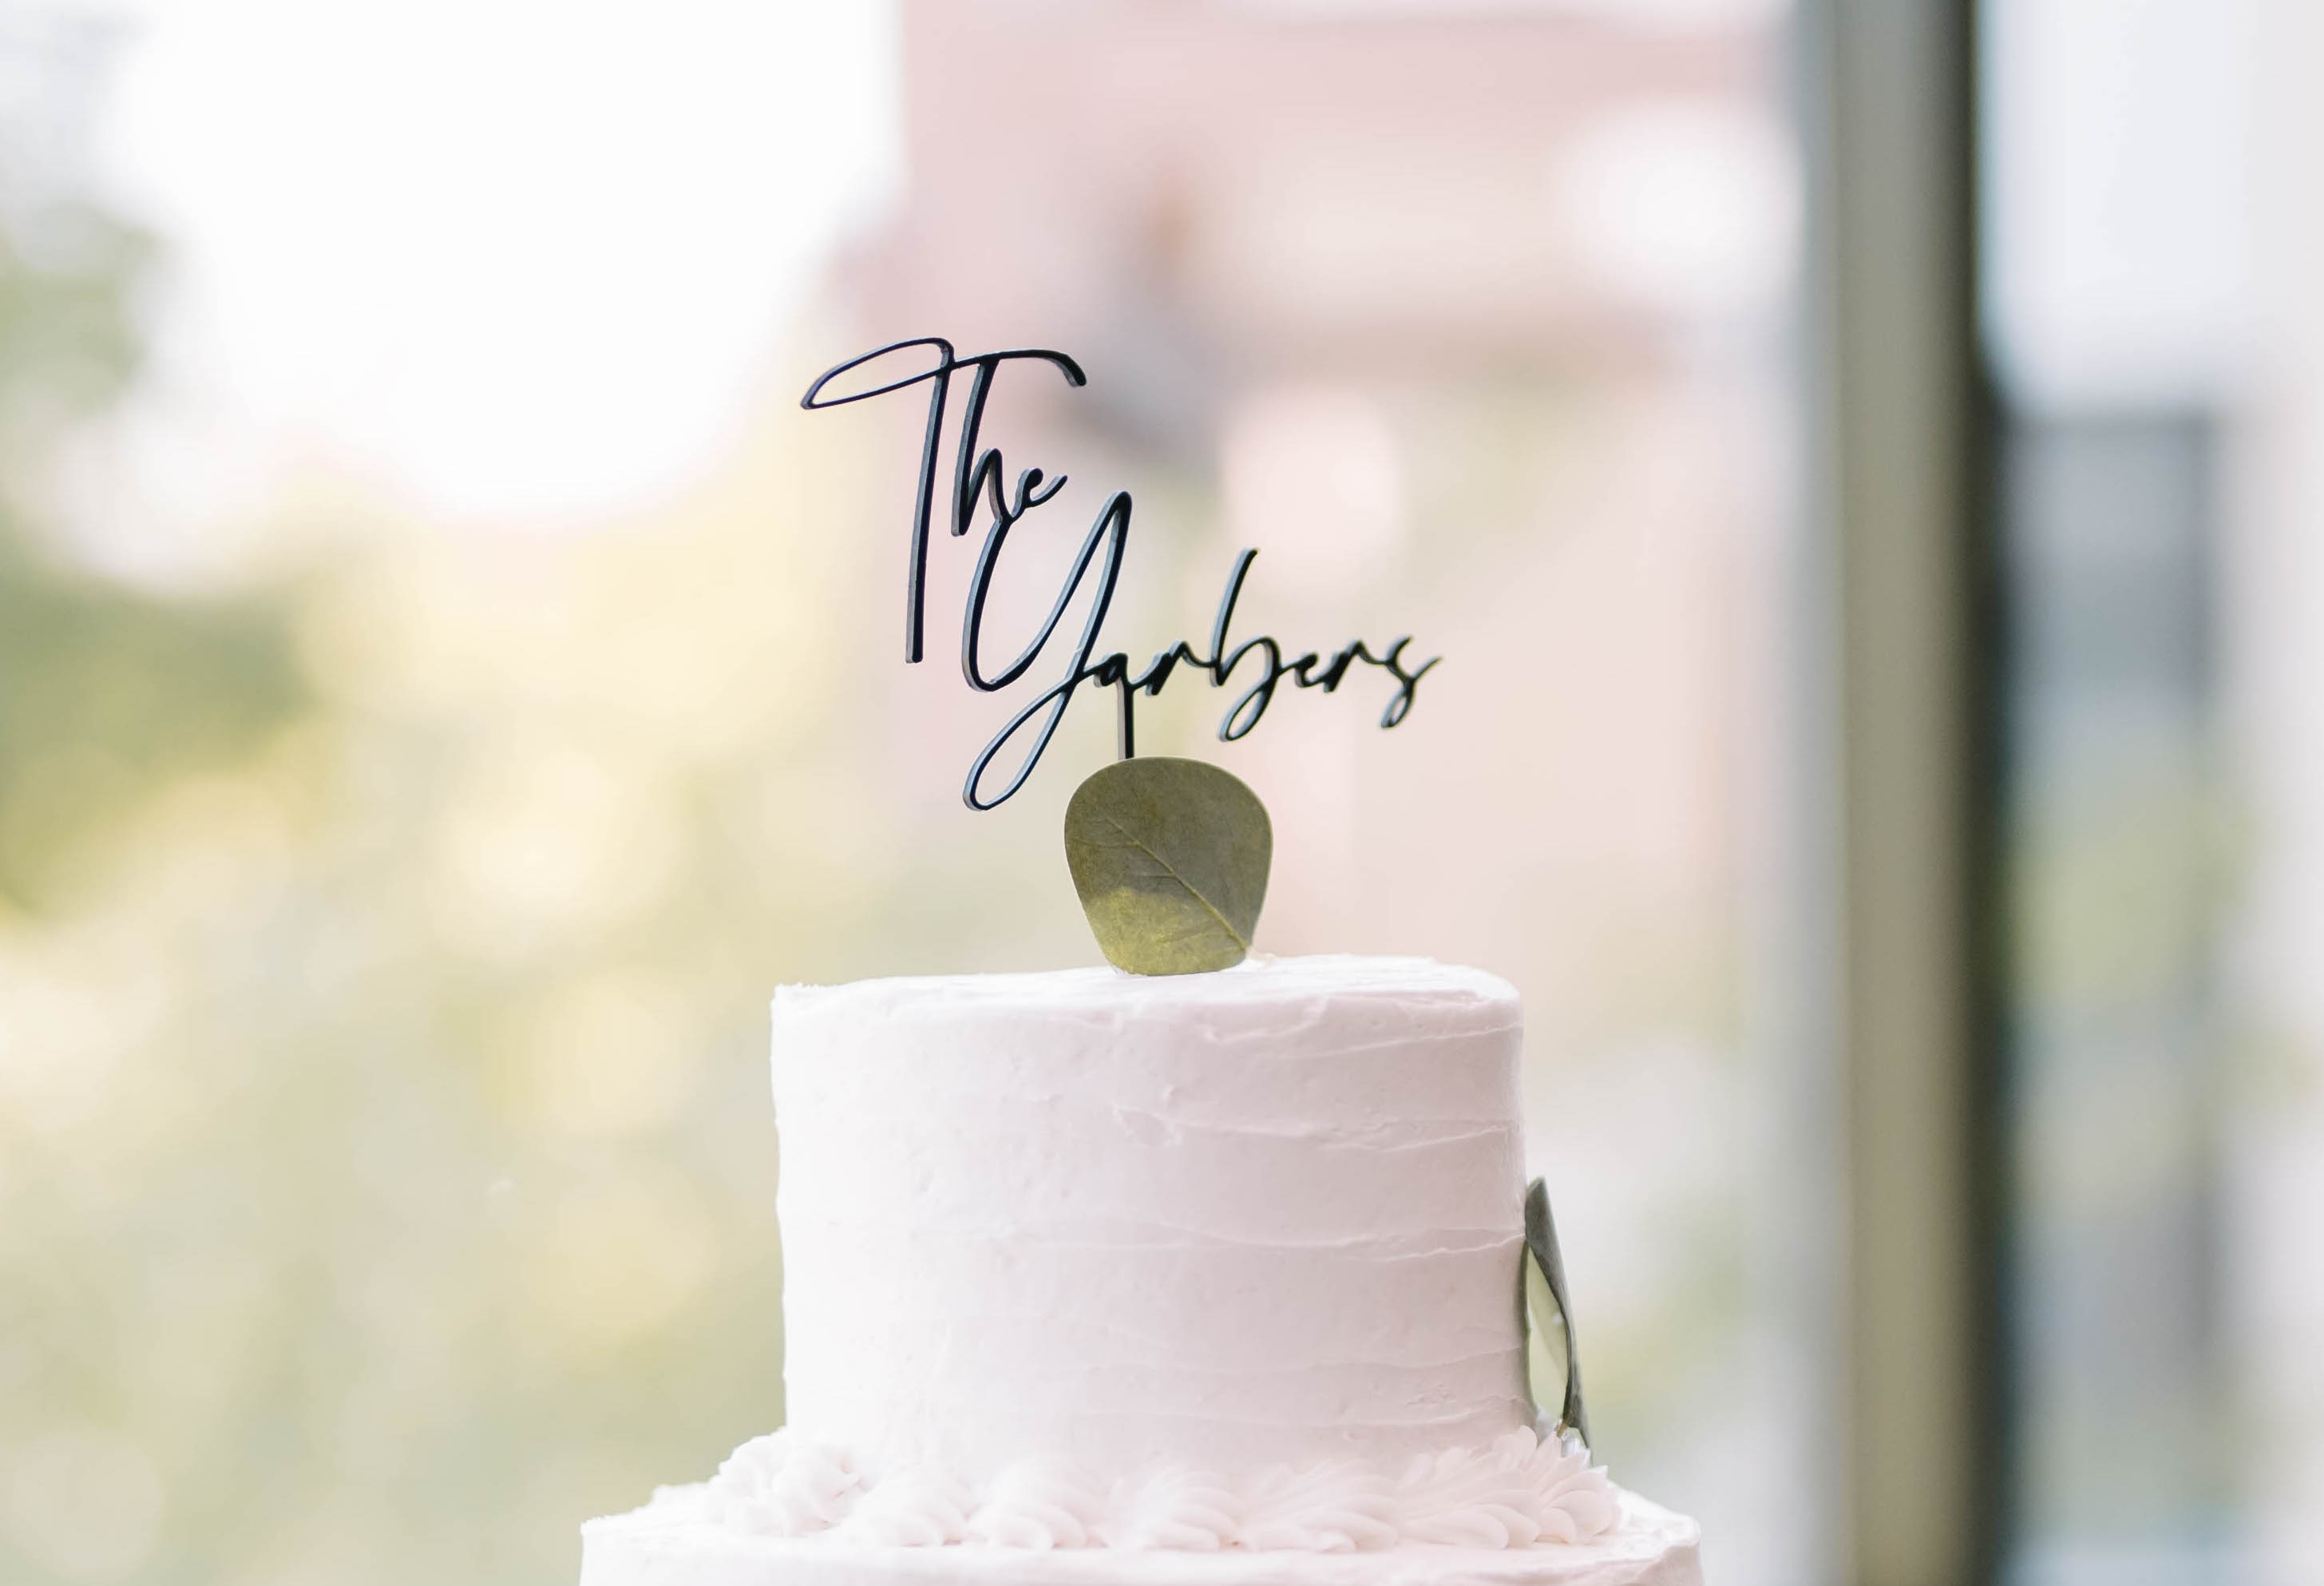
<p>This is a simple wedding cake topper I made for our wedding earlier this year. Most likely, your last name is not Yarber, but maybe this could give you a good idea of how to make one yourself. I will explain briefly how I made this one below if you want to make your own.</p><p>First of all, I want to credit the font I used: "Romantica" by Dav Studio. It was free for personal use, and I found it on FontSpace.com. Great website if you want to find a font for something like this.</p><p>I installed the font to my computer, opened Fusion 360, and added a text box to a sketch. I realized I needed to thicken it up a bit or it would be too flimsy and fragile. I extruded the text from the sketch, then I made a new sketch, projected the letter geometry onto that new sketch. This was the best way I knew to do it since you are unable to add offset to text geometries in sketches. From there, I was able to use the "offset" function on the sketch to thicken the letters up a bit. Next, I had to connect "The" and "Yarbers". The "h" and "e" in "The" were also not connected, so I needed to connect those as well. I first connected the "T", "h", and "e" together by moving the "h" up to connect it to the "T", then drawing two "control point spline" lines to make it blend in with the rest of the cursive writing. I then tried a few different positionins of "The" relative to the "Y" and settled on the one you see here.</p><p>To print this, you just need to make sure you have a good first layer. For this print, it is tricky. You might need to slow your first few layers down a little more for this print and put some glue down on the bed if you are still having trouble. One thing you might also need to change in your slicer is a setting called “Horizontal expansion” in Cura. It is often modified to help with elephant's foot on your prints, but with these thin letters, it is possible you will need to modify it.</p><p>After that, just some light sanding, painting, sanding, painting, sanding, painting - you get the idea. I finished mine with two satin clear-coats as well. Then just make sure you don't leave it in the hot car or something. with these thin profiles, the part will likely sag pretty quickly if left in the heat.</p><p>If you make your own, I'd love to know and see what you did! Comment on here if you do and share yours as a make or remix! And congrats on your wedding :)</p>
With this file you will be able to print Wedding Cake Topper & How To Make Your Own with your 3D printer. Click on the button and save the file on your computer to work, edit or customize your design. You can also find more 3D designs for printers on Wedding Cake Topper & How To Make Your Own.