Welsh Dragon (- and flag!)
prusaprinters
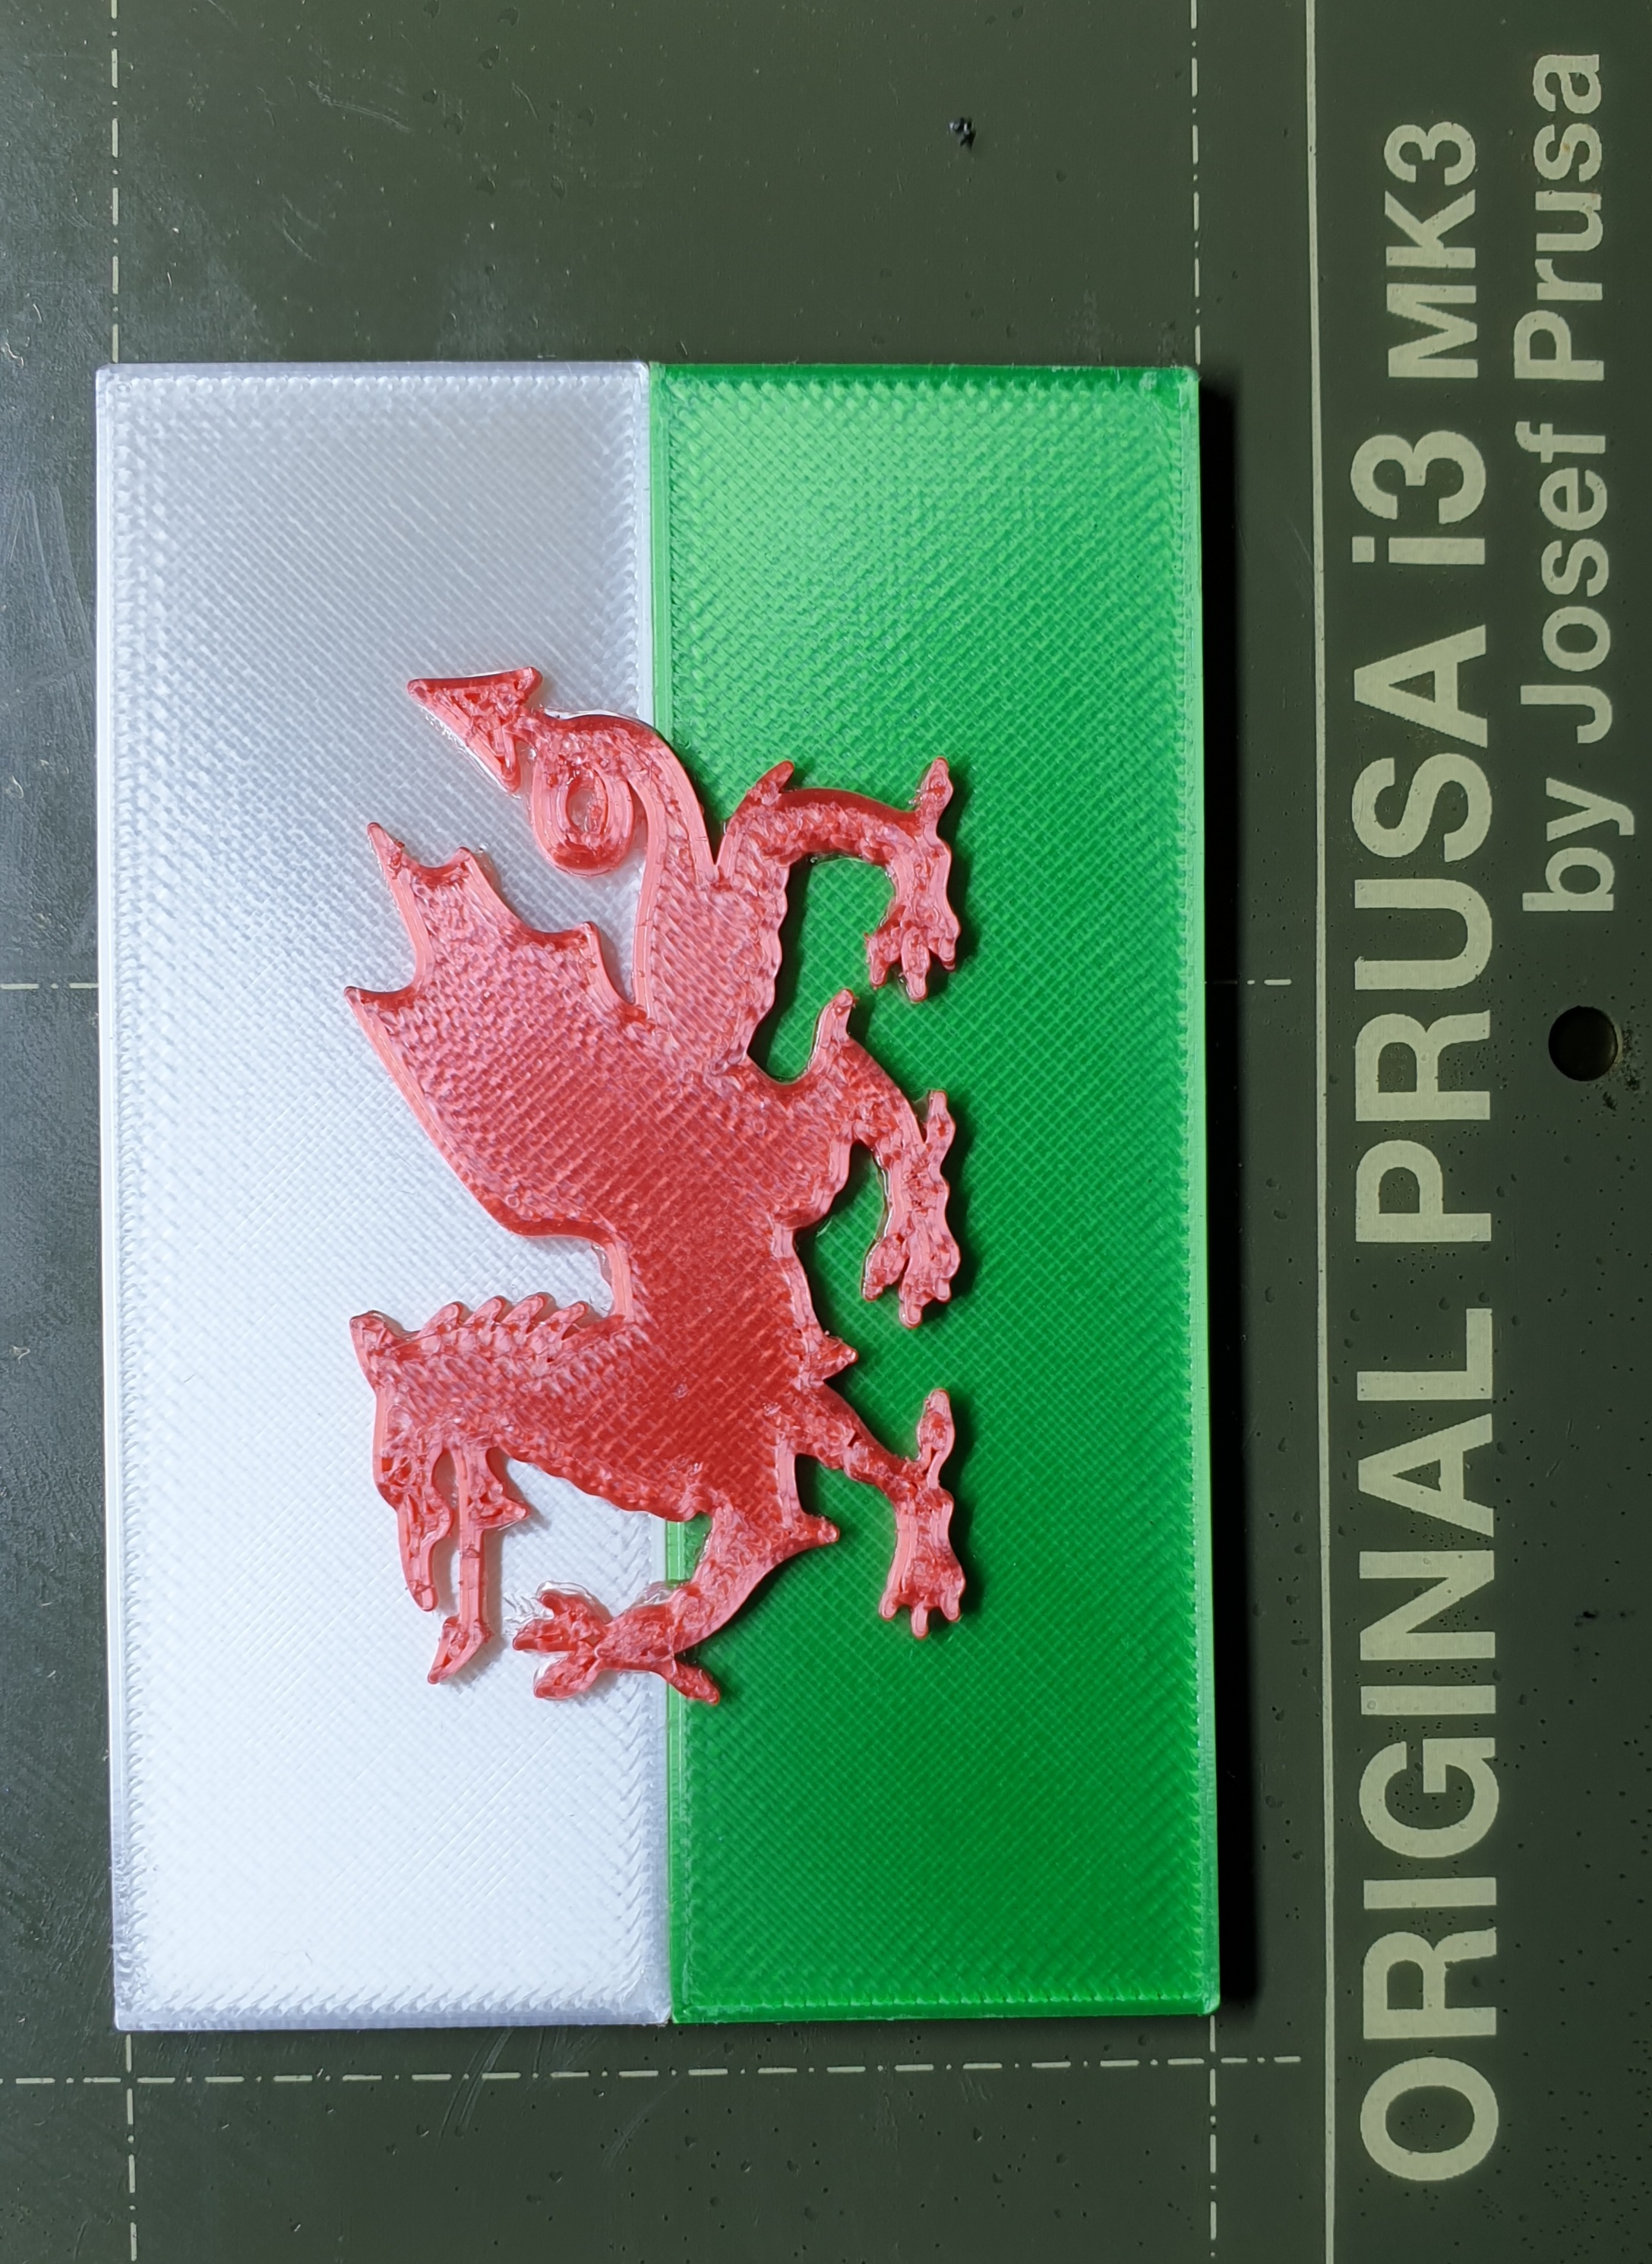
<p>Traced the outline of the classic Welsh Dragon for a flag project in Fusion360.</p><p>Extruded to 1mm height, to be able to attach it onto the 2-colour background of the Welsh Flag.</p><p>Took a while to print and several hours more to clean up all the printing 'hairs' from between its toenails and other bits under the microscope!</p><p>However, when printed in red it really does stand out.</p><p>As a challenge for digital sculptors out there, why not try importing the extruded face into Meshmixer or similar and sculpt a more tactile 3D-contoured (varied Z height) version in ultra detail, for things like large plaques or small fridge magnets? I can already visualise a 3D plaque e.g. on the side of a building.</p><p>The .f3d (Fusion360) CAD file is included so it'll give you a head start in sculpting.</p><p>With enough time & tenacity the possibilities are endless...</p><p>Enjoy!</p><p> </p><h3>Print Settings</h3><p><strong>Printer Brand:</strong></p><p>Prusa</p><p> </p><p><strong>Printer: </strong></p><p>i3 MK3</p><p><strong>Rafts:</strong></p><p> </p><p>No</p><p> </p><p><strong>Supports: </strong></p><p>No</p><p><strong>Resolution:</strong></p><p> </p><p>0.05mm Ultradetail MK3</p><p> </p><p><strong>Infill: </strong></p><p>30%</p><p><br><strong>Filament:</strong><br>[Generic PLA ](http://www.amazon.com/s?url=search-alias&field-keywords=Generic+PLA&tag=thingiverse09-20) - In red of couse! <br> </p><p><strong>Notes: </strong></p><p>Although by default I do use brims, no brims does help make cleanup of the dragon itself easier - 'Dimafix' does come in very useful without brims. (For larger flat areas such as the flag rectangles, it may need a little experimentation.) My understanding of Dimafix's adhesion properties, is that (by crude definition) it's based on PLA dust which is dissolved in/ mixed with acetone. (There are however likely other additives included in such an expensive formula - giving it the GBP15-20 per 90ml price tag!) </p><p>Be very careful when removing the print from the heatbed/ print plate if no brims are used on this one as some of the end bits are quite small & PLA is fragile even at this size - use plenty of patience and a very fine blade/ scalpel and/ or tweezers. Jeweller's needle files also come in very handy at this stage. (The standard tweezers I use are ESD rated - very sharp/ pointed, with matt black coated handles for SMD work.)</p><p>When finishing the top surface of the dragon, if you want to remove the printed finish of very fine visible lines, you can try using a fine grain sand/ emery paper or similar abrasive to give it a more matt finish which doesn't shine when bouncing light off it. Wipe it off afterwards to help enhance the matt effect.</p><p>Make sure any such finishing attempts are made ~before~ attaching it to the flag base and, experiment first with a printed section which can be discarded! To prepare the flag base, a simple horizontal rectangle was extruded, divided in two with a second face for the lower (green) colour, this half cut downwards to reduce the total Z height from 2mm to 0.9mm. </p><p>This produced a 'stepped' result, leaving room for a 1mm extrusion height of a different colour, i.e. green. In CAD, the designed clearance between the two colours is 0.1mm for a snug fit between both the horizontal dividing lines of the white and green coloured pieces, and under the green half-section which sits on the lower white 'step'.</p><p>These two pieces are then glued together with CA/ superglue - be quick but careful, as the bind between PLA and superglue is literally instant and permanent, so it's probably best to apply the superglue down the thin outside edge of the flag pieces and let capillary action 'draw' the glue inwards - just avoid getting it on the viewed part of the flag or you'll spoil it with nasty white patches! </p><p>An alternative method is to put a drop of superglue on the white 'step' while the green section is rested against the long edge in the middle of the flag. Lower it carefully onto the step while keeping it properly aligned at the left & right edges. Just remember, once it's stuck it's permanent.</p><p>When attaching the printed red dragon itself to the flag, use a clear, more repositionable but permanent glue, such as Unibond or E6000, which can more easily be removed when performing the final cleanup, preferably under a decent magnifier (15-20x) or low-power stereo microscope.</p><h3>Post-Printing</h3><p><strong>Cleanup time - expect it to be several hours.</strong></p><p>Spent at least 4.5 hours picking away at the hairs to give the dragon a clean finish - fine craft knife/ #11 scalpel blade and thin tweezers under an old 'Prior' low power 20x stereo microscope. The larger printed dragon was much easier in cleanup as the scalpel/ craft knife fitted into the holes much more easily. An old toothbrush also comes in handy for finishing as long as it's used carefully.</p><h3>How I Designed This</h3><p><strong>Raster Image > SVG > CAD (Fusion360)</strong></p><p>Used Inkscape to trace the original low res .jpg image with bezier curves, saved file into .svg format, ready for insertion as a background into Fusion360. (Photoshop can also be used for creating the Bezier curves, but Inkscape is a freebie...)</p><p>Retraced .svg image inserted into background in Fusion360 model file, zooming in & out to make sure all line ends were actually connected (crucial!) - This stage took several hours on its own as there is a lot of editing needed to simplify the bezier curves for a cleaner result.</p><p>Once the image face is 'sealed' closed and the face turns a transparent beige, it is ready for extrusion, saving to .STL and then exporting to .gcode formats.</p><p>Ultimately, the love of fine detail and all the associated hard work pays off!</p><p>Enjoy!</p><p>Category: Scans & Replicas</p>
With this file you will be able to print Welsh Dragon (- and flag!) with your 3D printer. Click on the button and save the file on your computer to work, edit or customize your design. You can also find more 3D designs for printers on Welsh Dragon (- and flag!).