Wemos D1 Mini Development Board
thingiverse
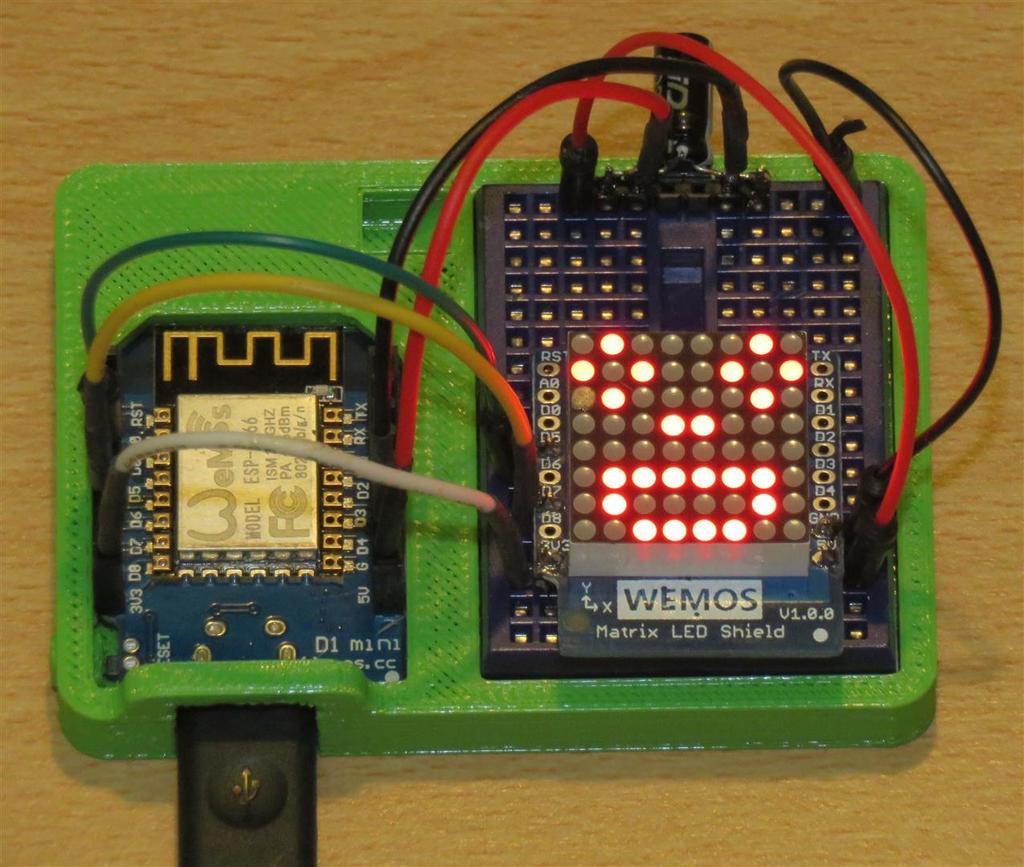
This is a compact holder for a Wemos D1 Mini and a small breadboard for easy development of ESP8266 projects. Genuine Wemos modules have the USB and reset button below the board and some clones have them above. This holder will accommodate both types. Those little breadboards vary in size a bit and I've sized for the largest one I have so yours may move around a bit; use the adhesive on the back. Insert the reset button before you put in the D1. It's fiddly but it's worth it. Then slide the antenna end of the D1 onto the shelf at the top and push down at the front. It should be a snug fit but if it comes loose the bridge over the USB plug stops the whole thing sliding out. For a more permanent set-up (such as if you want to test your project away from the PC) I've included a channel at the top of the board to feed through a power cable. The red and black wires from a USB lead with the small plug cut off fed from a standard mains USB charger make an ideal 5V source. The holder itself is a simple print (see photo for under-extrusion example; need to fix that!) but you may need a raft for the reset button as it's tiny. Say no if your slicing software offers to resize it.
With this file you will be able to print Wemos D1 Mini Development Board with your 3D printer. Click on the button and save the file on your computer to work, edit or customize your design. You can also find more 3D designs for printers on Wemos D1 Mini Development Board.