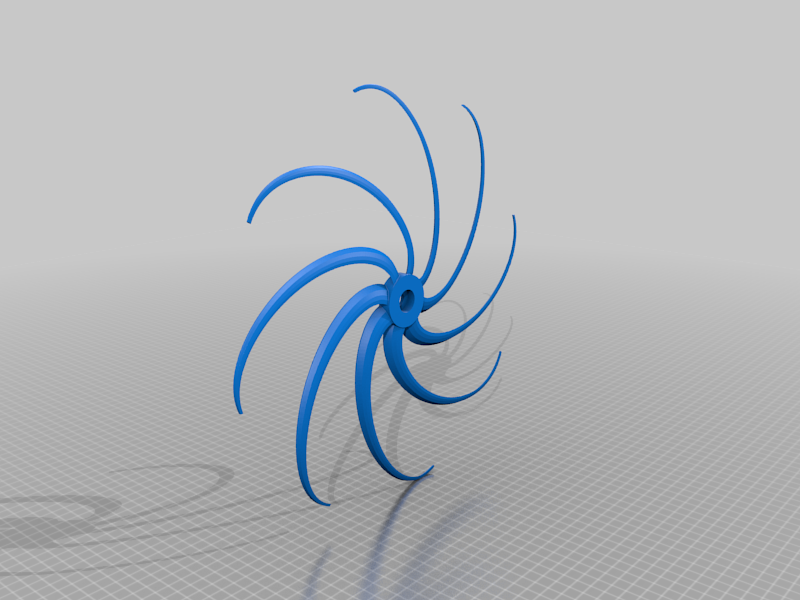
Whirlygig Garden ornament
thingiverse
https://www.youtube.com/watch?v=Uheygw-8A0Y BOM: 3D printed parts 3x 606-2RS Bearings 17x6x6 6mm Carbon Fiber Rod Assembly: Cut a length of 6mm rod long enough to thread the body assembly on to Press fit the bearings in to the blades and hub. Thread the body components on to the rod in the following order, Nose > 5mm Spacer > CCW Blades* > Hub** > 5mm Spacer > CW blades* > 3mm Spacer > Fin *Concave curve of the blades facing towards the nose. ** Integrated spacer towards nose. Cut a length of rod to the height you want your whirly gig and insert it in to the bearing on the bottom of the hub, you can then mount the whirlygig on to the base plate which can be screwed down or directly inserted in to a drilled 6mm hole.
With this file you will be able to print Whirlygig Garden ornament with your 3D printer. Click on the button and save the file on your computer to work, edit or customize your design. You can also find more 3D designs for printers on Whirlygig Garden ornament.
