Wifi Prusa Light Bar (WLED + NeoPixels)
prusaprinters
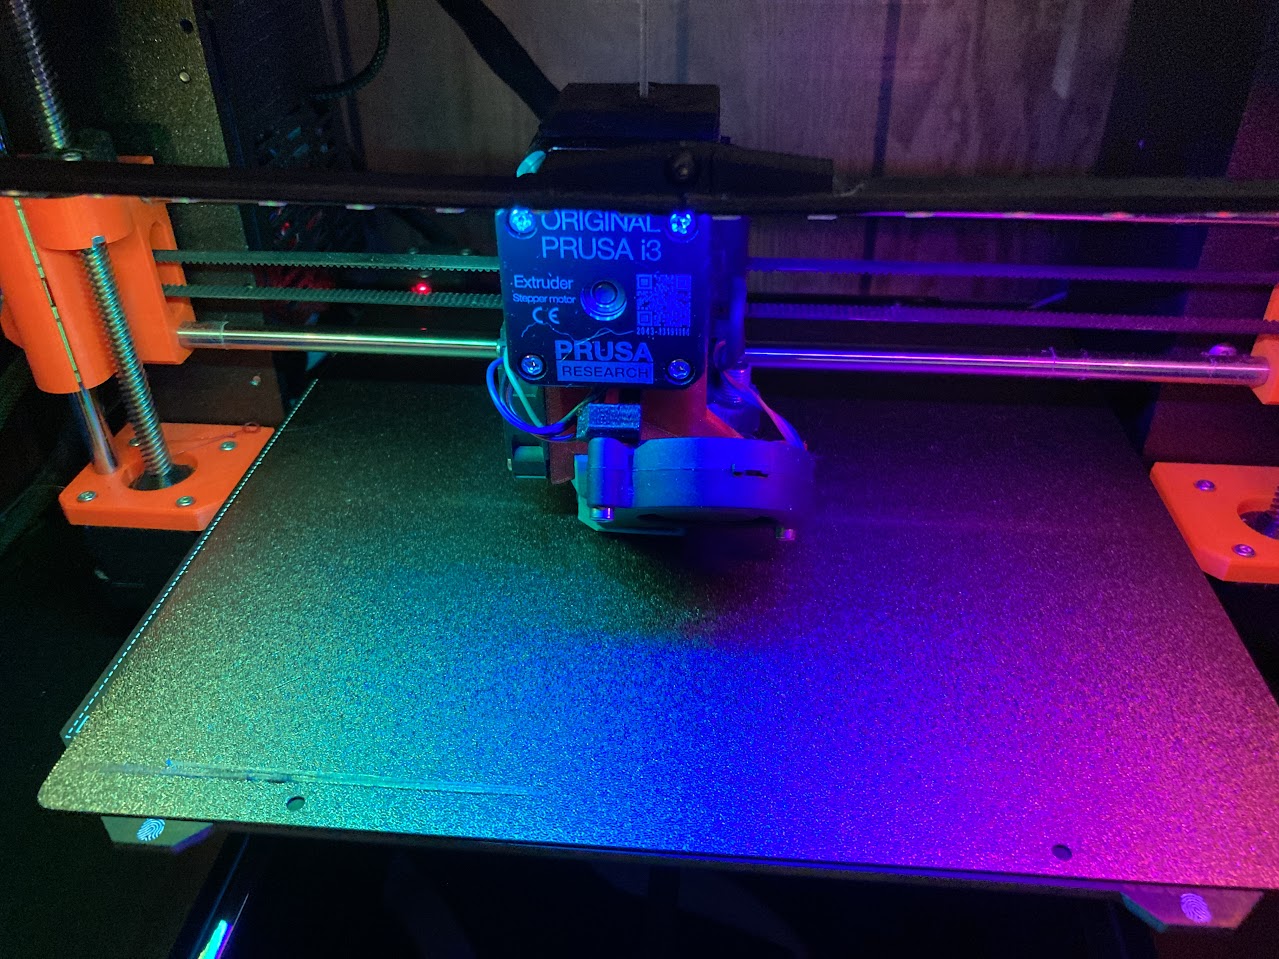
<h3>Work In Progress!!</h3><p>This design is a work in progress. Here is a list of current issues / todos:</p><ul><li>After printing, P73 goes low and stays low. WLED interprets this as a new button hold event every few seconds. Causes flickering, setting the same animation as currently playing.<ol><li>Possible Fix: Set the Button Hold → Idle animation preset to be a static non-animated color band.</li><li>Possible Fix: Remove the button hold macro. Use press and double press to navigate the presets.</li></ol></li><li>After a power cycle, the ESP8266 filesystem becomes corrupt when connecting P73 through a voltage divider to the D3 input. Measured 1.2V when first turned on (bad).<ol><li>Solved: Moved to D1 and using a reverse diode and 3.3v pullup resistor to convert from 5V. Measured 3.3V when first turned on (good)</li></ol></li><li>ESP8266 crashes periodically. Scope says the 5V and P73 lines are noisy during a print job. <ol><li>Possible Fix: Try adding a 330uf or 1000uF capacitor to each. </li></ol></li><li>Finalize presets file. <ol><li>TODO: No .json is attached, use appendix for now.</li></ol></li></ul><p> </p><h3>Introduction</h3><p>By inserting custom gcode into PrusaSlicer, we can press a virtual button input to an ESP8266 running WLED. This gives us the benefits of <a href="https://kno.wled.ge/">WLED</a> (wifi smartphone app and lots of animation options) with very little overhead. </p><p>A typical print will follow the following animation routine:</p><ol><li>Button Hold → Idle</li><li>Button Double Press → Heating Up</li><li>Button Press → Auto Bed Leveling</li><li>Button Press → Active Print</li><li>Button Hold → Idle</li></ol><p>No raspberry pi needed. If you are running OctoPrint, you can still follow this build. Do not wire the ESP8266 into your einsy. Instead, use the <a href="https://plugins.octoprint.org/plugins/wled/">WLED OctoPrint Plugin</a>.</p><h3>Shopping List</h3><ul><li><a href="https://amzn.to/3HHer6F">WEMOS D1 Mini</a> - ESP8266 Wifi Dev Board</li><li><a href="https://amzn.to/3Od4rnT">Addressable RGB Strip</a> - Check <a href="https://kno.wled.ge/basics/compatible-hardware/">here</a> for compatibility</li><li><a href="https://amzn.to/3NiOv29">DuPont Connectors</a> or <a href="https://amzn.to/3Ogu4US">DuPont Connectors and Crimping tool</a></li><li>Two M3x20 Screws and One M3x8 Screw (check your prusa spare parts bag)</li><li><a href="https://amzn.to/3y8FF2N">3 wire cable</a></li><li>Zip Ties</li><li><a href="https://amzn.to/3OhRU2A">Hot Glue Gun</a></li><li>Double Sided Tape</li></ul><p>Optional:</p><ul><li><a href="https://amzn.to/3Ov75VW">Bamboo Sticks</a> - Gives a better finish than a 3d printed support bar.</li><li><a href="https://amzn.to/3n9Fq17">Tactile Button</a> - So you can control the lights without gcode or your phone.</li><li><a href="https://amzn.to/3tTK6vI">Soldering Kit</a></li><li><a href="https://amzn.to/39IbWUW">Heat Shrink Tubing</a></li><li><a href="https://amzn.to/3ycIYWH">Braided Sleeving</a></li><li>Black Spray Paint</li><li>8mm magnets to attach lightbar (can also use glue)</li></ul><p>We are a participant in the Amazon Services LLC Associates Program, an affiliate advertising program designed to provide a means for us to earn fees by linking to Amazon.com and affiliated sites.</p><h3>Remix Notes and Assembly</h3><p>This is a remix of <a href="https://www.printables.com/model/60857-prusa-multi-color-unit-rgb-individually-addressabl">Prusa Multi-Color Unit | RGB Individually Addressable LED Light Bar</a> by Mew. Go there for additional 3D parts and assembly notes. Come back here for wiring and WLED setup.</p><p><strong>Changes from Mew's Version:</strong></p><ul><li>Light Controller box stl fits in a D1 Mini.</li><li>Added magnetic end caps</li><li>Added support bars (replaces bamboo sticks)</li><li>Wiring for D1 Mini</li><li>Custom G-Code for WLED integration</li></ul><h3>WLED </h3><p><strong>Installation</strong></p><p>Installation is all done from your browser. No tools needed.</p><ol><li>Plug the ESP8266 into your computer </li><li>Visit <a href="https://install.wled.me/">https://install.wled.me/</a></li><li>Click Install and select your com port</li><li>Connect to Wifi and launch settings</li></ol><p><strong>Settings</strong></p><p>After connecting to your WLED installation, set the config options:</p><p>Config > LED Preferences:</p><ul><li>LED outputs > Pin: 2 (D4)</li><li>LED outputs > Count: 20</li><li>Button pin = 5 (D1)</li><li>Apply preset 1 at boot (Idle Animation)</li></ul><p>Config > Time & Macros:</p><ul><li>Button short press Preset = 99 (Next Animation)</li><li>Long Press = 1 (Idle Animation)</li><li>Double Press = 2 (Heating Animation)</li></ul><p>Optional: If you have a tactile button, you can also setup Button 2’s input and Macros.</p><p><strong>Presets</strong></p><p><strong>THIS SECTION IS A WORK IN PROGRESS!!! USE PRESETS FROM APPENDIX</strong></p><p>Using WLED's file explorer, we can enter all the presets in one go.</p><ol><li>Change the url to http://yourIPaddress/edit </li><li>Rename the attached presets.json.txt to presets.json</li><li>Upload presets.json file</li><li>Change the URL back and confirm the following presets were added:<ul><li>Preset 99 Next</li><li>Preset 1 Idle</li><li>Preset 2 Heating Up</li><li>Preset 3 Bed Leveling</li><li>Preset 4 Active Print</li></ul></li></ol><p>Tips: </p><ul><li>Click 'PC Mode' for a better interface when using from PC.</li><li>Click ‘Peek’ to preview the animations without connecting the light bar.</li><li><a href="https://kno.wled.ge/">Getting started with WLED</a></li></ul><p><strong>Wiring</strong></p><p><strong>THIS SECTION IS A WORK IN PROGRESS!!!</strong></p><p>Now that WLED is configured, you can wire your ESP8266 into the neopixel strip and Prusa.</p><ul><li>Use J19-7 (PJ3) on the einsy board for the button input to WLED. </li><li>Use a diode and 10k resistor to drop the 5 volts to below 3.6 volts for the ESP8266.</li><li>Add a 330uF to 1000uF capacitor to the 3.3 volt rail.</li></ul><p><strong>THIS SECTION IS A WORK IN PROGRESS!!!</strong></p><figure class="image"><img src="https://media.printables.com/media/prints/230354/rich_content/446f0db0-0705-45c7-8083-d3183f6ccc45/image.png#%7B%22uuid%22%3A%22617a0980-aab1-46b6-a753-12de052aa3b3%22%2C%22w%22%3A1675%2C%22h%22%3A816%7D"></figure><h3>PrusaSlicer Settings</h3><p>Do not just copy and paste these. Compare them to your own Custom G-code in your PrusaSlicer > Printer Settings. Copy only the animation parts for toggling the P73 without erasing your existing G-Code.</p><p>When done, save your new printer profile in PrusaSlicer.</p><p><strong>Start G-code:</strong></p><pre><code class="language-plaintext">M862.3 P "[printer_model]" ; printer model check M862.1 P[nozzle_diameter] ; nozzle diameter check M115 U3.11.0 ; tell printer latest fw version G90 ; use absolute coordinates M83 ; extruder relative mode M42 P73 S255 ; Heating Up Animation G4 P500 M42 P73 S0 G4 P150 M42 P73 S255 G4 P150 M42 P73 S0 G4 P150 M42 P73 S255 M104 S[first_layer_temperature] ; set extruder temp M140 S[first_layer_bed_temperature] ; set bed temp M190 S[first_layer_bed_temperature] ; wait for bed temp M109 S[first_layer_temperature] ; wait for extruder temp M42 P73 S255 ; Auto Bed Leveling Animation G4 P500 M42 P73 S0 G4 P150 M42 P73 S255 G28 W ; home all without mesh bed level G80 ; mesh bed leveling M42 P73 S255 ; Active Print Animation G4 P500 M42 P73 S0 G4 P150 M42 P73 S255 G1 Z0.2 F720 G1 Y-3 F1000 ; go outside print area G92 E0 G1 X60 E9 F1000 ; intro line G1 X100 E12.5 F1000 ; intro line G92 E0 M221 S{if layer_height<0.075}100{else}95{endif} ; Don't change E values below. Excessive value can damage the printer. {if print_settings_id=~/.*(DETAIL @MK3|QUALITY @MK3).*/}M907 E430 ; set extruder motor current{endif} {if print_settings_id=~/.*(SPEED @MK3|DRAFT @MK3).*/}M907 E538 ; set extruder motor current{endif} </code></pre><p><strong>End G-code:</strong></p><pre><code class="language-plaintext">{if max_layer_z < max_print_height}G1 Z{z_offset+min(max_layer_z+1, max_print_height)} F720 ; Move print head up{endif} G1 X0 Y200 F3600 ; park {if max_layer_z < max_print_height}G1 Z{z_offset+min(max_layer_z+49, max_print_height)} F720 ; Move print head further up{endif} G4 ; wait M221 S100 ; reset flow M900 K0 ; reset LA {if print_settings_id=~/.*(DETAIL @MK3|QUALITY @MK3|@0.25 nozzle MK3).*/}M907 E538 ; reset extruder motor current{endif} M104 S0 ; turn off temperature M140 S0 ; turn off heatbed M107 ; turn off fan M84 ; disable motors M42 P73 S255 ; Idle Animation G4 P500 M42 P73 S0 G4 P1000 M42 P73 S255 </code></pre><h3>Appendix: References</h3><ul><li><a href="https://blog.prusa3d.com/how-to-create-beautiful-3d-print-timelapse-videos_29743/&_gac=1.115873012.1655477639.Cj0KCQjwzLCVBhD3ARIsAPKYTcQ54c2qwARcvMDKiD2UkZp1hV2ZENW4LK9KNt6VzY9P_PFLrg_ntPYaAjdnEALw_wcB">How to create beautiful 3D print timelapse videos</a> Button controls from gcode</li><li><a href="https://plugins.octoprint.org/plugins/wled/">Octoprint WLED Plugin</a> Octoprint raspberry pi to WLED interface</li><li><a href="https://www.printables.com/model/60857-prusa-multi-color-unit-rgb-individually-addressabl">Prusa Smart Lights</a> Runs on an Arduino Nano and has ~16 animations to choose from. All programmable from gcode. I have this installed on one of my printers and it works great!!</li><li><a href="https://randomnerdtutorials.com/esp8266-pinout-reference-gpios/">ESP8266 Pin Selection Guide</a></li><li><a href="https://reprap.org/wiki/EinsyRambo_development">Einsy Rambo Pin List</a></li><li><a href="https://next-hack.com/index.php/2017/09/15/how-to-interface-a-5v-output-to-a-3-3v-input/">5V to 3.3V logic level translation</a> The Einsy outputs 5V and the WLED input is not really 5V tolerant.</li><li><a href="https://github.com/Aircoookie/WLED/wiki/Settings">WLED Button Timings</a></li><li><a href="https://www.youtube.com/watch?v=wf_msvWv1jk">How to properly power the ESP8266 modules</a> - ESP8266 Power and Crashing</li></ul><h3>Appendix: Annotated Gcode Logic</h3><p>WLED is expecting button presses with specific timings.</p><ul><li>A short press (less than 700ms) will go to the next preset</li><li>A long press (greater than 700ms) will go to the idle animation</li><li>A double press (two short presses within 700ms) will go to the heating animation</li></ul><p><strong>Short Press</strong></p><pre><code class="language-plaintext">M42 P73 S255 //clear previous G4 P500 M42 P73 S0 //short press G4 P150 M42 P73 S255 //clear press</code></pre><p><strong>Long Press</strong></p><pre><code class="language-plaintext">M42 P73 S255 //clear previous G4 P500 M42 P73 S0 //long press // no need to wait to clear</code></pre><p><strong>Double Press</strong></p><pre><code class="language-plaintext">M42 P73 S255 //clear previous G4 P500 M42 P73 S0 //short press G4 P150 M42 P73 S255 G4 P150 M42 P73 S0 //double press G4 P150 M42 P73 S255 //clear press</code></pre><h3><br>Appendix: Animation Presets</h3><p>This is for reference only. Uploading the presets.json will set these for you. Or make your own :D the app is very easy to use with lots of youtube tutorials.</p><ol><li>Click Create Preset</li><li>Unclick Use current state</li><li>Copy paste one of the following API commands</li><li>Save to the corresponding ID number</li></ol><p><strong>Preset 1 Idle</strong></p><p>This needs to be a static non-animation. Holding the button after the print can re-trigger the animation to start over and cause flickering of a moving animation.</p><pre><code class="language-plaintext">{"on":true,"bri":255,"transition":7,"mainseg":0,"seg":[{"id":0,"start":0,"stop":20,"grp":1,"spc":0,"of":0,"on":true,"frz":false,"bri":255,"cct":127,"col":[[255,224,160],[0,0,0],[0,0,0]],"fx":115,"sx":187,"ix":0,"pal":0,"sel":true,"rev":false,"mi":false},{"stop":0},{"stop":0},{"stop":0},{"stop":0},{"stop":0},{"stop":0},{"stop":0},{"stop":0},{"stop":0},{"stop":0},{"stop":0},{"stop":0},{"stop":0},{"stop":0},{"stop":0}]}</code></pre><p><strong>Preset 2 Heating</strong></p><pre><code class="language-plaintext">{"on":true,"bri":128,"transition":7,"mainseg":0,"seg":[{"id":0,"start":0,"stop":20,"grp":1,"spc":0,"of":0,"on":true,"frz":false,"bri":255,"cct":127,"col":[[255,4,0],[255,180,82],[0,0,0]],"fx":2,"sx":128,"ix":128,"pal":0,"sel":true,"rev":false,"mi":false},{"stop":0},{"stop":0},{"stop":0},{"stop":0},{"stop":0},{"stop":0},{"stop":0},{"stop":0},{"stop":0},{"stop":0},{"stop":0},{"stop":0},{"stop":0},{"stop":0},{"stop":0}]}</code></pre><p><strong>Preset 3 Bed Leveling</strong></p><pre><code class="language-plaintext">{"on":true,"bri":128,"transition":7,"mainseg":0,"seg":[{"id":0,"start":0,"stop":20,"grp":1,"spc":0,"of":0,"on":true,"frz":false,"bri":255,"cct":127,"col":[[0,0,255],[255,180,82],[0,0,0]],"fx":27,"sx":128,"ix":128,"pal":0,"sel":true,"rev":false,"mi":false},{"stop":0},{"stop":0},{"stop":0},{"stop":0},{"stop":0},{"stop":0},{"stop":0},{"stop":0},{"stop":0},{"stop":0},{"stop":0},{"stop":0},{"stop":0},{"stop":0},{"stop":0}]}</code></pre><p><strong>Preset 4 Printing</strong></p><pre><code class="language-plaintext">{"on":true,"bri":128,"transition":7,"mainseg":0,"seg":[{"id":0,"start":0,"stop":20,"grp":1,"spc":0,"of":0,"on":true,"frz":false,"bri":255,"cct":127,"col":[[179,0,255],[0,26,255],[0,0,0]],"fx":9,"sx":128,"ix":128,"pal":0,"sel":true,"rev":false,"mi":false},{"stop":0},{"stop":0},{"stop":0},{"stop":0},{"stop":0},{"stop":0},{"stop":0},{"stop":0},{"stop":0},{"stop":0},{"stop":0},{"stop":0},{"stop":0},{"stop":0},{"stop":0}]}</code></pre><p><strong>Preset 99 Next Preset</strong></p><p>Preset selection loop must start at 1 so WLED can track the currently selected preset and always increment to the next preset. <a href="https://kno.wled.ge/interfaces/http-api/#presets">More info</a></p><pre><code class="language-plaintext">win&P1=1&P2=5PL=~</code></pre>
With this file you will be able to print Wifi Prusa Light Bar (WLED + NeoPixels) with your 3D printer. Click on the button and save the file on your computer to work, edit or customize your design. You can also find more 3D designs for printers on Wifi Prusa Light Bar (WLED + NeoPixels).