Wii Sensor Bar
thingiverse
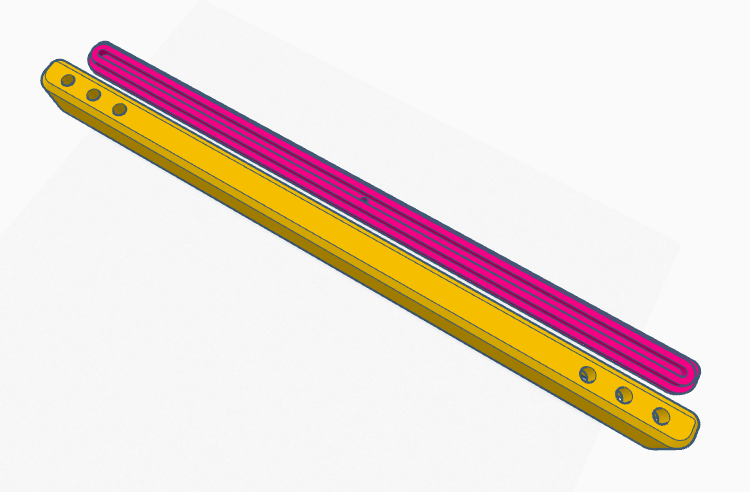
This Wii Sensor Bar matches the length of the official Nintendo product, and can be used from a normal couch distance of about 2 to 3 meters (even 1 meter works). You may be able to print it without supports. It worked for me with the Prusa i3 MK3. As for the electronics: For me it worked well to use USB (5V) as the power source. I made a circuit with 6 (six) IR LEDs (Vishay TSAL5100). Effectively I made 2 parallel sub-circuits in 1 circuit, each group with 1 resistor and 3 IR LEDs, and I connected those 2 groups to the USB power source so they could draw current independently. You can add a fuse if you like. The resistor value you need may vary depending on what IR LEDs you use, and theory does not always match reality. For me using 3.3 ohms resistors worked well, even though that seemed quite low. To get it right, make sure you use a multimeter or ammeter to measure the current in the circuit. In practice the LEDs got about 30-60 mA of current (if I remember correctly) and this worked very well with the Wii Remote from a normal couch distance of about 2 or 3 meters. Remember that, on each side, you have 3 LEDs in series, but the 2 groups of LEDs draw current in a parallel fashion from the USB power source, so to understand how much current each LED gets you should divide the total current in the circuit by 2. To ensure that the LEDs get an equal amount of current, we put each group of 3 in series. This ensures they all shine about as bright. (Conversely, if you'd run them in parallel, their internal resistances may not match up, and one LED might hog all the current and have a shorter lifespan or burn out quickly while the others get almost no current.)
With this file you will be able to print Wii Sensor Bar with your 3D printer. Click on the button and save the file on your computer to work, edit or customize your design. You can also find more 3D designs for printers on Wii Sensor Bar.