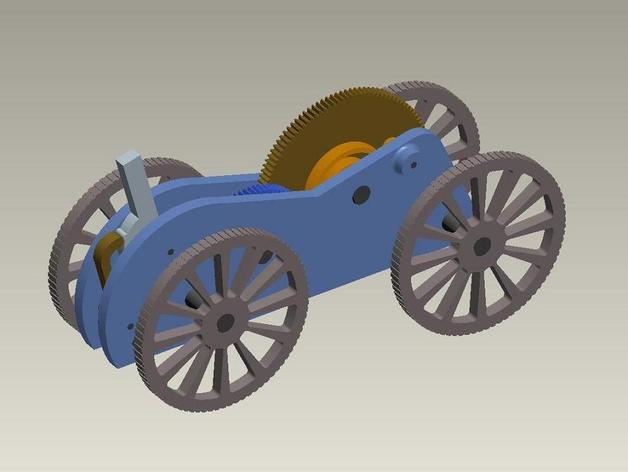
Wind-up Toy
thingiverse
This is a wind up toy using all simple parts that can be produced on a 3D printer. The spring and stop may need some experimenting with, but the mechanics and concept are simple and reliable. I think the gears and spring mechanisms do a great job of demonstrating the capabilities of 3D printers and the out-of-the-box mentality the MakerBot giveaway is encouraging. Instructions Assembly: Just print up the parts and assemble in accordance with the part call-out image. For the axles, use 3/8" D-profile shaft (mcmaster.com part # 8632T2) then use several 3/8" shaft collars (mcmaster part # 6435K13) to hold the shafts and wheels at the correct alignment positions. For the pin that hold the Latch ,Stop and Spring in location use 1/8" dowel pins (mcmaster part # 98381A476). To keep the rotating parts turning with relatively low friction, nylon washers can be used to separate the flush surfaces (mcmaster part # 90295A471). To keep the Stop and Latch located over the Ratchet, 1/8" ID x 1/4" Long spacers are required (mcmaster part # 94639A332). Operation: Make sure the Latch is flipped away from the vehicles body. Turn the wheels on the left side of the main image, counter clock-wise as shown. This will wind up the coil spring. Then flip the inward and let the vehicle take-off!
With this file you will be able to print Wind-up Toy with your 3D printer. Click on the button and save the file on your computer to work, edit or customize your design. You can also find more 3D designs for printers on Wind-up Toy.
