WIP flexure joystick gimbal
thingiverse
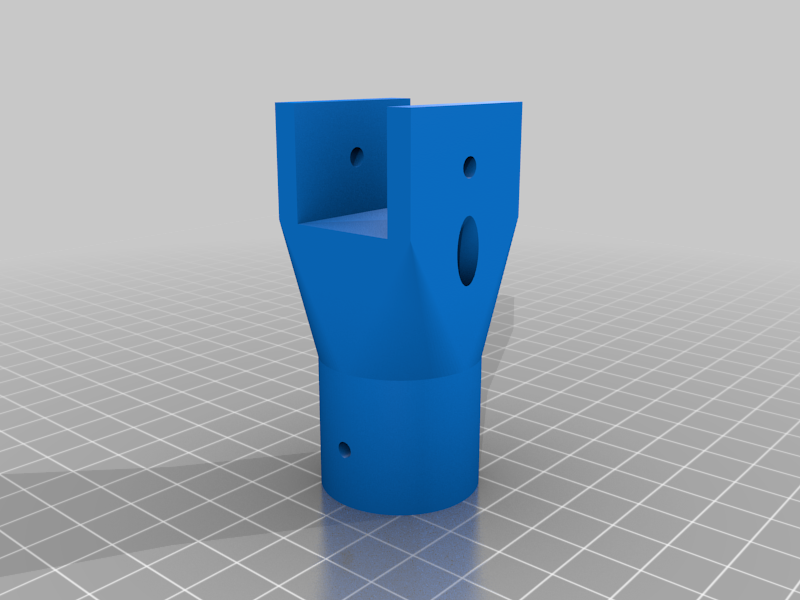
Work in progress (incomplete!) See it in action here: https://youtu.be/9fFdynCD4YY Almost entirely 3D printed joystick gimbal mechanism. Use PETG to print. Transparent PETG is probably the best option to eliminate any potential issues with the filler material. Make sure your filament is dry (bubbles in the print would be detrimental to the pivot). I used Cura for slicing. flex_pivot.stl : 0.4mm nozzle, 0.5mm line width, 2mm walls, 20% gyroid infill. Use a raft to ensure dimensional accuracy in Z (so two pivots fit together better). Other parts: I did 1mm walls and 10% gyroid infill. The "movement restrictor" and "chair wheel stand" parts are temporary for testing purposes (to be replaced with a proper 3d printed housing). Magnets: 1/4 x 1/4 x 1/16 inch square magnets, 4 total, 2 per axis. Sensors: I used Allegro 3503 hall effect sensors, but another kind may be better (something that can work at both 3.3 and 5v would be better). Sensor assembly: install magnets in the pivots (they insert down from the cut-out in the middle). Stick magnets side to side and insert, superglue magnets in place. Connect your hall effect sensor to power supply and a multimeter / oscilloscope / controller. Away from magnets, note the output voltage. Time critical step: put superglue on the sensor and insert it into the holder in the static part of the pivot, positioning it such that you obtain the same voltage as away from magnets. Do not use glue accelerant. Due to the iffiness of this step, in my next iteration I may use an adjustable sensor mount instead. Gimbal assembly: you can simply superglue the pivot centre cutouts together, that worked fine for me. Alternatively, you can use m3 bolts to screw them together (bend the pivot sideways so you can get the bolt in). Movement restrictor : it's a temporary / part for the WIP, in the end the housing will be restricting stick movement. It screws onto one pivot using wood screws, about 3mm diameter (not including threads). It is needed to avoid flexing pivots outside their safe range. Chair wheel stand: Also a temporary part. The cut out fits my office chair's wheel, i put it under the wheel to hold the stick down and also keep the chair from rolling.
With this file you will be able to print WIP flexure joystick gimbal with your 3D printer. Click on the button and save the file on your computer to work, edit or customize your design. You can also find more 3D designs for printers on WIP flexure joystick gimbal.