Wireless Chording Keyboard
thingiverse
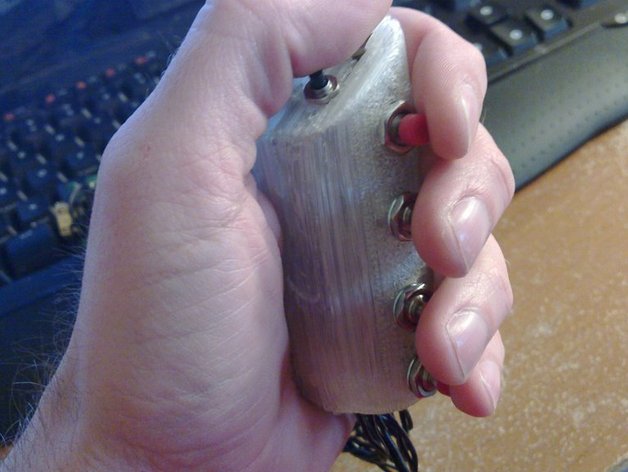
This Chording Keyboard project uses a Nintendo Wii remote as its primary input device, taking advantage of its various features such as buttons, speaker, 3-axis accelerometer, Bluetooth connectivity, and more. The Wiimote can be used to emulate both keyboard and mouse functions over Bluetooth. To create the keyboard, you'll need a Wii remote, appropriate buttons, and a way to hold everything together. The user must compile the source code from the provided GitHub repository and disassemble a Wiimote before wiring switches to it. The chording mechanism requires pressing multiple buttons simultaneously to type a character, with modifier keys like SHIFT affecting the next keystroke. The project is based on an older design, which has been slightly updated but still needs STL files for completion. Future designs are underway and will be separate Thingiverse projects. The software lives on GitHub and requires installation on Linux systems to work.
With this file you will be able to print Wireless Chording Keyboard with your 3D printer. Click on the button and save the file on your computer to work, edit or customize your design. You can also find more 3D designs for printers on Wireless Chording Keyboard.