Wizarding World of Wands
thingiverse
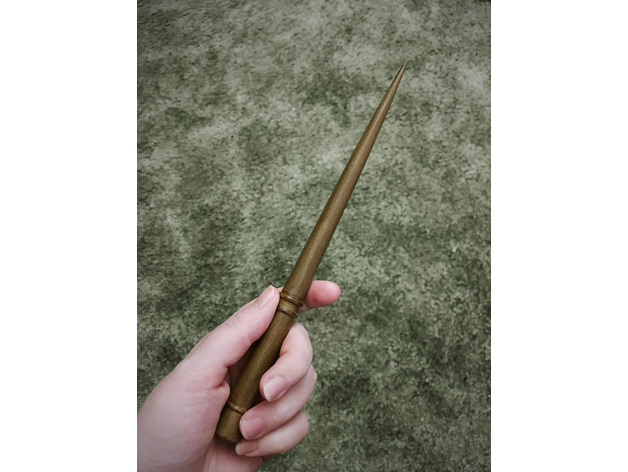
This is a three-piece wand inspired by Harry Potter, but can be used for cosplay, SCA, and other geeky pursuits. A rectangular pin holds the handle together with the tip (please read the post-printing instructions for that part!). The wand tip measures 167mm in length, so please ensure your printer can handle printing something that tall! The total dimensions of the wand are about 9.75 inches by half an inch wide at the handle. My first attempt at printing wands featured a tip in two pieces, but it just wasn't as sturdy as I wanted. So, I came up with this design. I have other handles that fit with the same tip, and am working on additional models. Take a look at my other wands! Thanks for looking, and have a magical day! Print Settings Printer: Monoprice Ultimate Rafts: Doesn't Matter Supports: No Resolution: .1mm Infill: At least 80% Notes: I print these using a wood/PLA hybrid, which is pretty brittle stuff. So I use a temperature of 215 degrees Celsius. Colder temperatures can clog the nozzle. And an infill of at least 80% for stability in the wands. My printer has a heated bed, making the raft unnecessary. But if your print isn't sticking, feel free to use one. Post-Printing Step 1: Glue Once you're done printing, you'll need to glue the pieces together. The pin will fit pretty snugly, and it's supposed to. I use diamond glaze for this. It's a resin adhesive that works really well on several types of surfaces, but is water-based and easy to clean up. Drop a little glue in the hole, Add the pin, Press together, and let dry standing up! Filament spools work well for this. Allow plenty of time for the glue to dry before moving forward! Step 2: Stain This part's totally optional, but it makes the wands look really nifty. You'll need stain and a paintbrush. I use a gel stain from the craft store. It's nice and thick so it's easy to work with. Using the brush, paint long, even strokes along half of the wand. Start with either the tip or the handle, but don't stain the whole thing all at once or you won't be able to hold onto it or let it dry without making a huge mess. Allow time to dry. The long strokes from the brush will dry to make it look like it's got wood grain! Once dry, stain the other half. Let dry standing upright. Step 3: Varnish Another optional step, but using the same method as staining, use a water-based varnish to give the wand a gloss coat. I use a polyurethane varnish for this. Thick, water-based, easy to clean up. Feel free to experiment with different kinds of stain, different coats of varnish or stain, etc. Step 4: Make magic You know what to do here. Enjoy!
With this file you will be able to print Wizarding World of Wands with your 3D printer. Click on the button and save the file on your computer to work, edit or customize your design. You can also find more 3D designs for printers on Wizarding World of Wands.