WL Toys 104001 Shorty Lipo Holder
thingiverse
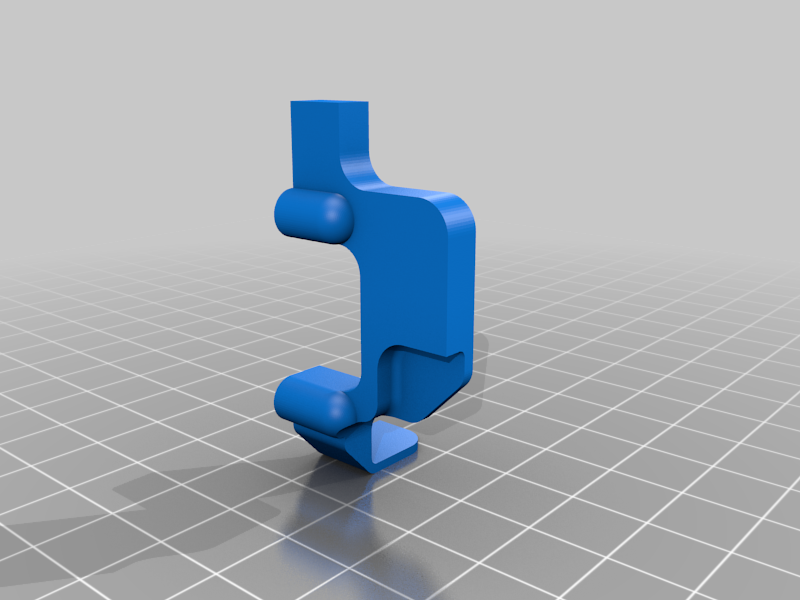
Shorty Lipo holder for the WL Toys 104001. Version 2: The original design will only fit the WL Toys specific Lipo which is pretty low capacity. A standard shorty Lipo will fit in the car, but would require modifying the mount for it to fit. It also would require some sort of shim to push the battery away from the center CVA to prevent rubbing. You could pick up the parts for the LC Racing version of this buggy as well. This design shims the pack away from the CVA and should fit most shorty Lipos. Tap the two mounting holes with a M3 tap and you can use the existing screws or up to a 3X10 screw. You will need a foam spacer/block to take up the gap but this should allow some fore/aft adjustability. This design uses the existing velcro strap. I do plan to eventually upload a more traditional thumb nut/bar design in the future. Thumbnut Version (Added 08/17/21): This is a very simplified design, and picks up the rear mudguard mounting for a post and uses that post at both the front and rear battery retention; along with a simplified lower front stop. This design very closely mimics the XB4 type design. You could use 2 thumbnuts if you wanted, but clearance at the rear to the body may be tight. Hardware required: QTY=1 M3 Thumbnut QTY=2 M3 Nut QTY=1 M3 oversized washer QTY=1 M3x10 button head screw QTY=2 M3x18 flat head screw QTY=1 M3x20 set screw Thin closed adhesive backed foam (Example: Aerotape) Closed cell foam block to set battery position (~20x40x20) You will need to print QTY=2 posts, QTY=1 bar, and QTY=1 front stop. Tap the posts and front stop mounts with a M3 tap. Thread in the M3x20 set screw approximately 1/3 of the way into one of the posts, and then bottom out the M3 nut on the set screw. Remove the original battery boxes (front and rear). You will also remove the rear most mudguard screw and replace it with a M3x18 flat head screw. The screw should extend out the top side of the mudguard. Thread the post that does not have the set screw attached into the top of the screw and completely bottom it out. The flats on the post should help. Attach the front stop at the location of the original battery box, but replace the outer most screw with the other M3x18 screw. Screw the post with the set screw down onto the M3x18 screw. Place the oversized M3 washer on the M3x10 screw, and thread the M3 nut on the backside of the battery bar. Attach that screw assembly to the rear post, and tighten the M3 nut against the post. This should stop the screw from rotating, but allow you be able to pivot the bar. Apply the a strip of adhesive backed foam to the center chassis brace to prevent the battery from contacting CVA outdrive. You will need at least one foam block or two to set your fore-aft battery position. You have ~15 mm of positional adjustment. NOTES: I may still do some further refinement to the post height and battery bar for the thumbnut version. It may benefit from a small amount of foam tape on the underside to help retain the battery better and/or stop posts in the bar to set your fore-aft battery position.
With this file you will be able to print WL Toys 104001 Shorty Lipo Holder with your 3D printer. Click on the button and save the file on your computer to work, edit or customize your design. You can also find more 3D designs for printers on WL Toys 104001 Shorty Lipo Holder.