Wobble Decouplers (beta) for Wanhao Duplicator i3, Monoprice Maker Select i3, Powerspec, Cocoon Create, Other Clones
thingiverse
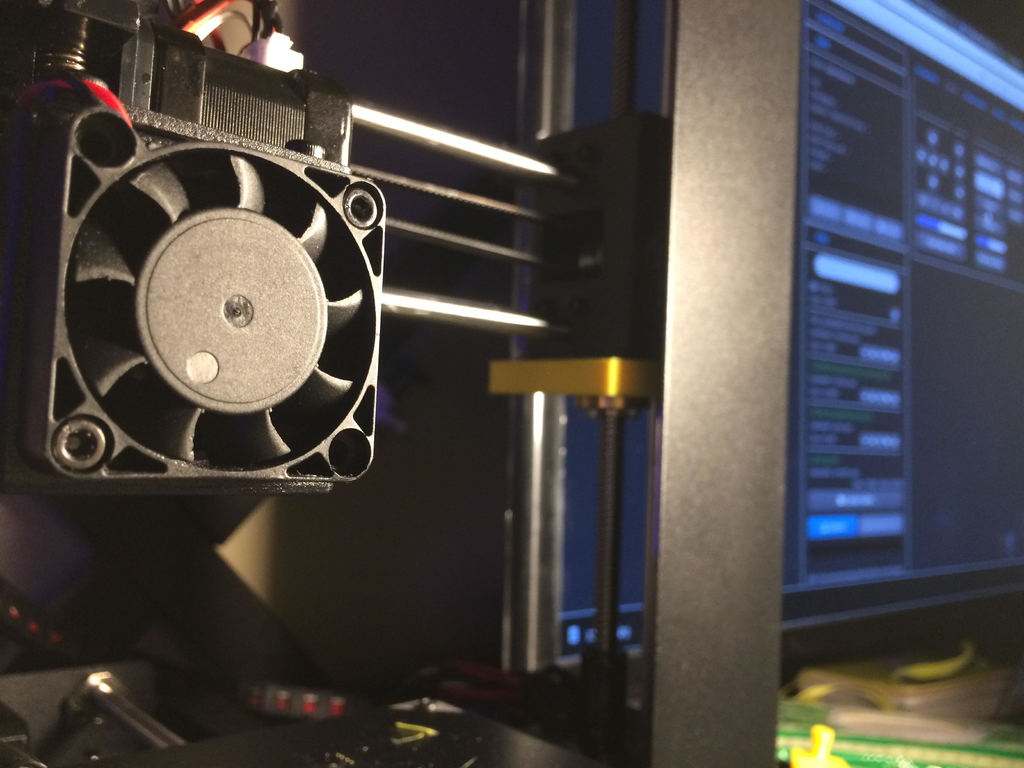
EDIT: 4/2/2018 Looking for 'commits' for how far to shorten the length as it doesn't require the entire distance to function. If anyone has a preference let me know, or multiple people so there's some discussion. Sorry for typo, it's flange, not flanger. Subtleties, moving on. Preparations: -Phillips screw driver (try different ones out to see which isn't going to strip your screw. Don't force. The stock [flanges] T8 nut screws are pretty fine and they need a little bit of careful torque to get out. Again, careful- they will easily strip-you very much don't want that.) -New [flanges] T8 nuts provided in the link at the bottom. -Calipers (any). To level the z motors. -Hex key set. -Perhaps a second hand or someone that knows what they're doing. Update Nov. 16 2017 This model I bought was refurbished poorly and the after pictures don't really reflect this item's potential. I've been getting even better prints than before but pictures wouldn't be accurate to its original configuration. This machine was listed as a refurb but it was more As-is than anything. I've never spent that much money getting something which is refurbished, to function in the first place. There are people that swear by refurb quality but I got the scud of the bunch so to speak. Update Oct. 17 2017 I added pictures of before and after, although my printer's extruder is really inconsistent and I'm working on that detail while planning to switch to bowden. But in the pictures is b and a WARNING: DO THIS AT YOUR OWN DISCRETION. IF YOU DAMAGE YOUR PRINTER IT IS YOUR OWN FAULT. I INSTALLED THIS JUST FINE. MAKE SURE TO USE A SIMILAR SCREW DRIVER TO THE PICTURE. Update Oct. 11th 2017 I've added pictures on more less what it looks like being installed. You need to take the original [flanges] T8 nuts off and leave them off. Use the Amazon t8 nuts provided in the link. The stock t8 nuts are different and I can't guarantee it working at all. It's almost a requirement to have new ones because transplanting them during the process would be a pain in the rear. Update Oct. 10th 2017 I uploaded Alpha v .6. The screw holes are adjusted and the forks are shorter. I'm printing this right now after a failed try when my octoprint was unplugged. I'll have pictures very soon. IMPORTANT: I did not need to move my limit switch. No extra step. Was able to test the hole sizes with the failed print. Appropriate size. WARNING: - You have to remove the original [flange] t8 nut from the gantry before you install this. There is a link to a proper nut below as the stock one was too difficult to find reference for. It's the same threaded flange and a little shorter so it's best to use that one, as I don't even know if the stock one works. This is why it's beta. Use this to move your limit switch if needed: https://www.thingiverse.com/thing:1788330 Background: This is a wobble decoupler which works on either side of the x axis to guide the threaded rods and reduce wobble and inconsistencies in prints. This was designed to be similar to the FLSUN i3 wobble decouplers, yet for the Wanhao Duplicator i3/ i3 plus, 2.1- Monoprice Maker Select, Maker Select Plus, and other clones of those printers. Original idea: https://www.thingiverse.com/thing:1804112 One way of explaining it is, a train always feels every little bump on the tracks- an elevator kind of glides. One is on a set rail, the other is on a cable so to speak, in this case- the axel is disconnected so it doesn't feel every little inconsistency in the threaded rod. edit: the gantry rests on top of it, using gravity to lift up and down. Also if something bumps, it's a tiny bit like shock absorbance. It requires a standard [flange] T8 nut which I'm not sure is the same size as the default because I couldn't find that exact one to use for reference. It is just a bit bigger but it may work. I figure it's probably easier in the installation as you don't have to transplant anything. Here's a compatible nut: Amazon [flanges] t8 mounting nuts http://amzn.to/2wXMG8L The one I tested and verified working got poor reviews for some reason. I don't know why considering mine work fine and give great prints. Due to that, here's another link for flanges from hictop, whom are suppliers of the Cr-10. http://amzn.to/2CnqEdw This is a work in progress. It is not meant to be used as a crutch for reliability as this is the beta test. While it seems I measured everything correctly, we're relying on human accuracy, 79 cent calipers, and mechanical reference. To install: Screw t8 nut to wobble decouplers opposite way to each one. Remove top and slowly screw rods on x axis until it is removed from the top. Remove stock t8 nut Insert prepared decouplers on either side from top with t8 nut base hanging down. Reinstall x axis by carefully sliding down. It shouldn't be connected to the threaded rod, just giving it clearance. Reinstall top. Level either threaded rod with calipers. Test. Please leave comments with your experiences. The ascii was the first draft blue print, those may not reflect the actual dimensions. Update: fixed screw hole size just after uploading. Now threads grip plastic better.
With this file you will be able to print Wobble Decouplers (beta) for Wanhao Duplicator i3, Monoprice Maker Select i3, Powerspec, Cocoon Create, Other Clones with your 3D printer. Click on the button and save the file on your computer to work, edit or customize your design. You can also find more 3D designs for printers on Wobble Decouplers (beta) for Wanhao Duplicator i3, Monoprice Maker Select i3, Powerspec, Cocoon Create, Other Clones.
