Word-Clock german
prusaprinters
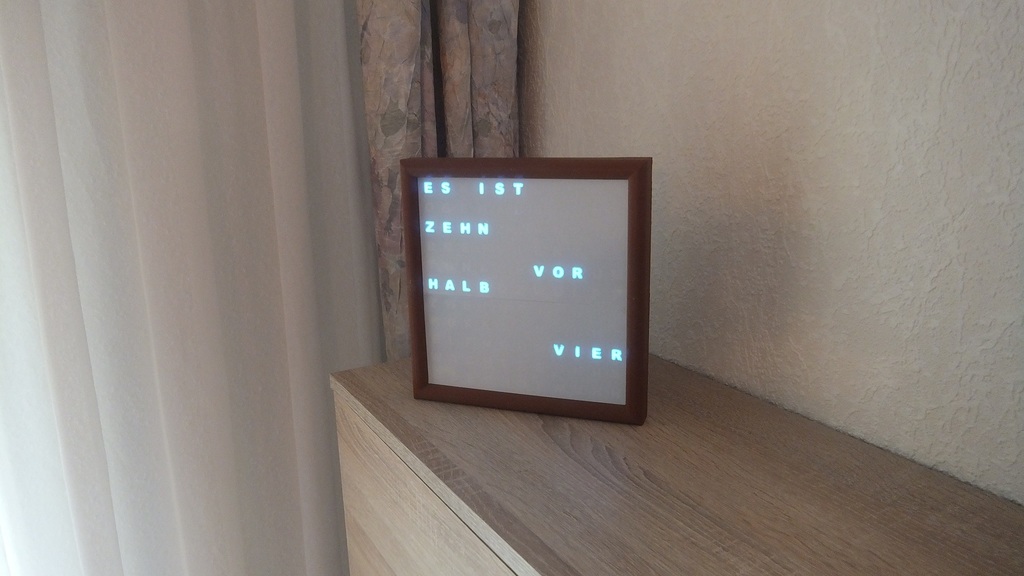
<p>This is a fully printable case for a word-clock. It is designed for use of LED stripes WS281x with 60 LED/m.</p><p>Additional there are needed only a RaspberryPi, a 5V power-supply, some wires and the software from here: <a href="https://github.com/xSnowHeadx/word-clock">https://github.com/xSnowHeadx/word-clock</a></p><p>If using an additional USB-soundcard the device can be used as spectrum-analyzer too (see third picture).</p><p>Edit 2017/02/28: wordclock_case_half.stl updated</p><p>Edit 2018/08/15: now the cheaper ESP8266 can be used instead the expensive RaspberryPi. A first try of the software is available here: <a href="https://github.com/xSnowHeadx/WordClock_ESP8266">https://github.com/xSnowHeadx/WordClock_ESP8266</a>. There are (at the moment) no audio-functions supportet. I also designed a fitting case for the ESP8266: <a href="https://www.thingiverse.com/thing:2842012">https://www.thingiverse.com/thing:2842012</a></p><h3>Print Settings</h3><p><strong>Printer:</strong></p><p>FIashForge Dreamer</p><p><strong>Rafts: </strong></p><p>No</p><p><strong>Supports:</strong></p><p>No</p><p><br> </p><p><strong>Notes:</strong></p><p> </p><p>Print two pieces of the half outer case. On the bottom of the case there are marks for the placement of the LED stripes.<br>For the grid laying direct on the LED stripes use the parts "bottom\_grid". They have slots for the stripes and wires. You need two of them. The upper grids are without slots for better shadowing. Here are 4 pieces necessary. These parts are not at double height to give the possibility for placing additional diffusor foils between them when using a clear shade. Print the grids with black material.</p><p>The size of the shades is 184x184mm. If your printer has a sufficient build volume you can use the single parts. If not, use the halved parts. The grids are generally halved for better insertion in the case.</p><p>I uploaded all thinkable variants of the shades for your convenience. They must be printed with a resolution of 0.2mm and usually with the plate downwards. The first two layers (the plate) must be printed with a transparent or translucent material. After the second layer the filament has to be changed to black.</p><p>The types "normal" can be used, when the letters should be visible even if they are not lighted to show the functionality.</p><p>The "mirror" types can be used to hide the letters and show only the lighted. With a translucent white plate and a turquois light setting (RGB 0%,78%,100%) there is an "Apple-effect" possible as to see in the photos.</p><p>If you want to use your own print strategy I uploaded the shade for the letters and the plate for the shade separate.</p><p>If you don't want to print the shade with the 3D-printer you can print the attached wordclock_shade_laserprinter.png with a laserprinter on an overhead-foil and use this as shade. Then you should use additional diffusor foils between the grid layers. This looks like the last photo above. It is recommended to stack two or three of the laserprinted foils for better shadowing.</p><p>The wiring of the LED starts at the lower left corner and continues as meander from the lower to the upper stripe (see "word-processor.c" in the source files). It is recommended to draw an additional power connection directly from the lower to the uppermost stripe for evenly brightness of the LED all over the area.</p><h3> </h3><p>Category: Electronics</p>
With this file you will be able to print Word-Clock german with your 3D printer. Click on the button and save the file on your computer to work, edit or customize your design. You can also find more 3D designs for printers on Word-Clock german.