X-Tension for Prusa-i3
thingiverse
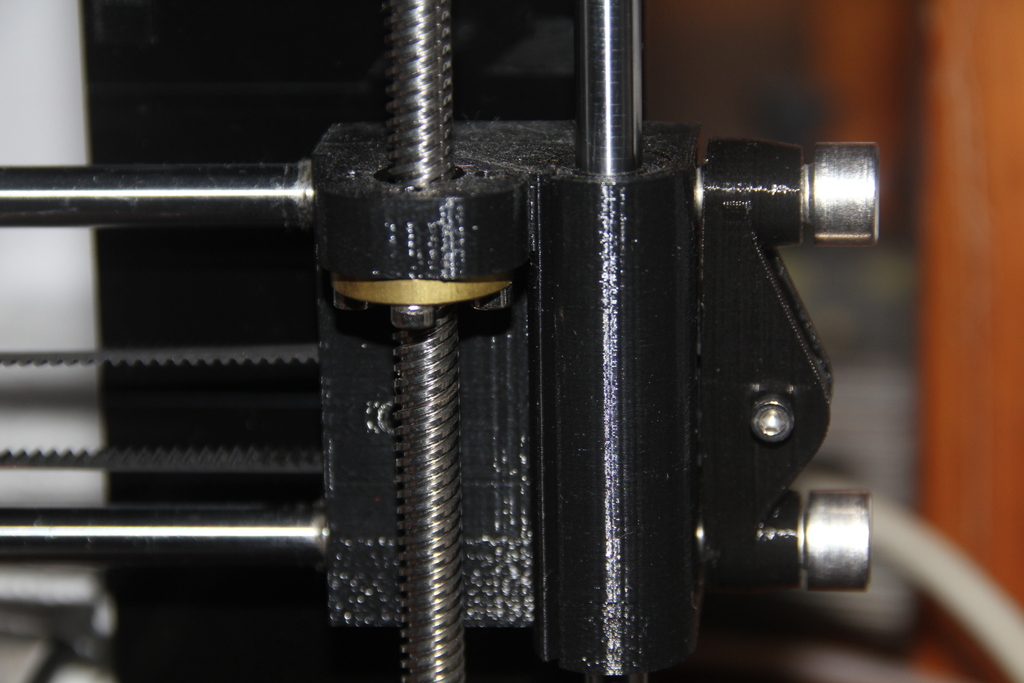
this holds the pulley for the x-belt. in the original design, witch the rods where only stucked in, was most of the tension directed over the z-bearings, z-rods and frame. this presses directly onto the x-rods, witch have a blind-hole on the other end. 'connectet by shape' rather than '- - force' ² originaly it was desinged fro a selfprinted pulley³ on 2 HDD-bearings. i went back to the 4mm rimmed bearings, so i had to file .3mm of of the contact area. if you also need 8mm, but dont want to change it in the .dwg, just stetch the x-axis to 105% and file off at least .1mm. the holes are a bit bigger than standard for metric-threat-forming. so it should be possible to screw them into the part directly after printing. aditional parts: 2 M8x30 (exact length to be measured on your printer) (maybe 2 small pieces of rubber or plastic, so the rods dont corrode where they come in contact with other metals. maybe also filing the tips of the screws straight.) 1 M3x15 / M3x16 all preferably stainless. bearings and/or pulleys. ps.: ²can anyone tell me the correct english words for 'kraftschlüssig / formschlüssig' ³some manufracturers advise you to use bearings for diameters over 40mm (63teeth). in my experiance they suffice down to 20 teeth, and below that pulleys are that inpercise (especialy selvprinted ones), that you are still better off with a plane old bearing. (i'm always using ² & ³, since my keyboard dosn't have keys for ^1 or ^4) and do not print those pulleys. maybee i will redising it oneday myself since it was desinged for a 17teeth-pulley, and the bearings have a diameter eqivalent to 20 teeth.
With this file you will be able to print X-Tension for Prusa-i3 with your 3D printer. Click on the button and save the file on your computer to work, edit or customize your design. You can also find more 3D designs for printers on X-Tension for Prusa-i3 .